A tutor pack that had to work on real worksheets
The client was a private tutor working in Rondebosch, preparing home learning packs for children who split time between worksheets, revision sheets and short reward tasks. The stickers had to look neat on plain paper, hold colour well on home printers, and stay readable after being handled by small hands. We also had to keep the format easy for a parent to cut at the kitchen table if needed.
The artwork used simple progress icons, short praise words and small subject markers. The set needed to fit a mixed bundle of maths, reading and writing sheets, so the scale had to stay consistent from page to page. A bright finish would have been too busy in places, so we leaned into clean print surfaces and clear spacing.
- Client type: private tutor in Rondebosch
- Use case: reward stickers and progress markers for home learning packs
- Output style: printable sheets for inkjet and laser use
- Cutting method: hand cutting or craft cutter setup
Paper types chosen for different learning jobs
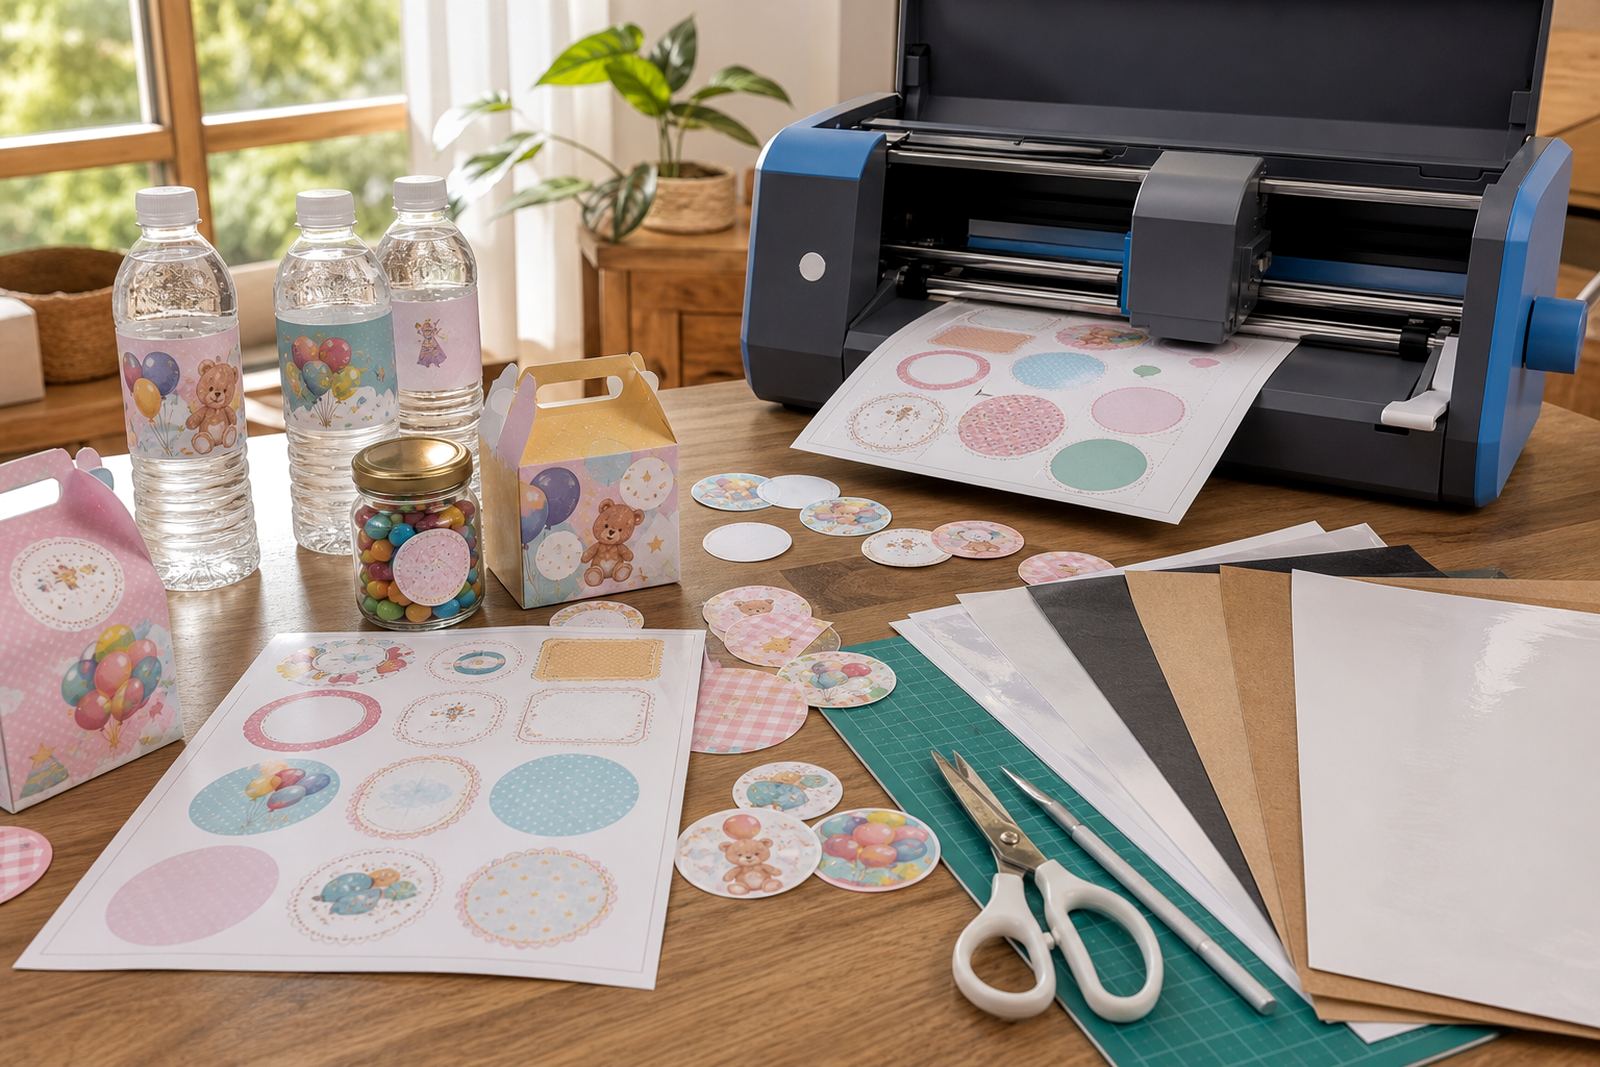
For this project, we mapped the sheet choice to the task. Matte stock worked best for writing on top of labels and for sheets that needed a calmer look. Gloss stock was better for bright reward stickers that needed stronger colour contrast. Clear stock suited small markers that had to sit lightly on top of printed pages without hiding the work underneath. Vinyl was selected for harder wearing labels that would be moved between folders, while kraft gave the pack a warmer handmade look for a few craft-style pages.
All the sheets were prepared with common home print settings in mind. The tutor needed room to test alignment, so we built in sensible margins and repeated shapes rather than tight, tricky layouts. That kept the print run practical and reduced wasted paper when the sheets were trimmed.
- Matte for writing-friendly labels and calm progress marks
- Gloss for brighter reward stickers
- Clear for low-visibility overlays on worksheets
- Vinyl for handling and repeated use
- Kraft for a handmade, natural finish
Printing and cutting details that kept the job tidy
The pack had to work on both inkjet and laser printers, so the artwork was checked for colour balance, line thickness and border spacing across both print types. We paid attention to smudge reduction, especially on darker marks and filled shapes, because home printers can vary a lot from one setup to the next. The file set also needed to support craft cutters, while still being easy to cut by hand with scissors or a cutting knife.
That meant simple cut paths, clear outer edges and enough breathing room around each sticker. We also included a few plain test blocks so the tutor could check printer feed and colour before doing the full run. It sounds small, but that kind of planning helps when the stickers are being used in a busy home learning routine.
- Inkjet and laser compatible layouts
- Smudge reduction considered in the colour treatment
- Cut lines spaced for scissors or craft cutters
- Test blocks added for printer checking
What we supplied for the Rondebosch pack
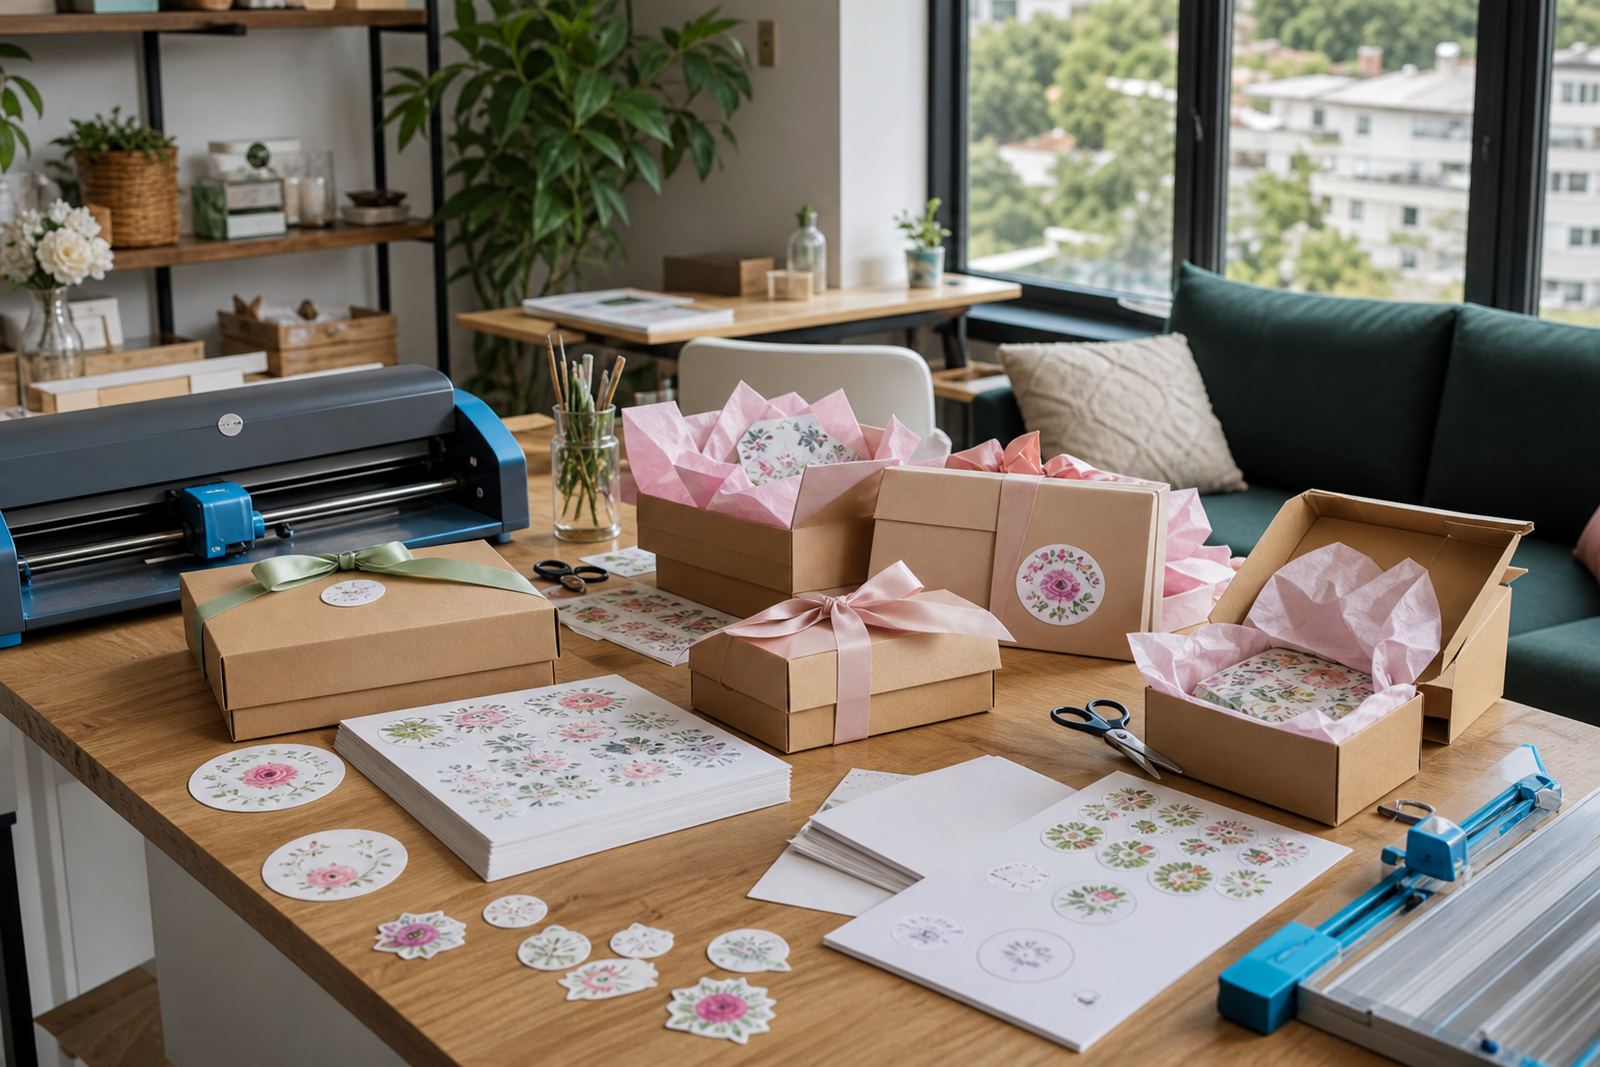
We supplied a sticker sheet mix that could cover praise, correction, subject tags and weekly progress notes. The sheets were arranged so the tutor could print smaller batches for different learners without changing the design every time. The final set was meant for folders, worksheets, reward charts and take-home packs, not only for one lesson type.
The materials also had to store well. Paper that curls in humid Cape Town weather becomes awkward quickly, especially if it sits near a window or in a bag with workbooks. We suggested flatter storage and kept the sheet sizes practical for home filing, so the tutor could keep stock neat and ready for the next pack.
- Reward icons for positive reinforcement
- Progress markers for weekly tracking
- Subject labels for maths, reading and writing
- Small correction stickers for workbook use
- Sheet sizes suited to home storage
The timeline and the working pace
The project moved through a short, structured timeline of three weeks. The first week went into layout planning and artwork checks. The second week focused on print compatibility, cut spacing and the look of each finish. The third week was used for final sheet checks, storage notes and pack assembly guidance for home use. That sequence kept the job orderly without making the tutor guess how the sheets would behave once printed.
The result was a set that felt organised and practical rather than decorative for decoration’s sake. The tutor could use the sheets across different learners and lessons, and the pages stayed easy to explain to parents who were helping with home study at night or over weekends.
- Week 1: layout planning and artwork review
- Week 2: print and cutting checks
- Week 3: final sheet checks and usage notes
What this project changed for the tutor
The biggest change was consistency. The tutor no longer had to piece together loose stickers from different sources, and the reward system looked the same across every pack. That made the learning materials feel more organised for parents and children, which matters when worksheets are being handled at home and not in a formal classroom.
We would use the same approach again for another home learning job: keep the artwork simple, separate the sheet types by task, and leave enough room for clean trimming. That keeps the stickers useful after printing, not just attractive on screen.
- Cleaner pack presentation for families
- Consistent sticker sizes across lesson types
- Easy handling during home study sessions
- Simple trimming for small batches
Key facts
| Project location | Rondebosch, Cape Town |
|---|---|
| Client type | Private tutor serving home learning packs |
| Sheet types used | Matte, gloss, clear, vinyl and kraft |
| Printer compatibility | Inkjet and laser |
| Cutting methods | Hand cutting and craft cutters |
| Timeline | 3 weeks |