

Print Settings That Match The Sheet
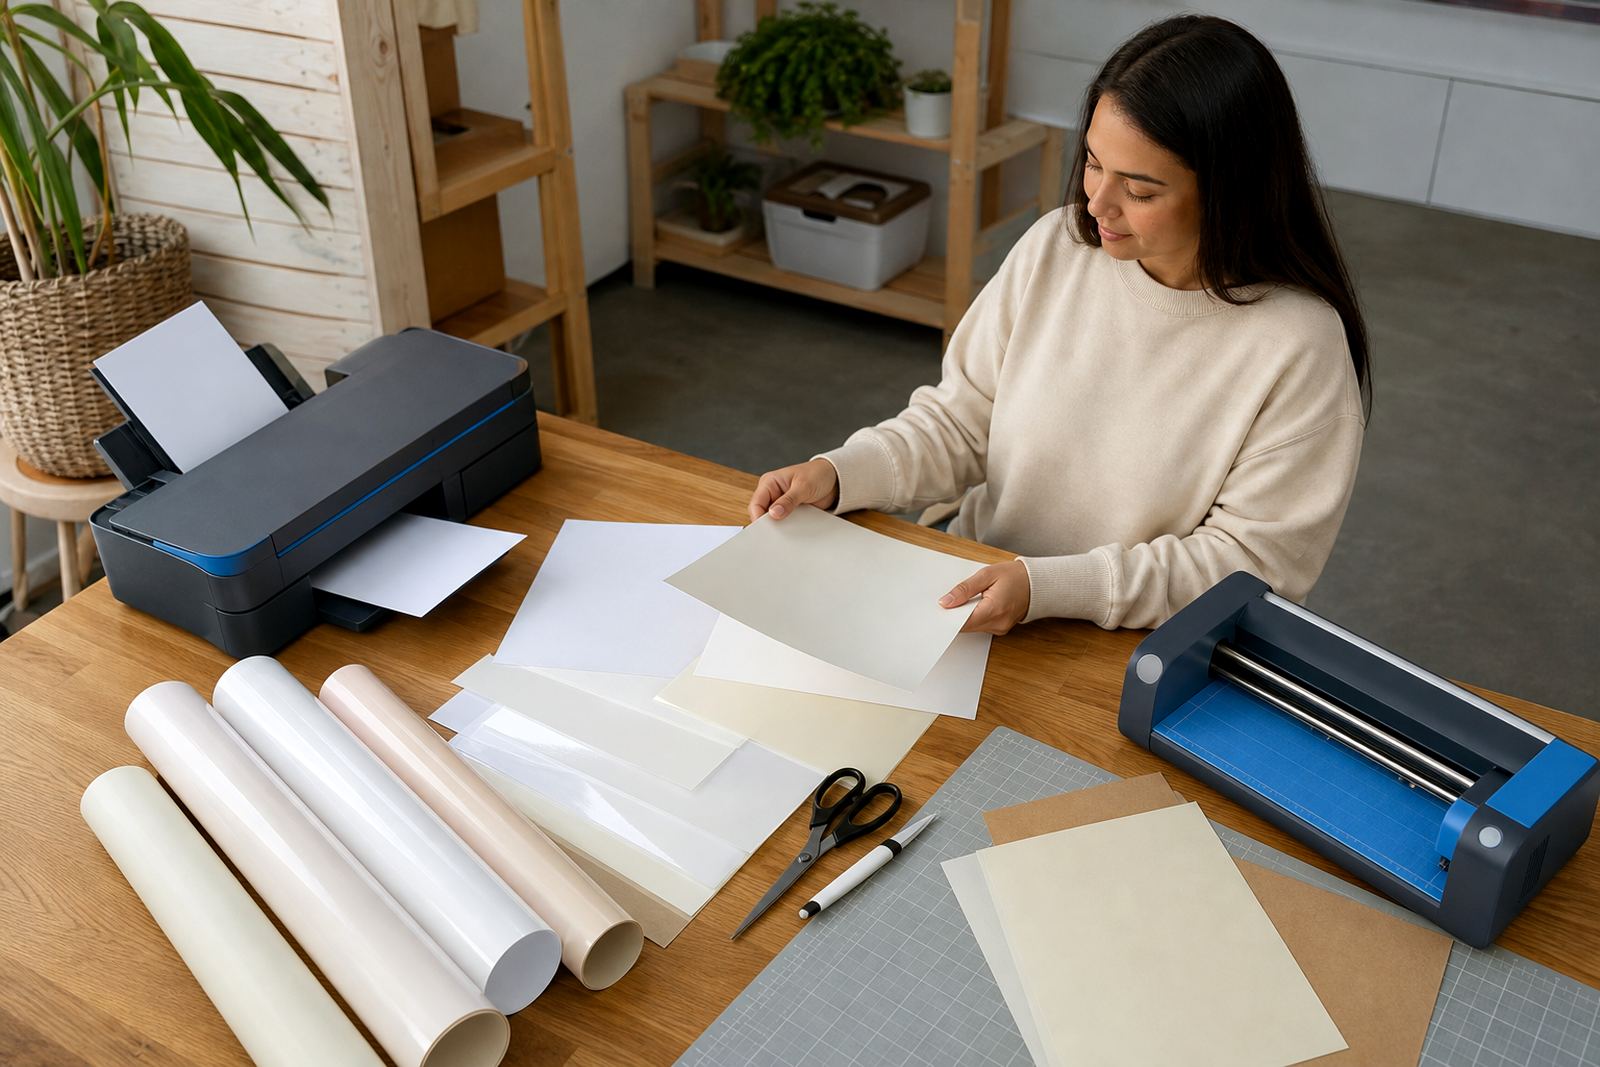
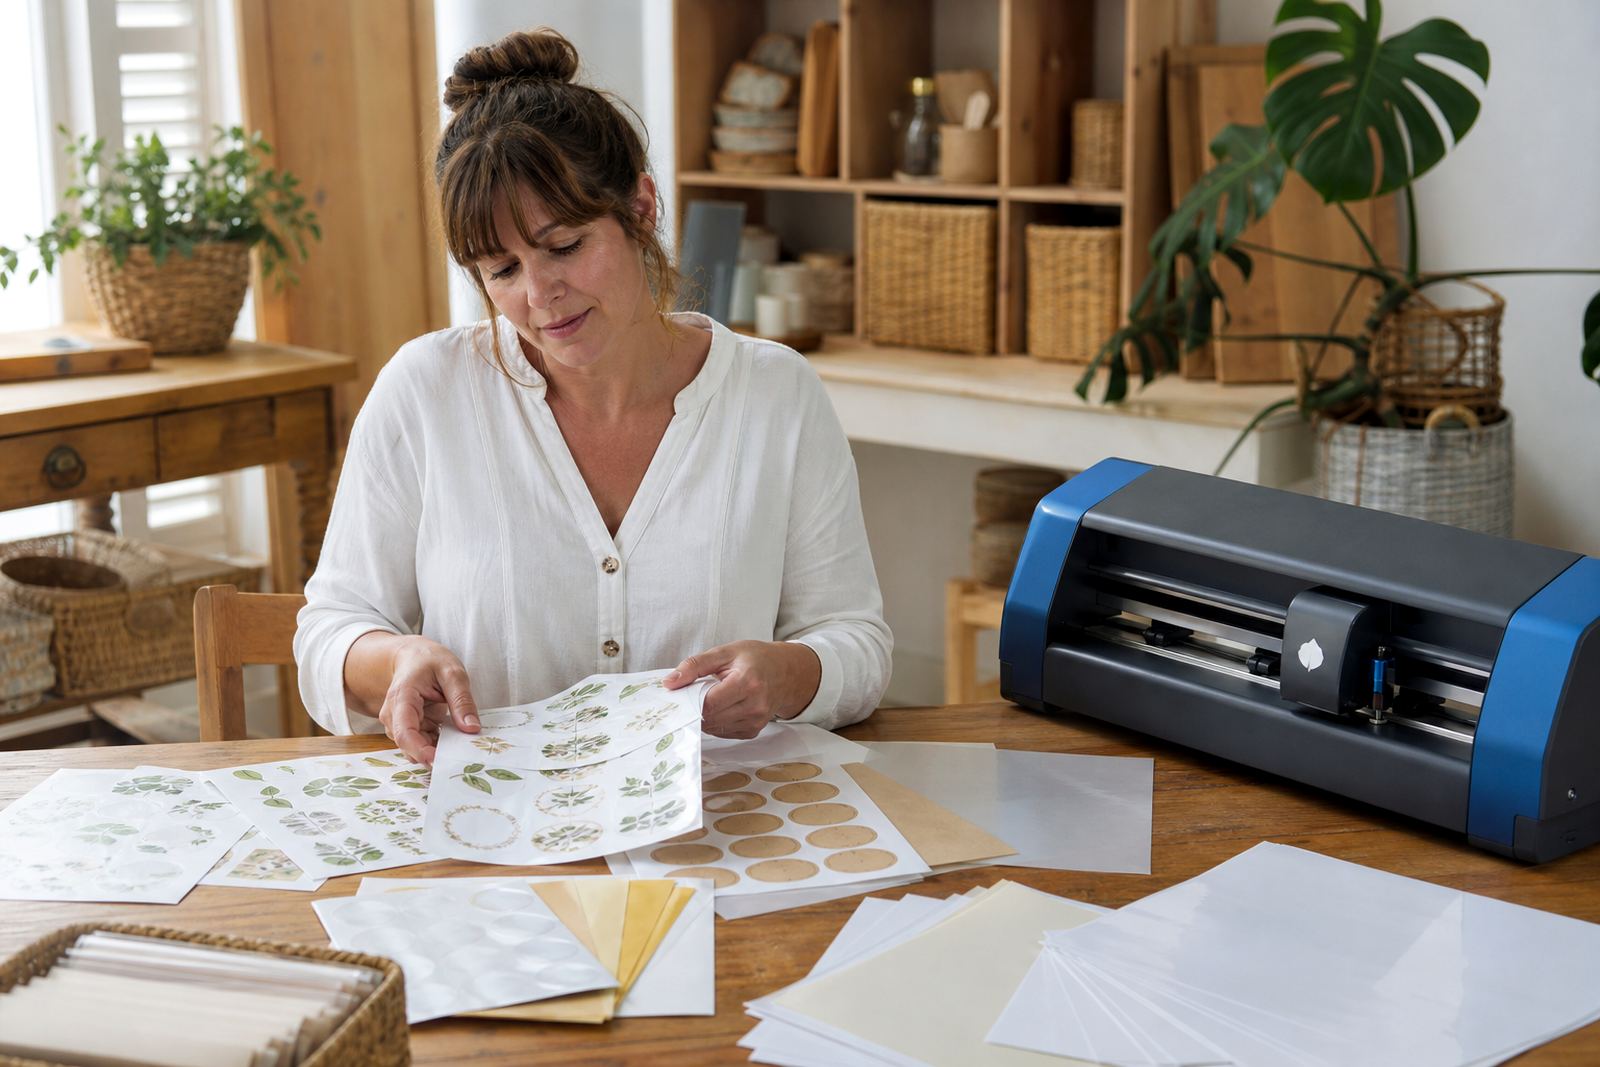
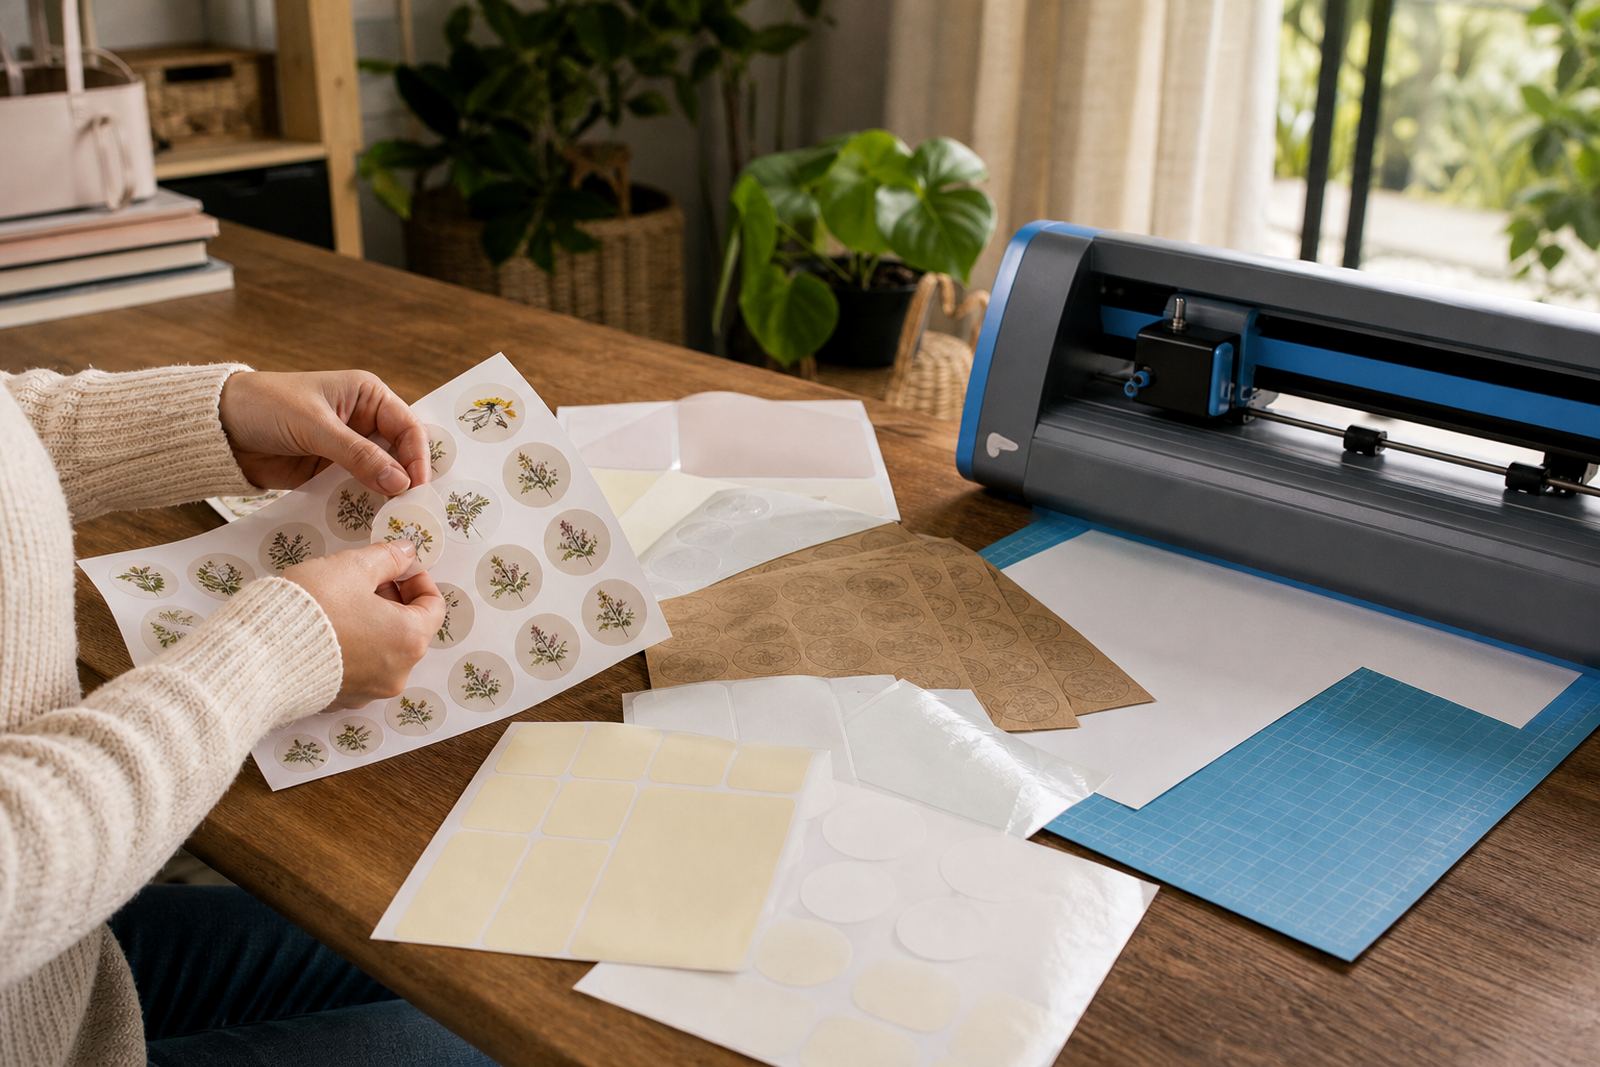
Not every sticker job asks for the same finish. Some projects need a smooth white background for text, others need clear film for a neat see-through label, and some need a tougher vinyl sheet for surfaces that get handled more often. Vinyl is a practical option for jars, notebooks, folders and maker projects where the sticker needs a bit more staying power. Kraft is often picked for home organisation, wedding favours and handmade packaging with a natural look.
- Matte for writing, labelling and low glare use
- Gloss for brighter artwork and vivid colour
- Clear for transparent labels and layered effects
- Vinyl for more handling on jars, tins and folders
- Kraft for natural looking craft work and gifts
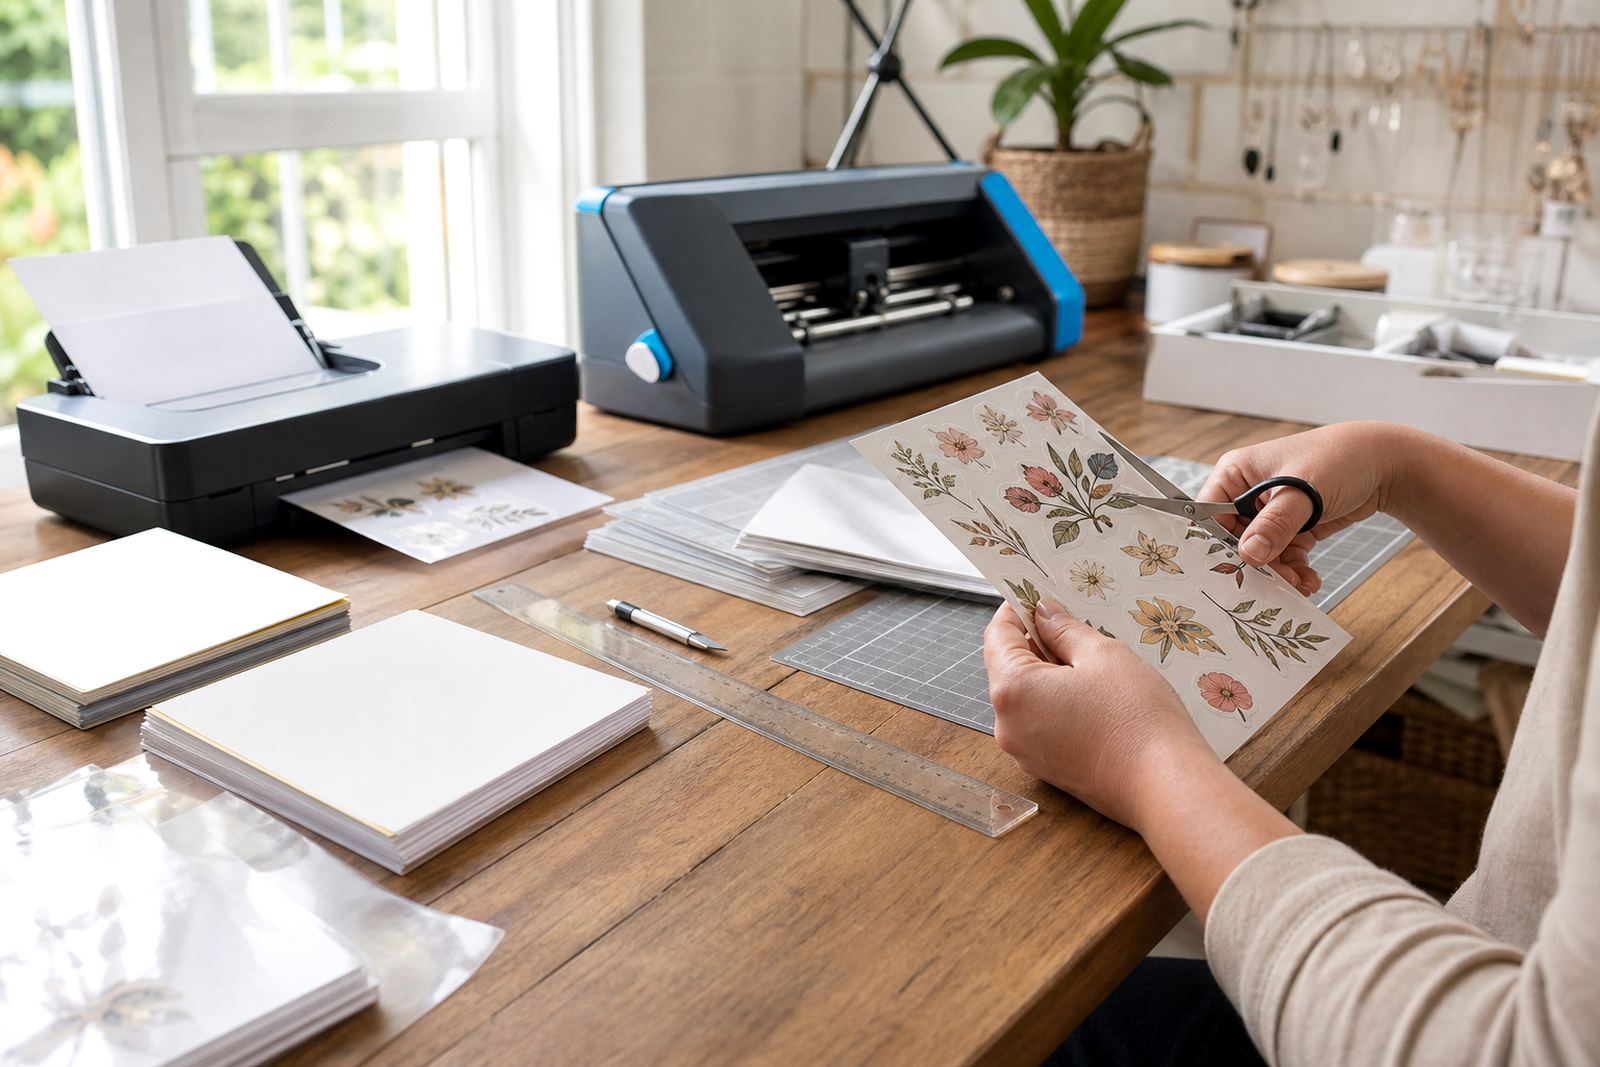
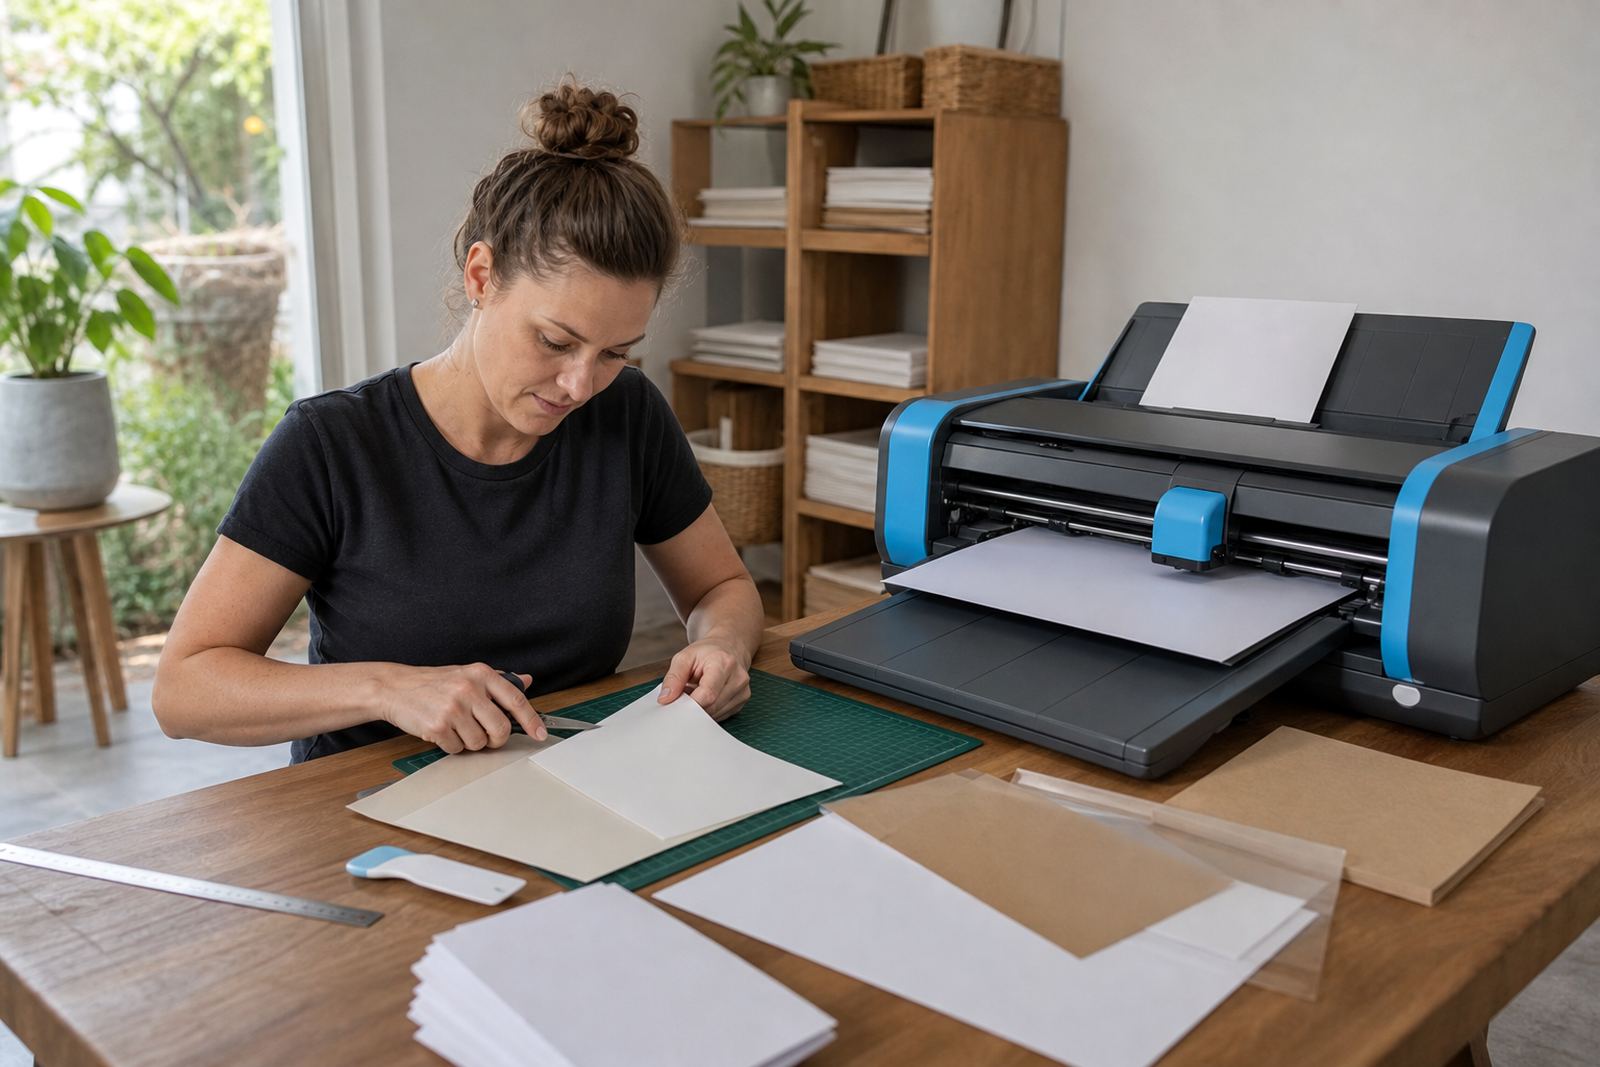
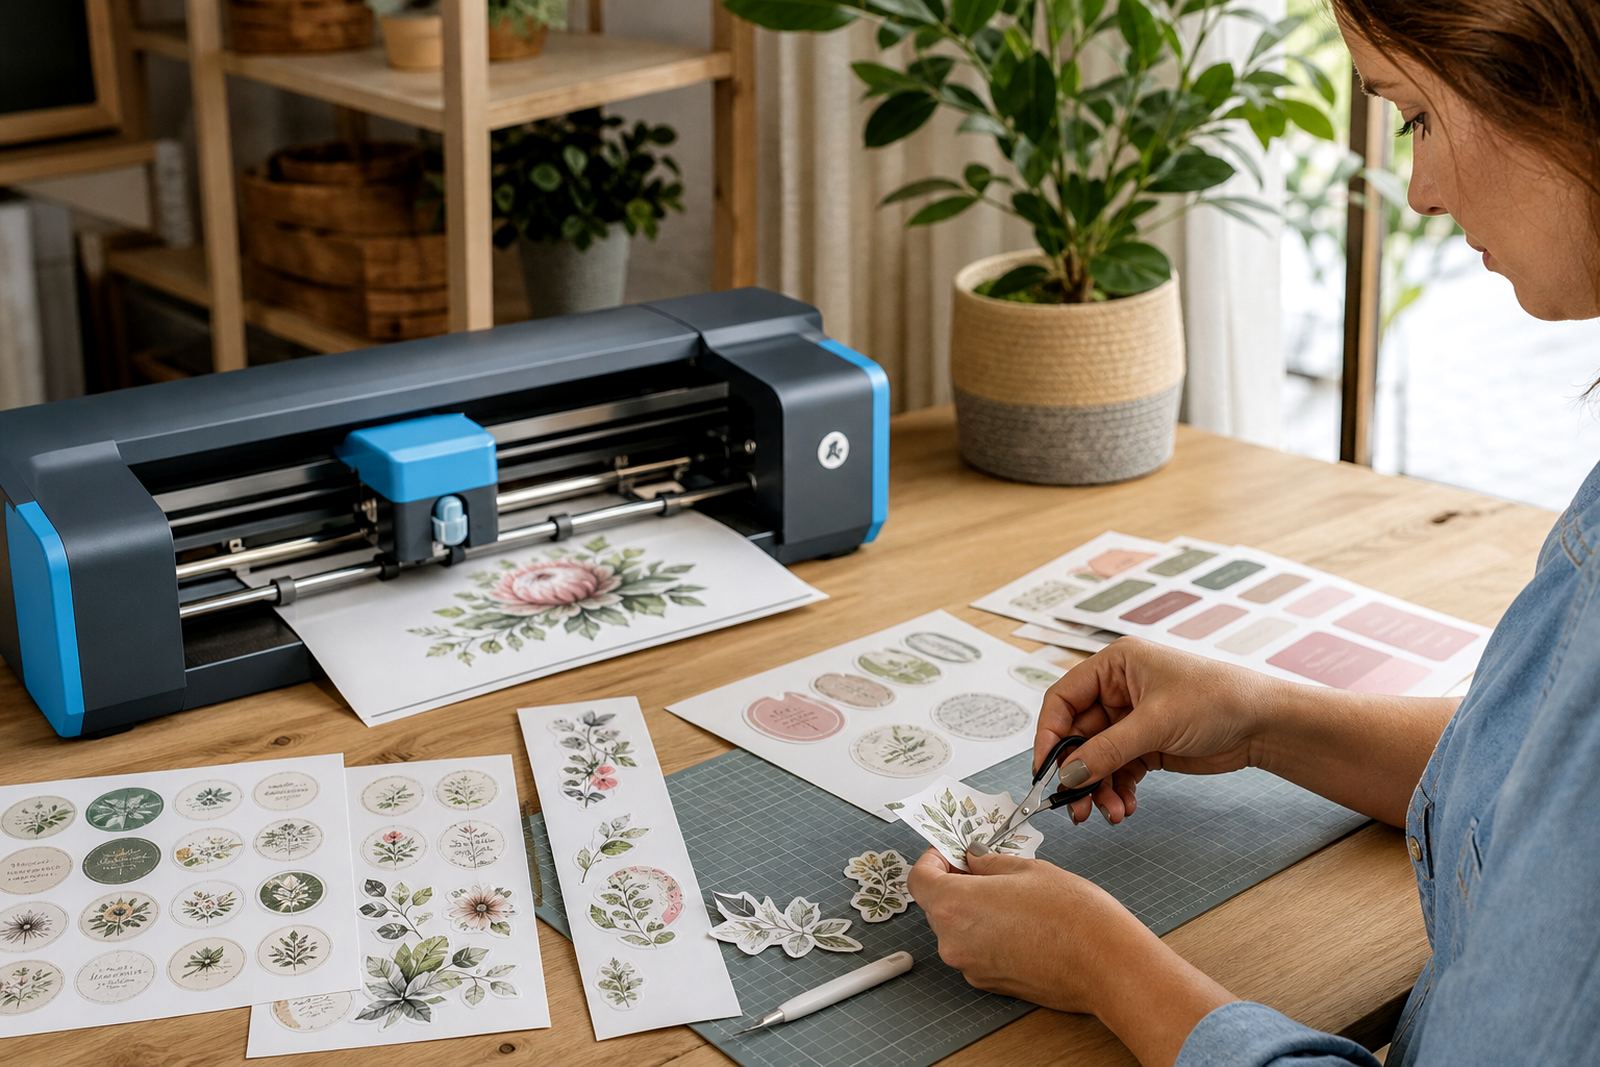
Cutting By Hand Or With A Craft Cutter
Ink smudge, paper jams and colour shift are common support calls, and most of them point back to settings or handling. Inkjet prints need enough drying time before stacking, while laser sheets must be loaded in the correct tray and checked for heat tolerance. If colour looks too dull, too dark or uneven, a test print can show whether the issue sits with the printer profile or the sheet finish.
- Let prints dry fully before cutting or stacking
- Feed one sheet at a time when the printer asks for it
- Check tray guides so the sheet enters straight
- Store unused sheets flat in a cool, dry place
- Keep fingers clear of printed areas before curing is complete
Storage That Keeps Sheets Ready
Sticker paper lasts better when it stays flat, clean and away from damp corners. In coastal areas around Cape Town, and also in busy home craft rooms, moisture can curl corners or soften adhesive edges. A closed folder or box works well for opened packs, and keeping sheets away from sunlight helps stop colour fade on white and clear material.
Use original packaging where possible, or a rigid sleeve if sheets are moved between rooms. If a pack has been opened, place the sheets face to face in the same direction so dust does not settle on the print side. It is a small habit, but it saves wasted paper.
Application Help For Jars, Labels And Gifts
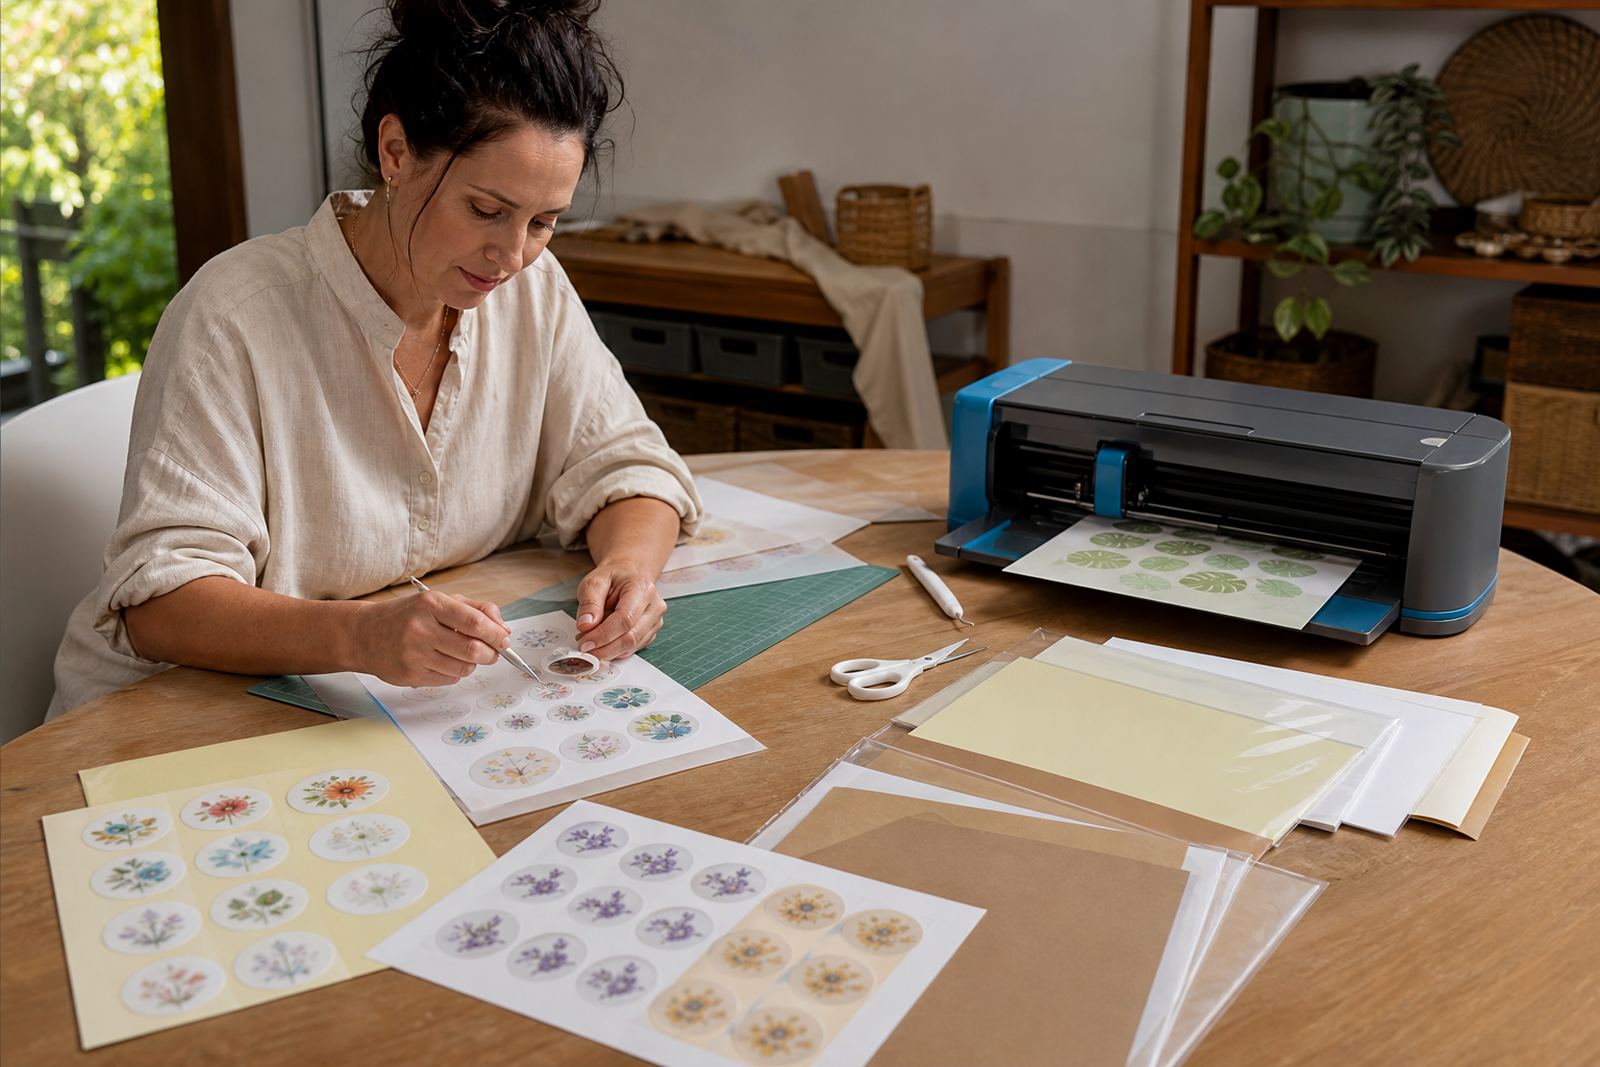
Applying a sticker well starts with a clean dry surface and a measured placement. Jars, tins, plastic containers and smooth boxes need a quick wipe first, because dust and grease reduce grip. For larger labels, start at one edge and smooth the rest down slowly to avoid air bubbles. Clear sheets need extra care on dark or patterned surfaces, while gloss sheets can show fingerprints if handled too early.
- Clean the surface before sticking
- Press from one edge to the other
- Use a card or scraper for flat labels
- Avoid stretching clear film during placement
- Test one label on a sample surface first
Support From The Durbanville Team
The support team includes Morne van der Merwe, Anele Kekana, Bianca Februarie, Jason Zungu, Leandri Mthethwa and Themba Mabuza. Each person handles a different part of the order and support flow, from product guidance and content notes to dispatch and delivery liaison. That makes it easier to help with printer settings, hand cutting, sheet choice and delivery questions across Cape Town, Johannesburg, Durban, Pretoria and Bloemfontein.
Clients get in touch through the enquiry form on our contact page. The team works with crafters, home organisers and small makers who need printable sticker paper matched to the job, not a single sheet type forced onto every project. If your labels call for a matte finish, a clear sheet or a vinyl option, the right starting point is often already there.