What a full cut does to the sheet
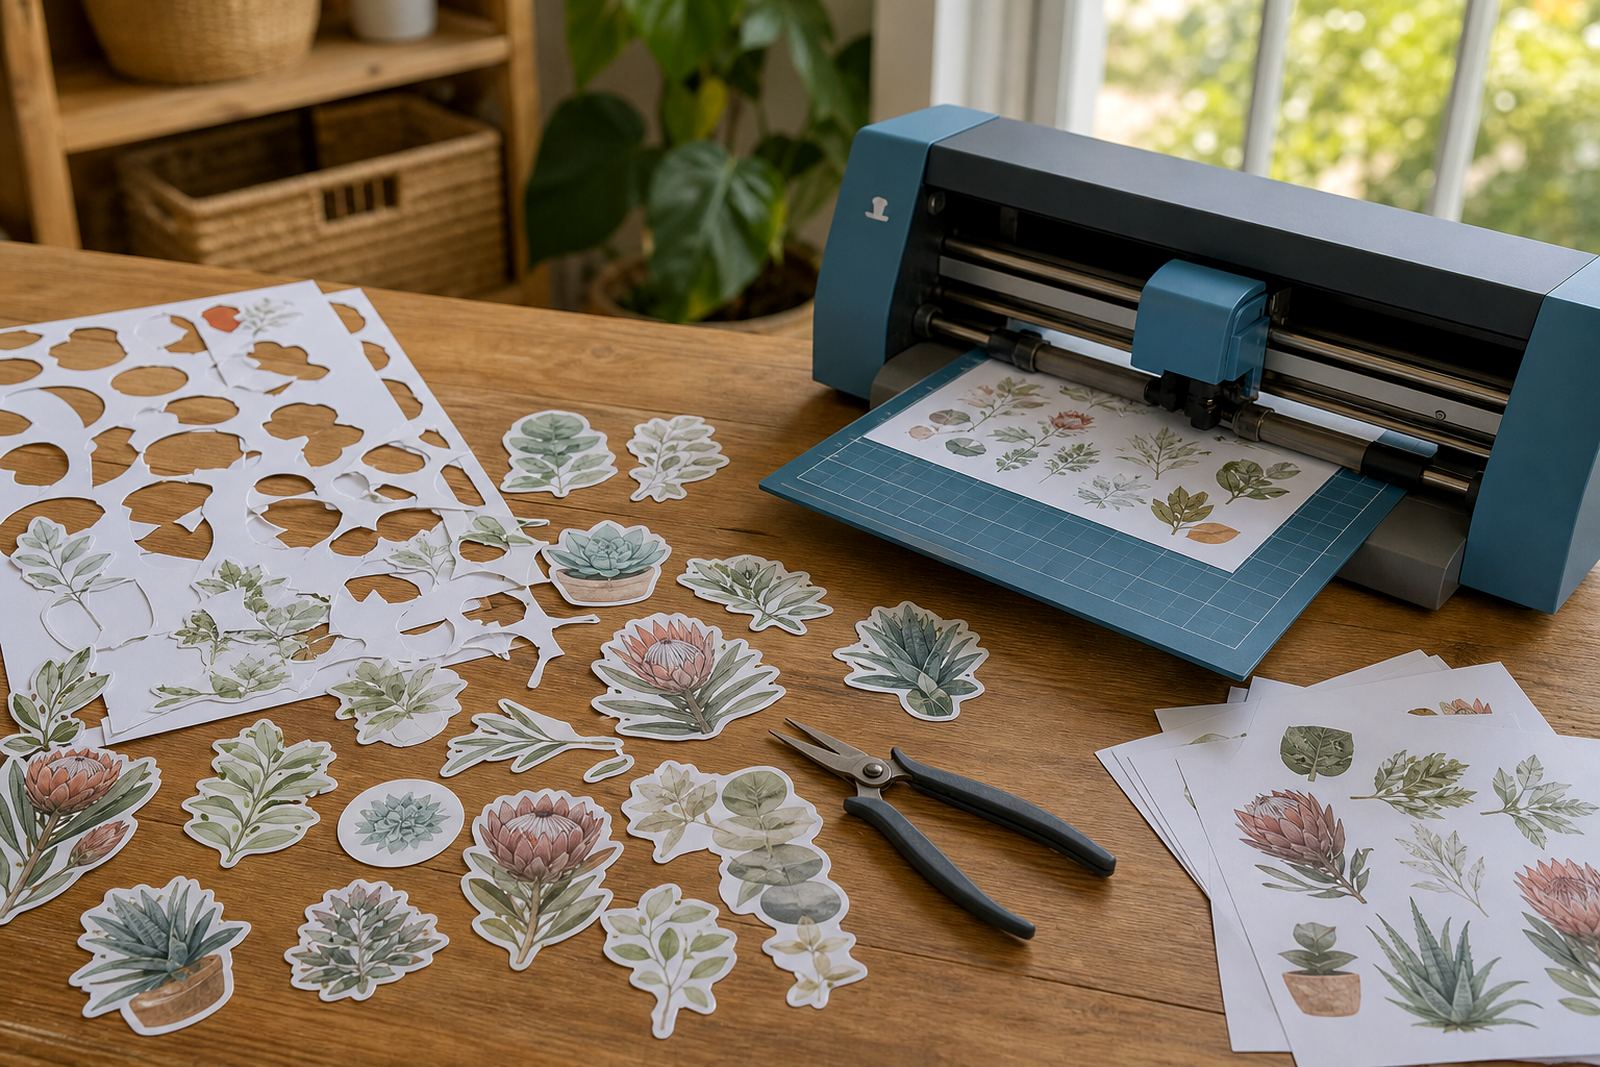
A full cut slices right through the sticker material and the liner underneath it. The end result is a set of separate pieces, each ready to lift off its own backing. That is different from a kiss cut, where only the top layer is cut and the sheet stays intact.
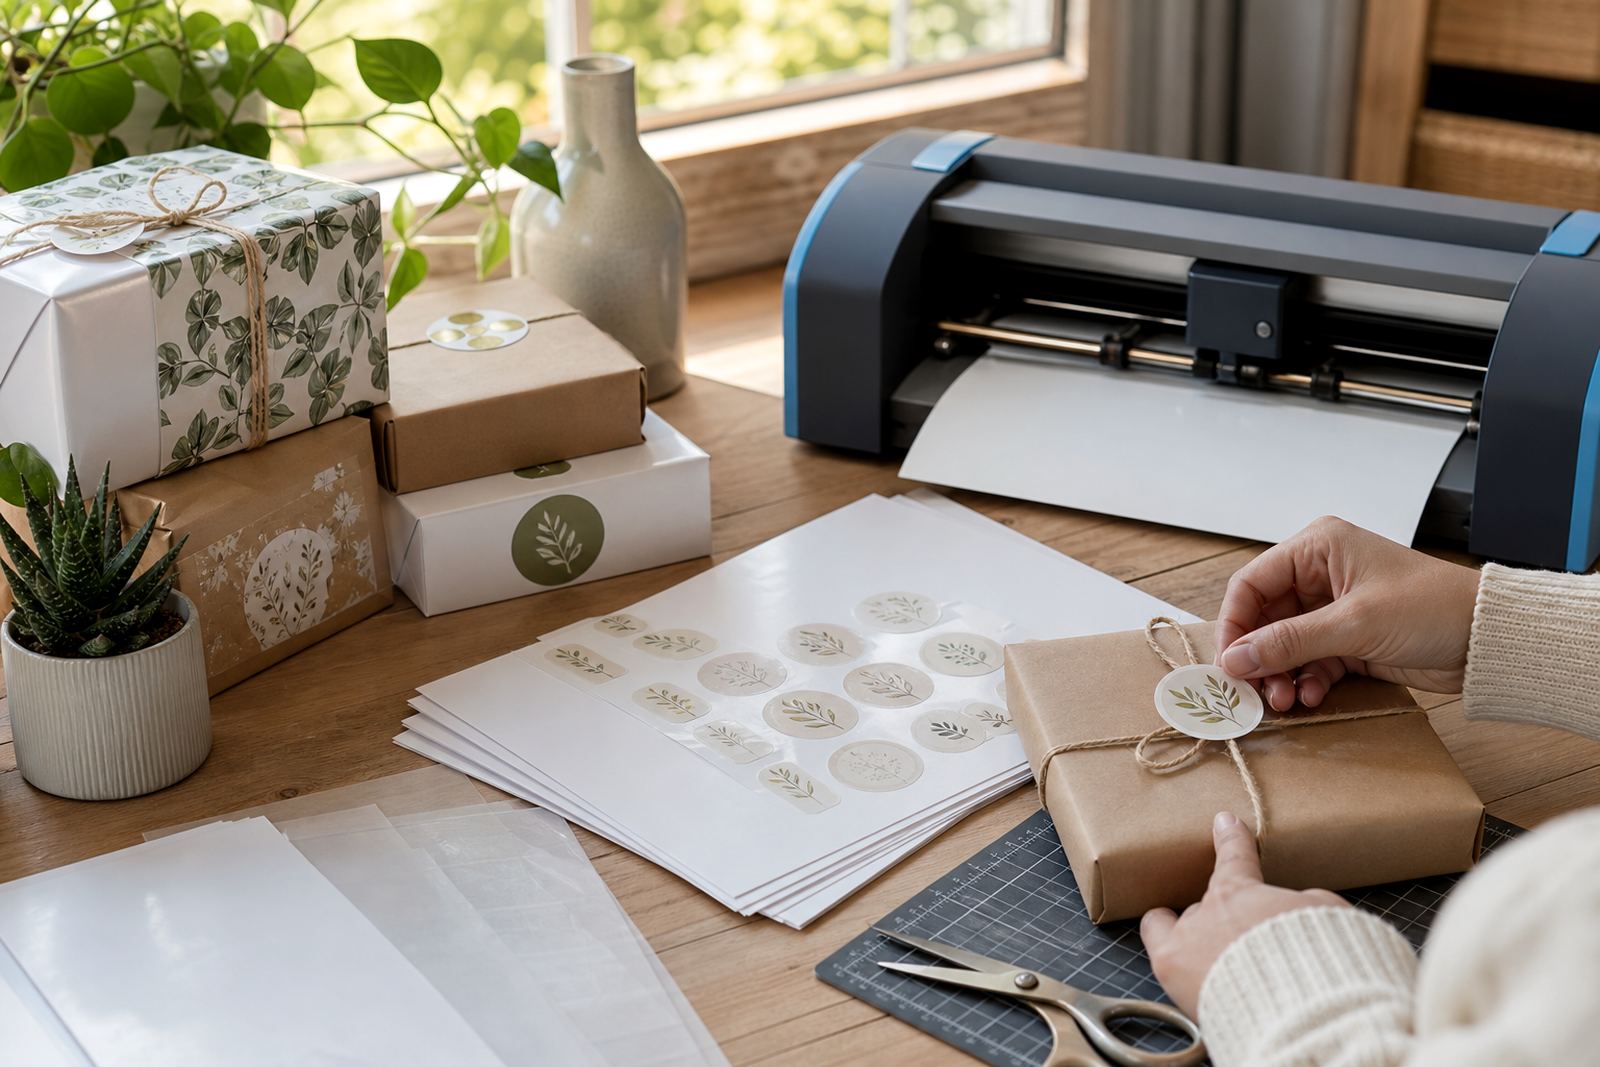
For home makers, a full cut is useful when the final item must stand alone. Small pantry labels, gift tags, planner stickers, and name labels all benefit from this format because the shape is already separated and does not need trimming before use. It saves time at the craft table and gives a neat edge when the cut line is set properly.
When a full cut makes the most sense
Not every project needs a full cut, but certain jobs work better with it. If you are packing stickers into sets, handing them out at a school market, or preparing labels for jars and containers, loose pieces are easier to sort and use. Clear sticker shapes for bottles also sit better when each one is released from the sheet on its own.
- Individual labels for jars, tins, and storage tubs
- Gift stickers and favour seals
- Craft shapes for scrapbooking or card making
- Small runs of personalised decals for home use
- Loose label sets for organisers and stationery packs
In Durbanville and the wider Cape Town area, many crafters use full cuts for weekend market prep. A stack of separate shapes is easier to bag, count, and hand over when the order includes mixed sizes. There is less handling after cutting, which helps keep corners neat.
Matching the cut to the sticker paper finish
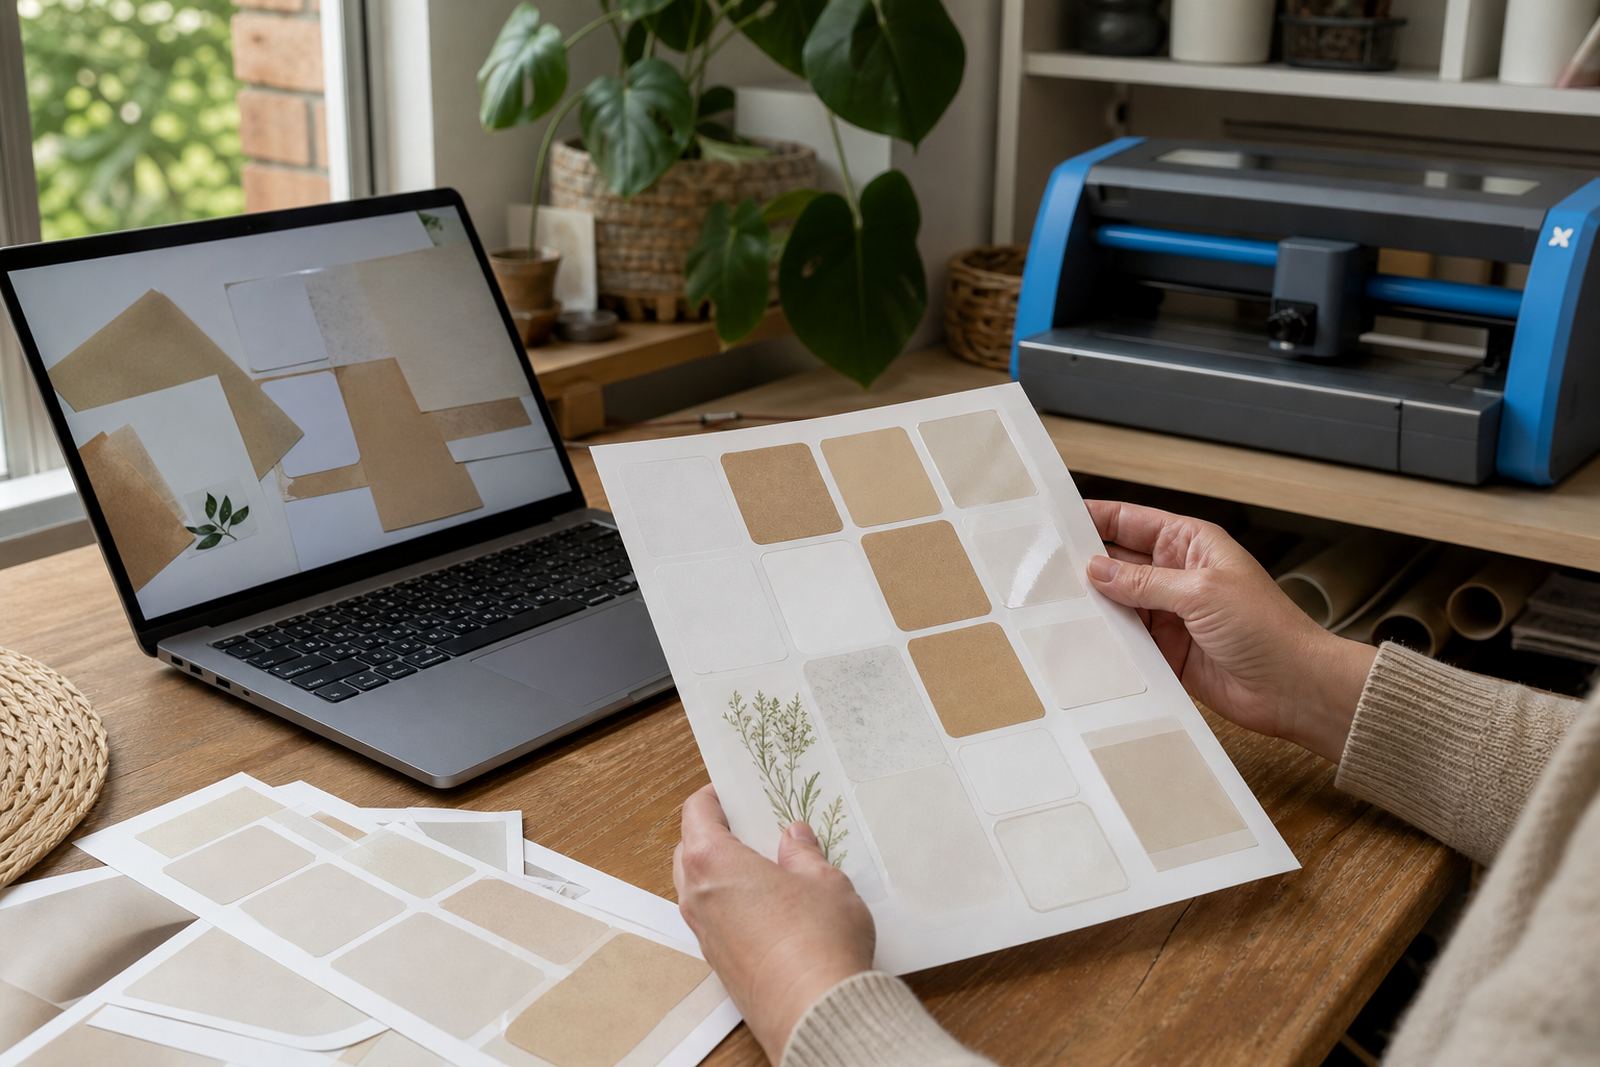
The paper finish changes how the full cut feels in use. Matte paper gives a soft, non shiny look and works well for writing on labels. Gloss paper adds a brighter surface for colour graphics and food labels. Clear sticker material is suited to transparent containers and glass, while vinyl is useful where a tougher surface is needed. Kraft finish gives a natural brown look for rustic style packaging and handmade gift work.
Whatever the finish, the cut line should suit the thickness of the sheet. A clean full cut needs the blade or cutting tool to pass through both layers without tearing the edges. If the blade is set too deep, the corners can fray. If it is too shallow, pieces stay attached and lift unevenly. It helps to test on a small section first, especially when switching between paper types.
Inkjet, laser, and the cut path
Printable sticker paper is used with both inkjet and laser printers, but the print side must match the machine type. Inkjet sheets are made to take liquid ink, while laser sheets are made for heat fused toner. Once printed, the cut path should respect the printed image and the sheet size so that every shape lands where it should.
- Check the print setting for the correct paper type
- Allow ink to dry fully before cutting by hand or machine
- Keep cut lines outside the artwork edge when a border is needed
- Use a test sheet after changing paper finish or size
In a busy print room, one mixed batch can cause trouble if the settings are copied without checking. A matte inkjet label and a glossy laser label do not behave the same under the cutter. A careful setup keeps the full cut sharp and reduces waste from misaligned pieces.
Hand cutting versus craft cutters
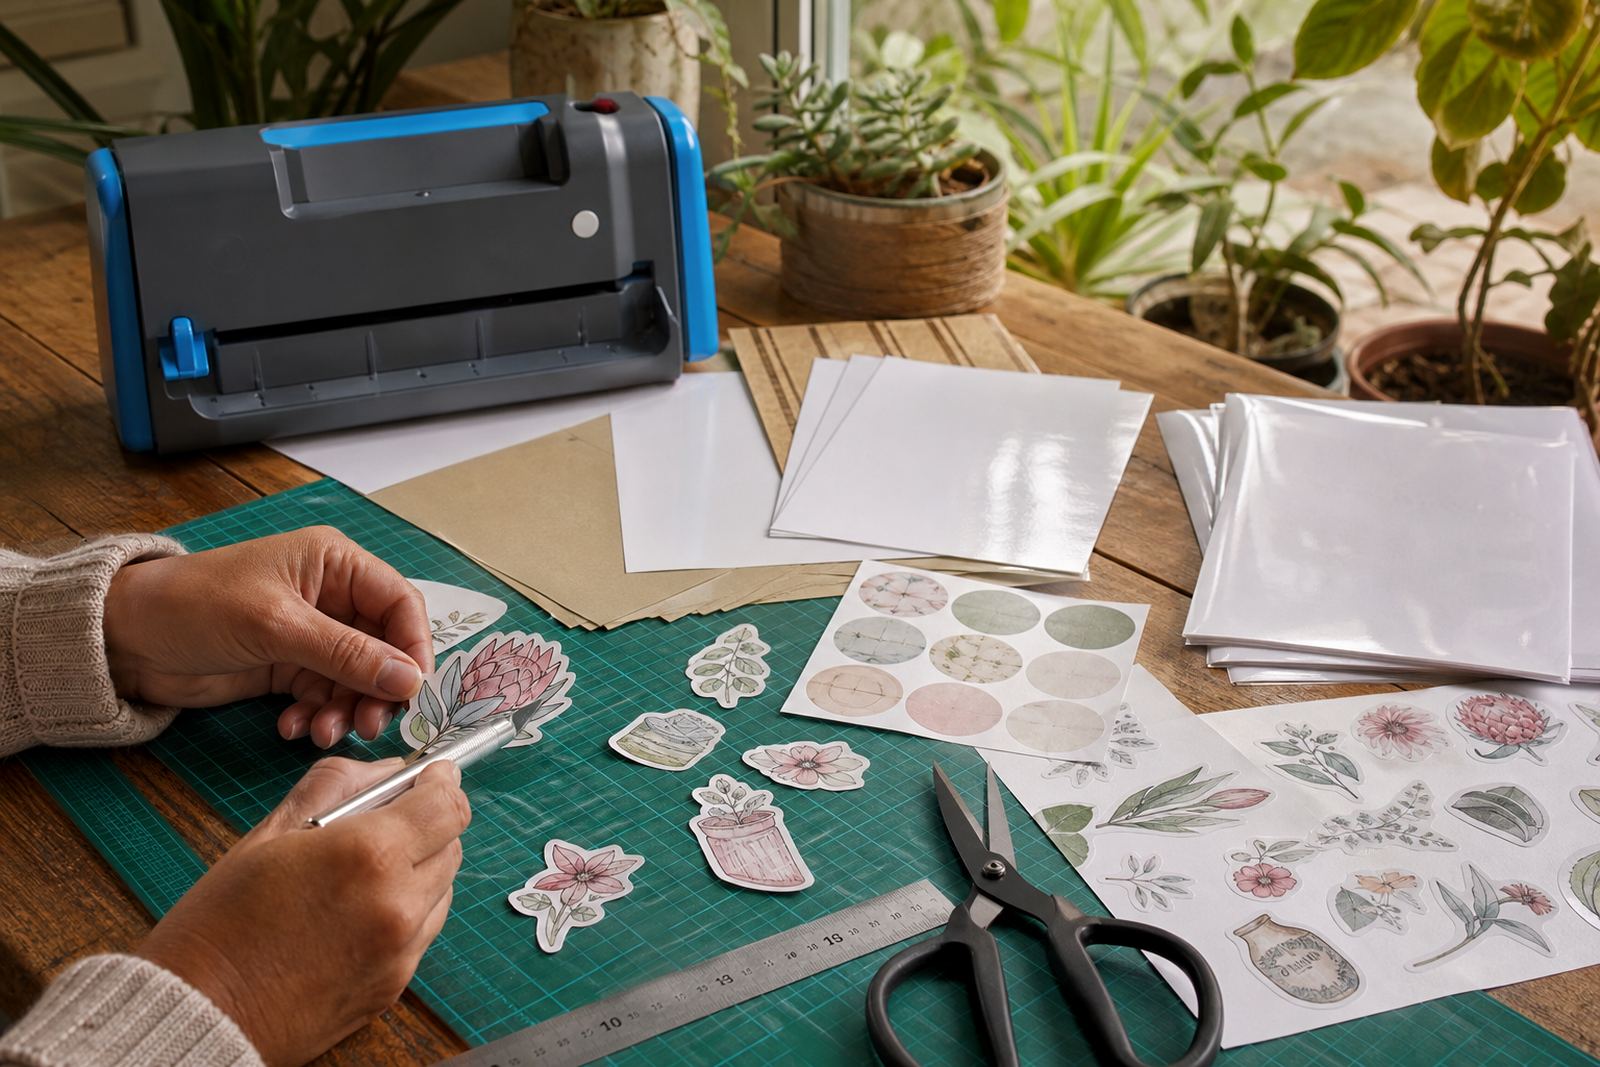
Full cuts can be made with scissors, a craft knife, or a benchtop cutting machine. Hand cutting suits short runs and simple shapes, especially when you only need a few labels or when the design has straight edges. Craft cutters are better for repeated shapes, circles, and fine detail, because they keep the lines more even across a larger batch.
For hand cutting, a metal ruler and a firm surface help with straight edges. For machine cutting, a clean mat and correct blade depth make a noticeable difference. Paper that is too thin can shift while cutting, so secure it properly before starting. If the design has sharp points or tiny inner spaces, slow the pace a little and let the blade follow the path without forcing it.
- Use a fresh blade for detailed shapes
- Keep hands clear when lifting small cut pieces
- Remove waste strips gently to avoid curling the edge
- Store sheets flat so the liner stays true
A Durbanville label job that needed separate pieces
A common local example is a home business in Durbanville packing spice jars for a weekend market in Cape Town. The labels had to be applied one by one, with each jar getting its own name and flavour note. A full cut made sense because the stickers were not meant to stay on a shared sheet. Each piece could be peeled quickly and placed straight on the glass.
That same setup works well for orders sent to Johannesburg, Durban, Pretoria, or Bloemfontein too. When the pack includes several shapes in one file, a full cut keeps sorting simple after delivery. For coastal areas, it also helps to keep cut sheets flat and dry in storage, because humidity can curl a loose stack if it is left near open windows or a warm room.
Finishing the edges before use
After a full cut, the edge matters just as much as the print. A neat edge helps the sticker release cleanly and sit flat on the surface. If the backing is scored or the cut is uneven, the label may lift at the corner. That is why a small test run is worth the paper, especially for clear sheets and vinyl where edge quality shows quickly.
For better handling, keep the cut sheets in a dry folder or flat box and avoid bending them in transit. If you are applying labels to jars, tins, or gift packs, clean the surface first and press from the centre outward. A careful full cut gives you separate shapes that are ready to use, with less trimming and less fiddling at the table.