A small Durbanville kitchen needed tidy, printable labels
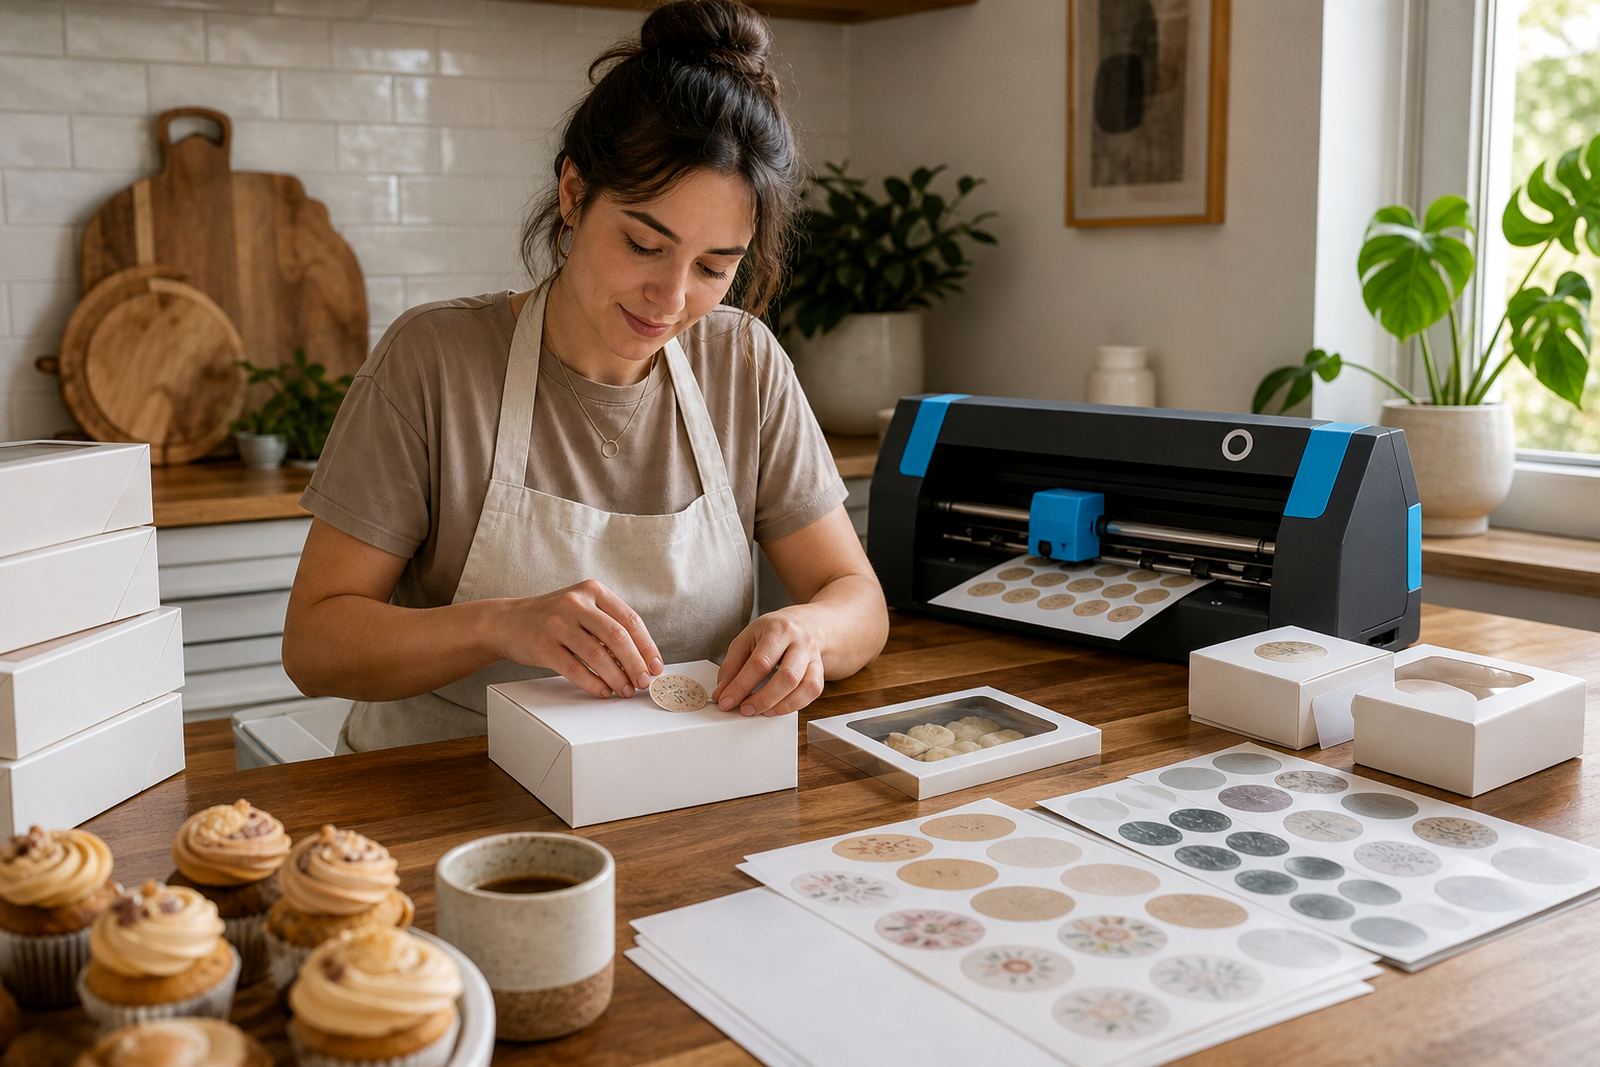
The brief came from a home baker in Durbanville who needed sticker paper for cookie box seals and thank-you labels that would sit neatly on kraft boxes, glass jars and folded treat bags. The labels had to print clearly on a home printer, cut cleanly by hand, and stay neat in a kitchen that sees daily packing, flour dust and a fair bit of handling.
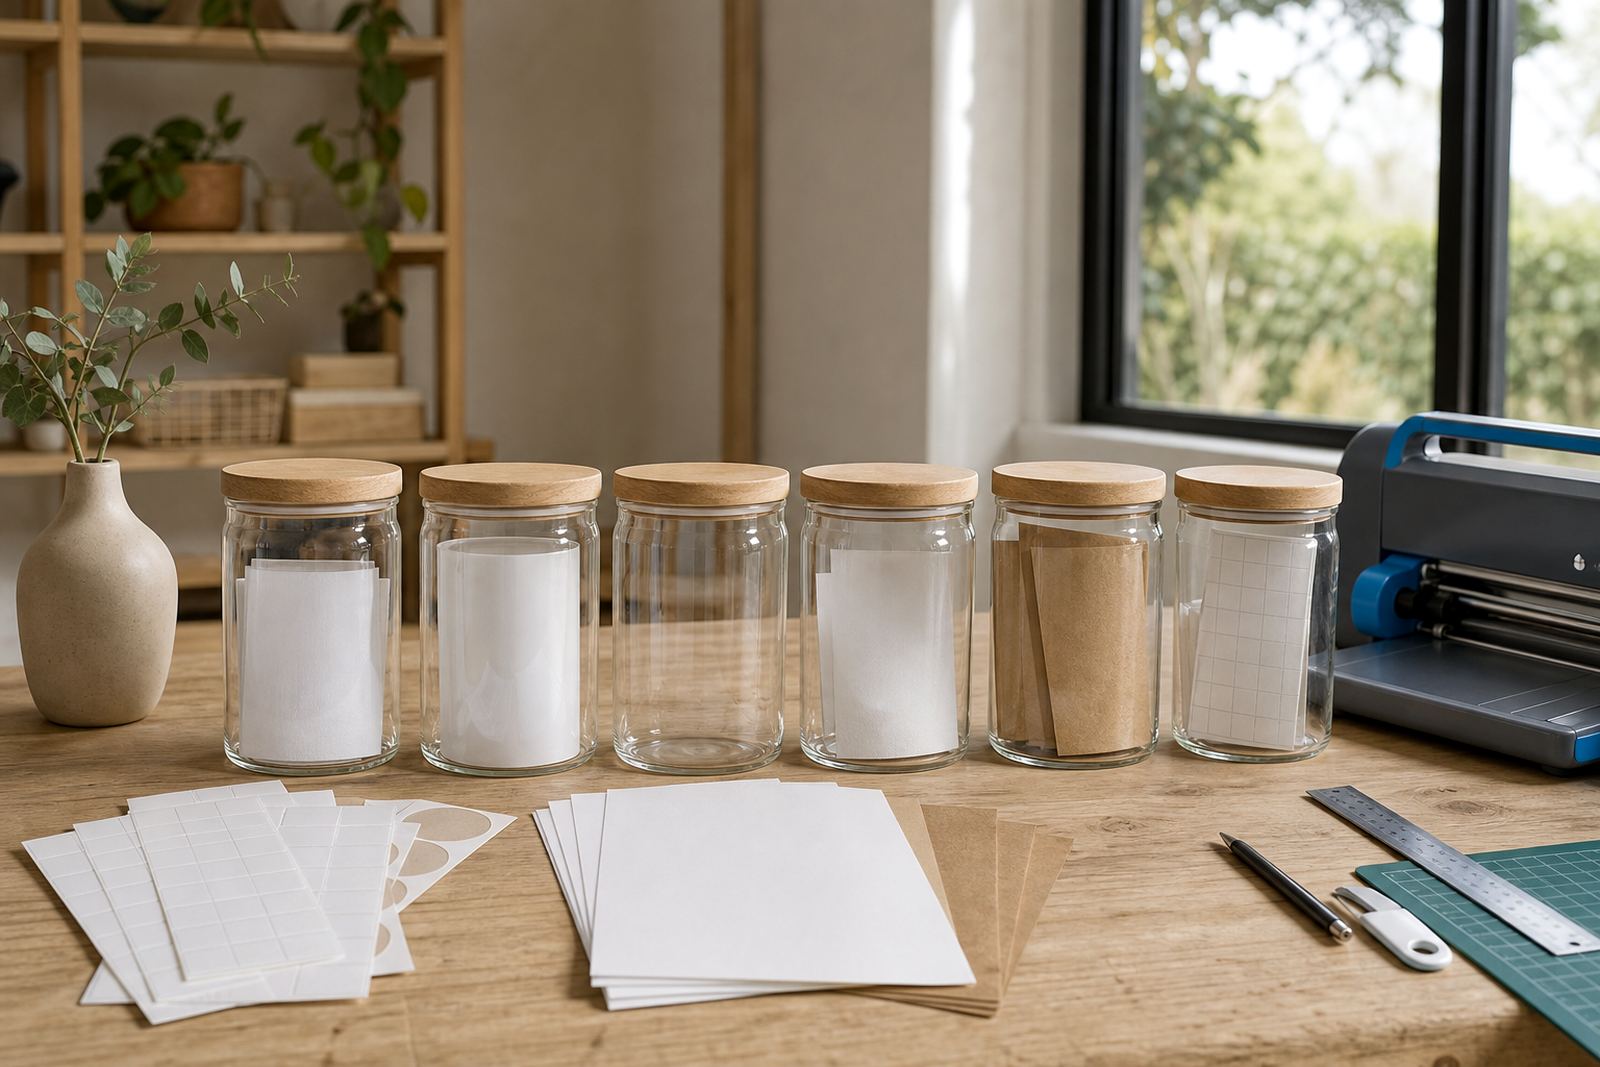
Gloss sticker paper was the best fit for this job because the print needed a bright finish and sharp colour on small label sizes. The baker wanted a simple sheet size that could be trimmed into circles, rectangles and short seal strips without waste. We also kept the format easy to work with on a normal home benchtop printer, with no complicated setup or unusual feed requirements.
The paper choice for cookie boxes and thank-you slips
For this project we supplied gloss printable sticker paper, with support notes for inkjet use and cutting by hand. The surface gave the printed labels a clean shine, which helped the text stand out on plain packaging and kept the look smart for gift boxes and order bags. It also handled short runs well, which suits a baker making mixed batches for birthdays, markets and neighbour orders.
- Gloss finish for a brighter printed look on small labels
- Printable on standard inkjet home printers
- Suitable for hand cutting with scissors or a craft knife
- Works well for seals, ingredient labels and thank-you stickers
- Useful for indoor packing where labels are handled gently
We kept the advice practical: let the ink dry fully, feed the sheet flat, and avoid touching the print area too soon after printing. Those small steps help reduce smudge marks, which matters when labels are being packed fast between tray bakes and box assembly.
How the print run was set up in the kitchen
The baker planned a short two week rollout, starting with test sheets, then moving to the full label set once the sizes were confirmed. We guided the sheet layout so the seals and thank-you labels shared the page efficiently, with enough space between each shape for easy trimming. That reduced offcuts and made the job easier for a home baker working from a compact prep space.
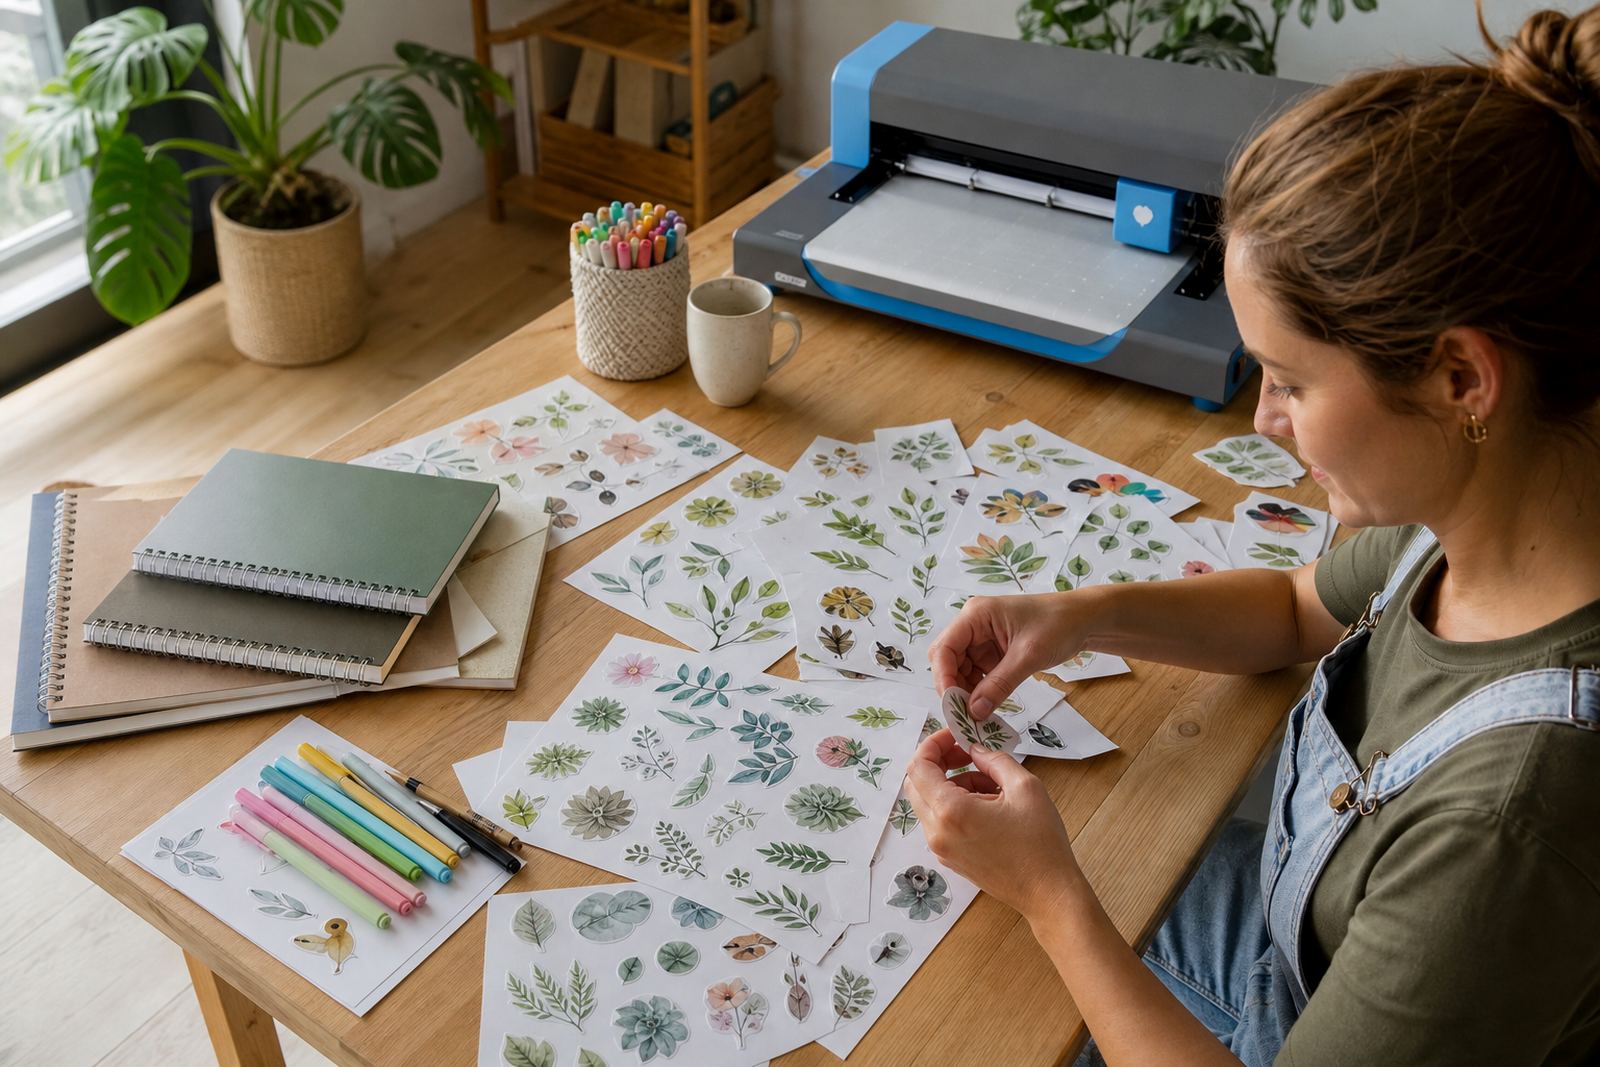
The client used a standard home inkjet printer and a basic cutting mat for part of the work, then finished the remaining labels with scissors. The layout needed to be forgiving, because kitchen work interrupts print jobs and packaging often happens between other tasks. The sheet format and print notes were chosen to keep the process calm and predictable, not fiddly.
Finish, cutting and handling details that mattered
Gloss paper can show fingerprints if the sheets are handled too much before cutting, so we recommended steady handling and a clean, dry surface nearby. For cookie box seals, the labels needed enough tack to hold well on card stock without wrinkling at the edges. For thank-you labels, the print had to remain readable after the pack was closed and passed over the counter.
- Keep the printer settings on the correct paper type
- Allow the ink to dry before stacking printed sheets
- Use firm cuts for round seals, not rough tearing
- Store unused sheets flat in a dry cupboard
- Press labels down from the centre to the edge
These are the small habits that help printable sticker paper perform properly in a home baking setup. Durban humidity can make paper feel softer if it is left out too long, so storage in the original wrapping or a sealed folder helps keep the sheets ready for clean printing.
What changed after the first labels went out
The first finished labels gave the cookie boxes a neater finish, and the thank-you stickers made each pack feel more considered without adding much extra work. The baker could match labels to different flavours, which helped with sorting and made the packing table easier to manage. The gloss finish also suited colourful icing tones and printed wording, so the labels looked crisp against plain packaging.
There was less time wasted on awkward cutting, because the sheet layout was built around practical label sizes from the start. The baker could print only what was needed for the week, then move to the next batch without changing the whole setup. That kind of flexibility matters for small food businesses that work around school runs, oven time and short delivery windows.
Useful details from the Durbanville order
Here are the key facts from this project, set out plainly for similar home baking work. The labels were used for box seals, thank-you tags and small packaging touches, all printed on gloss sticker paper in a home environment. The paper needed to work with an inkjet printer, cut neatly by hand, and hold up well during sorting, packing and local handover.
- Client type: Durbanville home baker
- Use case: cookie box seals and thank-you labels
- Paper type: gloss printable sticker paper
- Printer fit: inkjet home printer
- Cutting method: hand cutting with scissors and craft knife
- Project length: two weeks from test sheets to final pack run
That mix is common for small food makers who want neat presentation without overcomplicating the process. The main gain was consistency, because the labels matched across batches and gave each box a cleaner finish.
Key facts
| Project location | Durbanville, Cape Town |
|---|---|
| Client type | Home baker |
| Sticker paper type | Gloss printable sticker paper |
| Printer compatibility | Inkjet |
| Cutting methods | Hand cutting and craft cutter |
| Project duration | 2 weeks |