Start With A Surface That Is Ready For Stickers
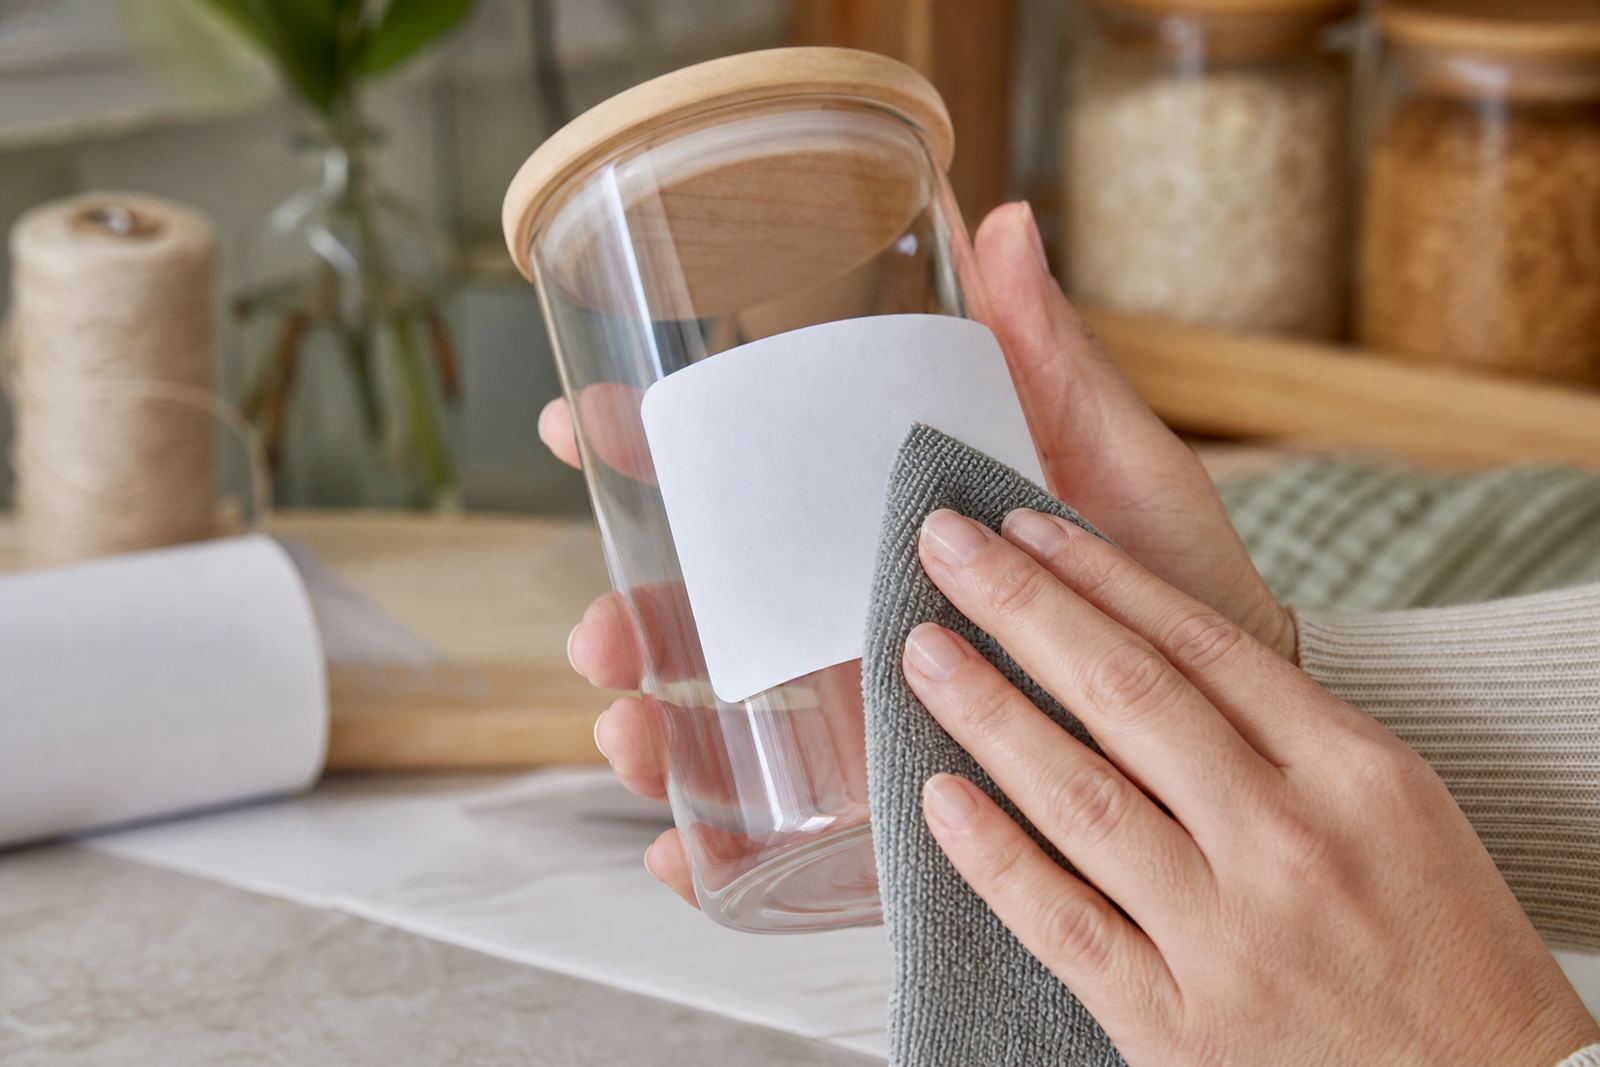
Air bubbles often begin before the sticker even leaves the backing sheet. A clean, dry surface gives adhesive a fair chance to sit flat, especially on plastic jars, glass containers, notebooks, and painted storage boxes. In Durbanville homes, where kitchen cupboards and laundry shelves often pick up fine dust, a quick wipe with a lint-free cloth makes a noticeable difference.
Warm hands, humid weather, and oily residue can all interfere with adhesion. If the surface feels greasy or damp, the sticker may trap tiny pockets of air under the film and those pockets show more clearly on gloss and clear sheets. Matte paper is more forgiving on some projects, but the same prep still matters.
- Wipe the surface with a dry, lint-free cloth first.
- Let freshly cleaned items dry fully before application.
- Avoid touching the sticky side more than needed.
Peel A Small Section First And Set The Edge
The cleanest way to reduce bubbles is to begin at one edge and let the sticker meet the surface in a controlled line. Lift a small section of the backing paper, set that edge down, then keep the rest raised while you guide the face into position. This method works well on address labels, pantry labels, and handmade gift tags.
Once the first edge is fixed, the sticker has a reference point. You can lower the rest in a slower motion, and the adhesive has less chance to trap air as it spreads. If the piece is large, a second pair of hands can help hold the free end steady, though it is not essential.
- Align the top or side edge before pressing fully.
- Lower the sticker in a gradual line, not all at once.
- Check corners before smoothing the full face.
Smooth Gently With A Soft Tool Or Fingertips
Hard pressure can push a bubble from one place to another, and that usually creates a new lump near the edge. A light, even stroke works better. Use fingertips, a soft cloth, or a flat smoothing tool with rounded edges, then move from the fixed edge outward in short passes. Keep the pressure steady rather than forceful.
On clear vinyl sheets, bubbles can show through the print area more easily, so slow smoothing matters. Kraft sheets behave differently because the surface texture is visible, yet trapped air still leaves a raised area that catches the eye. Gentle pressure helps the sticker settle without wrinkling the face.
- Work from the first fixed edge toward the open side.
- Use short strokes rather than long sweeping movements.
- Stop and lift lightly if a crease starts forming.
Choose The Right Sticker Sheet For The Job
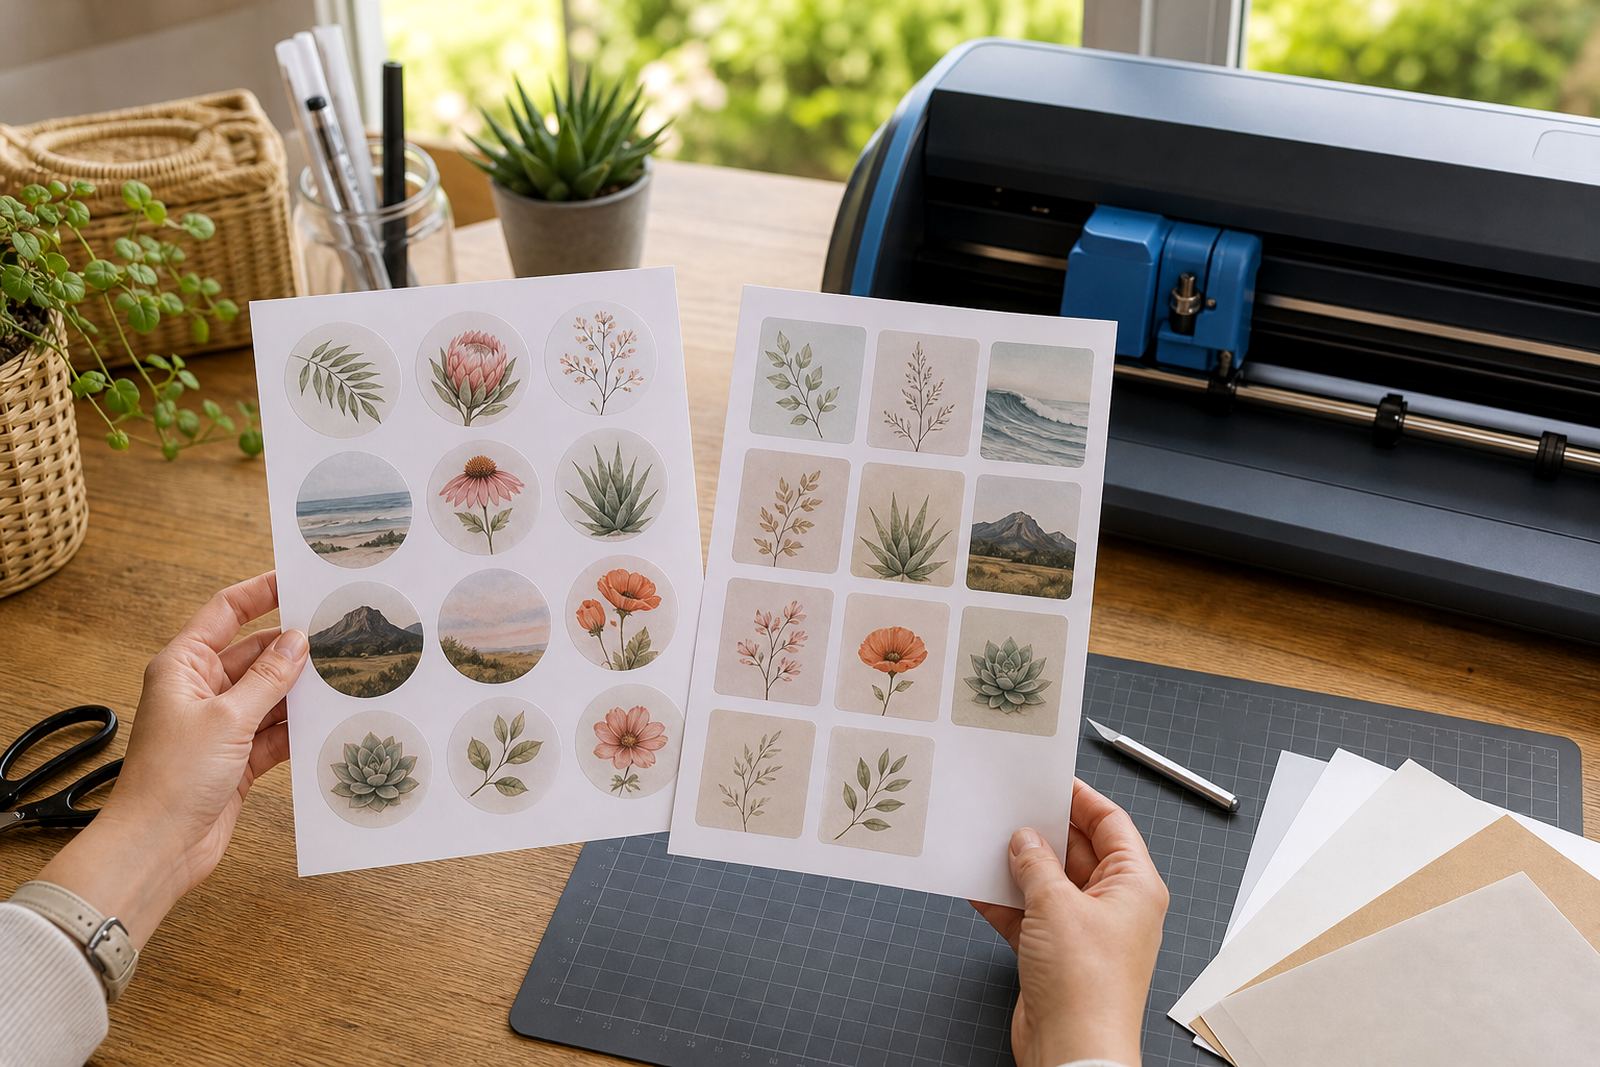
Different printable sticker papers handle bubbles in slightly different ways. Matte paper gives a softer finish and hides small marks well, while gloss sheet can show every trapped pocket if the application is rushed. Clear sheet needs careful handling because the transparent finish reveals alignment errors and tiny bubbles more clearly. Vinyl sheet suits jars, organisers, and items that need a tougher surface, while kraft paper brings a warm, handmade look for gifts and labels.
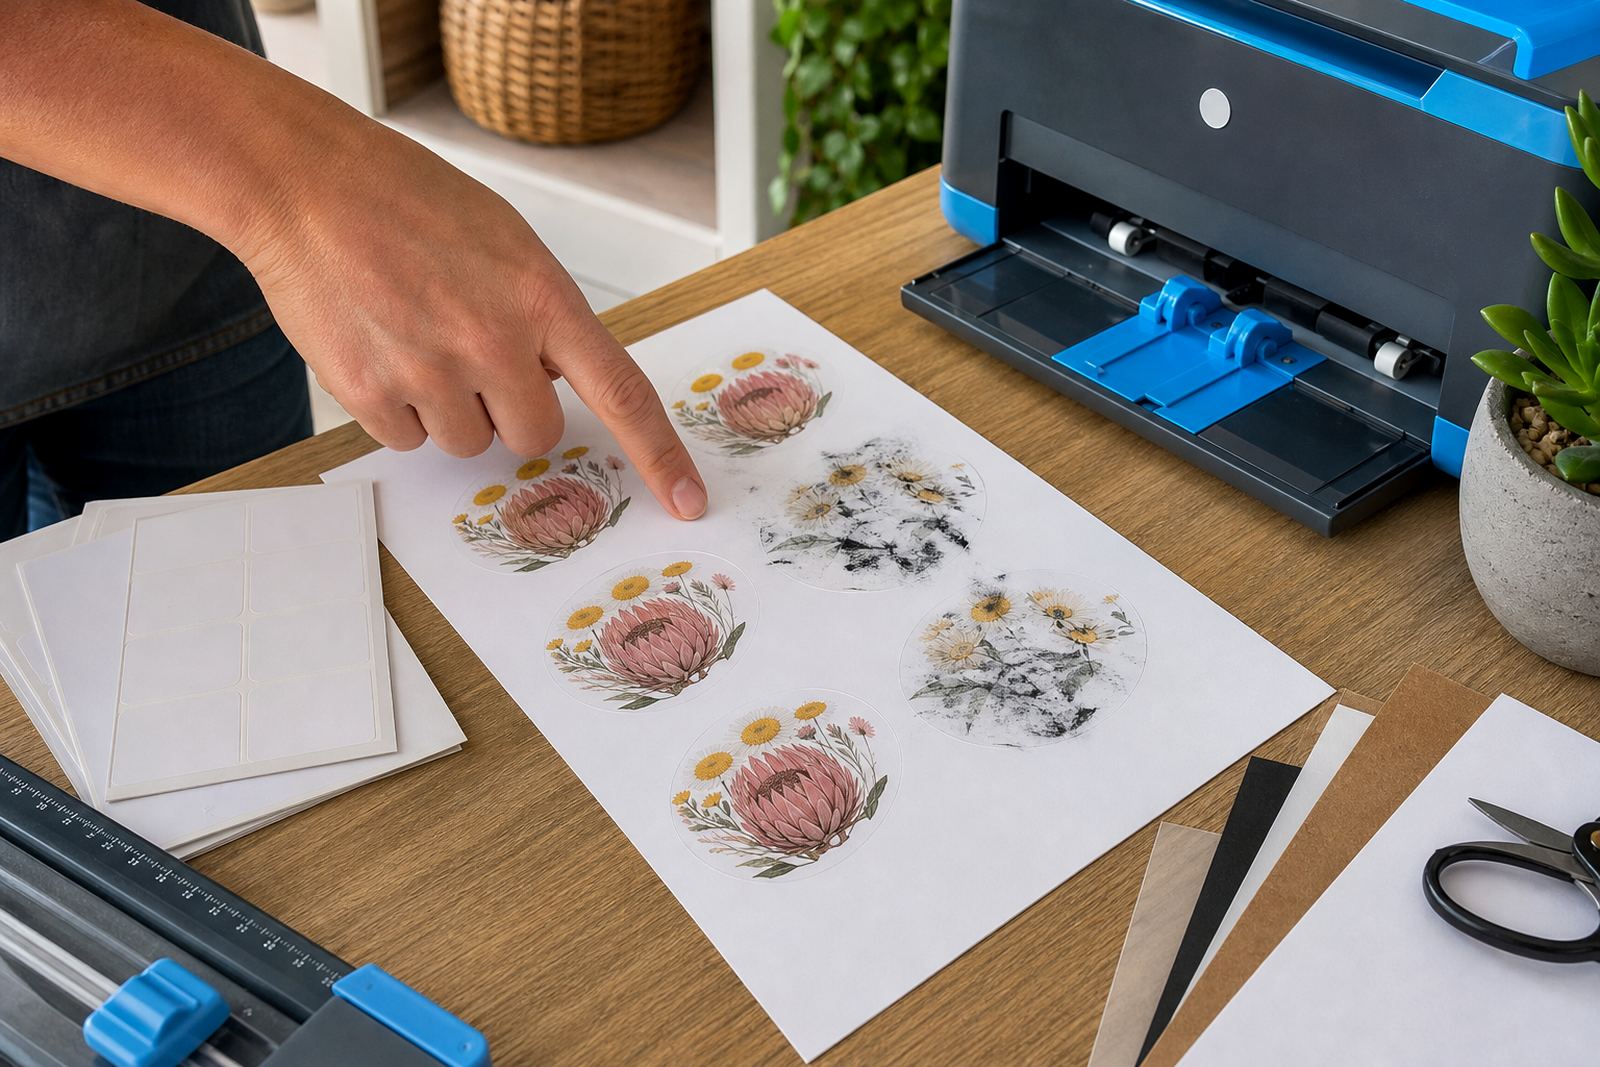
Inkjet and laser compatibility also matters. If the paper is matched to the printer type, the print sits better on the sheet and the adhesive layer performs more predictably. Smudging, curling, or uneven drying can all make the final sticker harder to apply neatly.
- Matte works well for home labels and written notes.
- Gloss suits bright artwork and colourful stickers.
- Clear works best when the background should show through.
- Vinyl helps with more handled items and container labels.
Handle Curves, Corners, And Larger Labels With Care
Curved jars and storage tins need extra patience. A flat sticker pressed onto a curve too quickly will bridge across the surface and leave pockets underneath. For these shapes, anchor one edge, then guide the rest slowly around the curve. If the label is large, press the centre line first and let the sides settle afterwards. That small change often helps more than people expect.
Corner lifting can also introduce bubbles later, especially on items used in kitchens or bathrooms where moisture is common. In Cape Town homes close to the coast, a label that sits neatly from the start is less likely to lift at the edges after a few damp mornings. A careful press around corners helps the adhesive settle fully.
- Use smaller labels on tight curves where possible.
- Press around the edge of tins and jars in stages.
- Keep pressure light near corners so the sheet does not stretch.
Set Up For Better Results Before You Cut
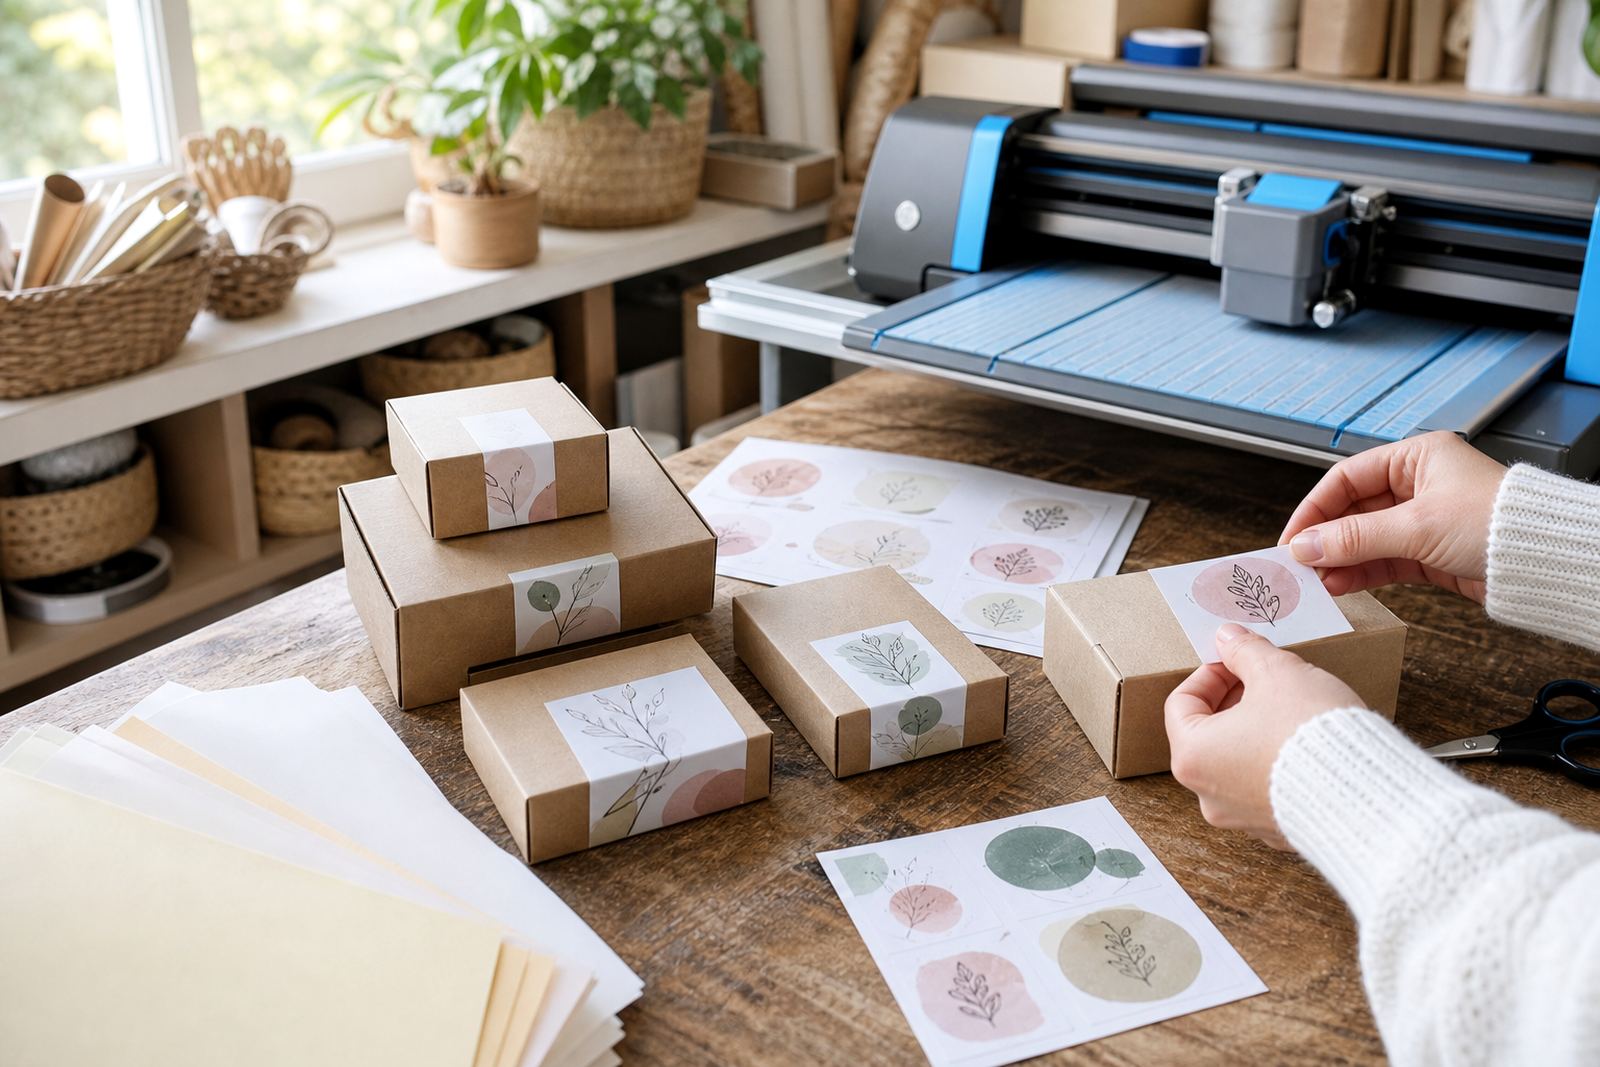
Good cutting supports bubble reduction because ragged edges and uneven trimming can cause the sticker to catch as it goes down. Hand cutting works well for simple shapes, while craft cutters help with repeated designs and detailed outlines. Whichever method you use, clean edges and steady sizing make the sticker easier to place.
It also helps to store sticker sheets flat, away from moisture and heat. Sheets that curl at the edges are harder to place smoothly, and curled corners often trap air first. A clean storage box or shelf keeps the stack ready for the next project, whether the job is home organisation or a batch of personalised labels for a client in Johannesburg, Durban, Pretoria, or Bloemfontein.
- Trim evenly so the adhesive edge stays neat.
- Keep sheets flat to reduce curling before use.
- Test one label first when using a new surface.