Labels that hold their place in a busy kitchen
Pantry labelling works best when every container looks like part of the same set. That usually means matching sizes, a clear typeface and a paper finish that suits the jar, tin or plastic tub in question. For Durban kitchens with damp air and Cape Town homes near the coast, the finish matters just as much as the wording because humidity can affect how labels sit over time.
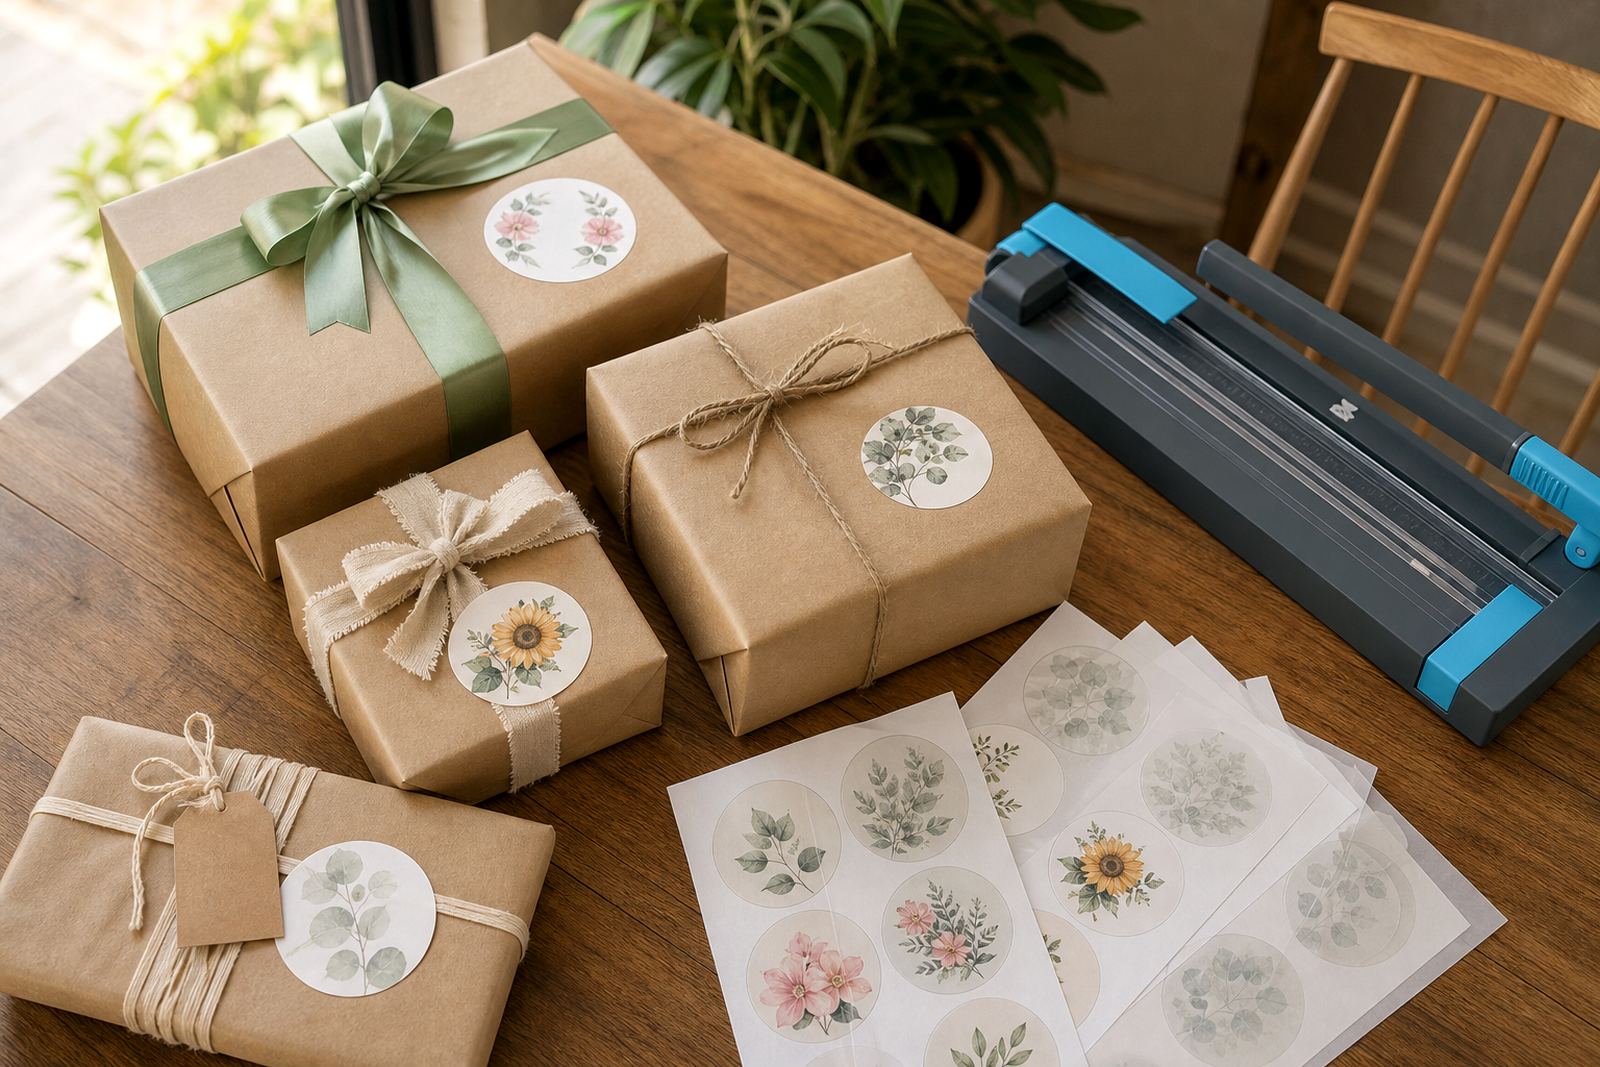
Printable sticker paper gives home makers a practical way to label sugar, rice, pasta, baking ingredients and leftovers without ordering pre-printed packs. You print what you need, trim the sheet to the job and apply it where it is most useful. A single design can work across glass jars, clip-top containers and shelf fronts, provided the layout is kept clean and the text is large enough to read at arm's length.
- Use short names such as flour, oats, lentils and spice mix.
- Keep label widths consistent across jars on the same shelf.
- Leave a little margin so the label does not wrap badly around curves.
Picking the right sheet finish for cupboards and shelves
Matte sticker paper suits pantry labels when the writing needs to stay easy to read under kitchen light. Gloss gives a brighter look and can work well on clean jars, though fingerprints show more easily. Clear sheet stock is useful when you want the jar colour or contents to show through, while vinyl is often picked for containers that get handled often or wiped down more regularly. Kraft gives a warmer, hand-made look that suits preserves, baking jars and rustic shelf labelling.
The right finish often depends on the surface below it. Smooth glass gives the cleanest result, but plastic and powder-coated tins need a label that grips well and is pressed down properly. If the pantry is in a warm kitchen or near a stove, a label that lays flat and avoids heavy ink coverage usually behaves better. The look can be simple, but the application still needs care.
- Matte for readable labels and low glare.
- Gloss for sharper colour and a brighter finish.
- Clear for a lighter look on glass and see-through tubs.
- Vinyl for handling, wiping and frequent use.
- Kraft for home-made pantry sets and warm neutral tones.
Inkjet, laser and the tools people already have on hand
Most pantry label projects are printed on either inkjet or laser equipment, and the paper needs to match the machine in use. Inkjet printing suits colour-rich labels and hand-drawn styles, while laser printing is often preferred where sharp text and quicker handling are needed. If a page is fed the wrong way or the wrong print setting is chosen, the result can smudge, curl or leave gaps in the colour blocks.
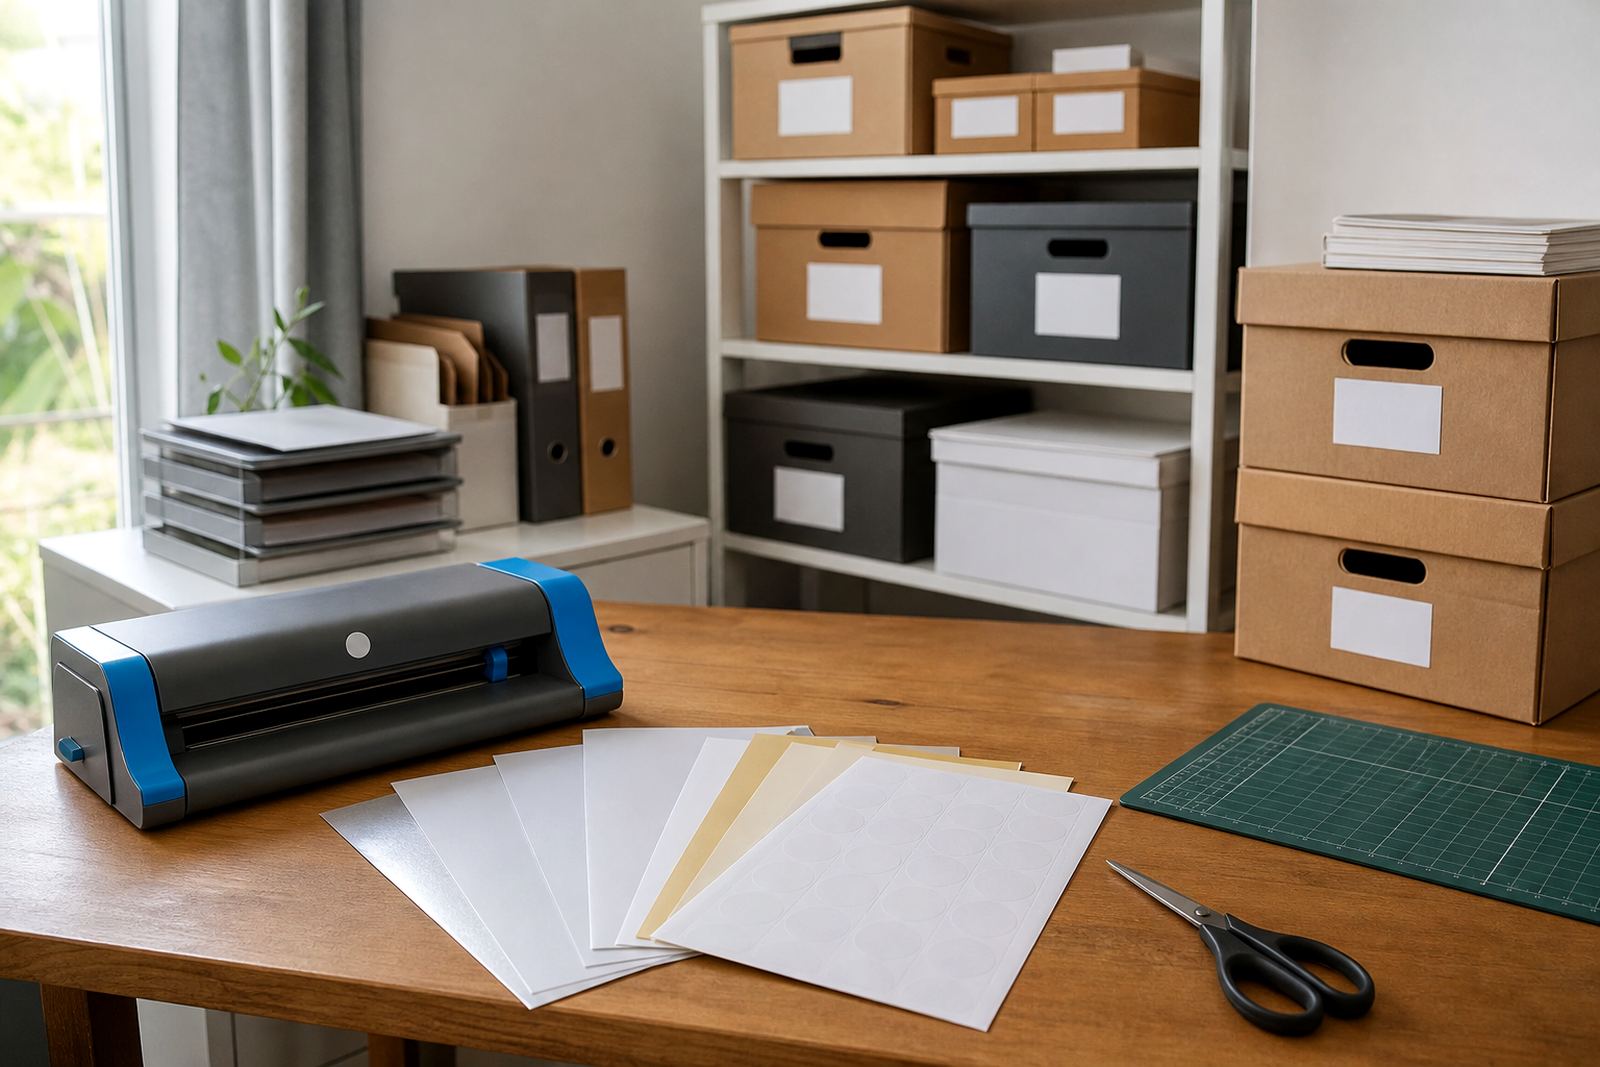
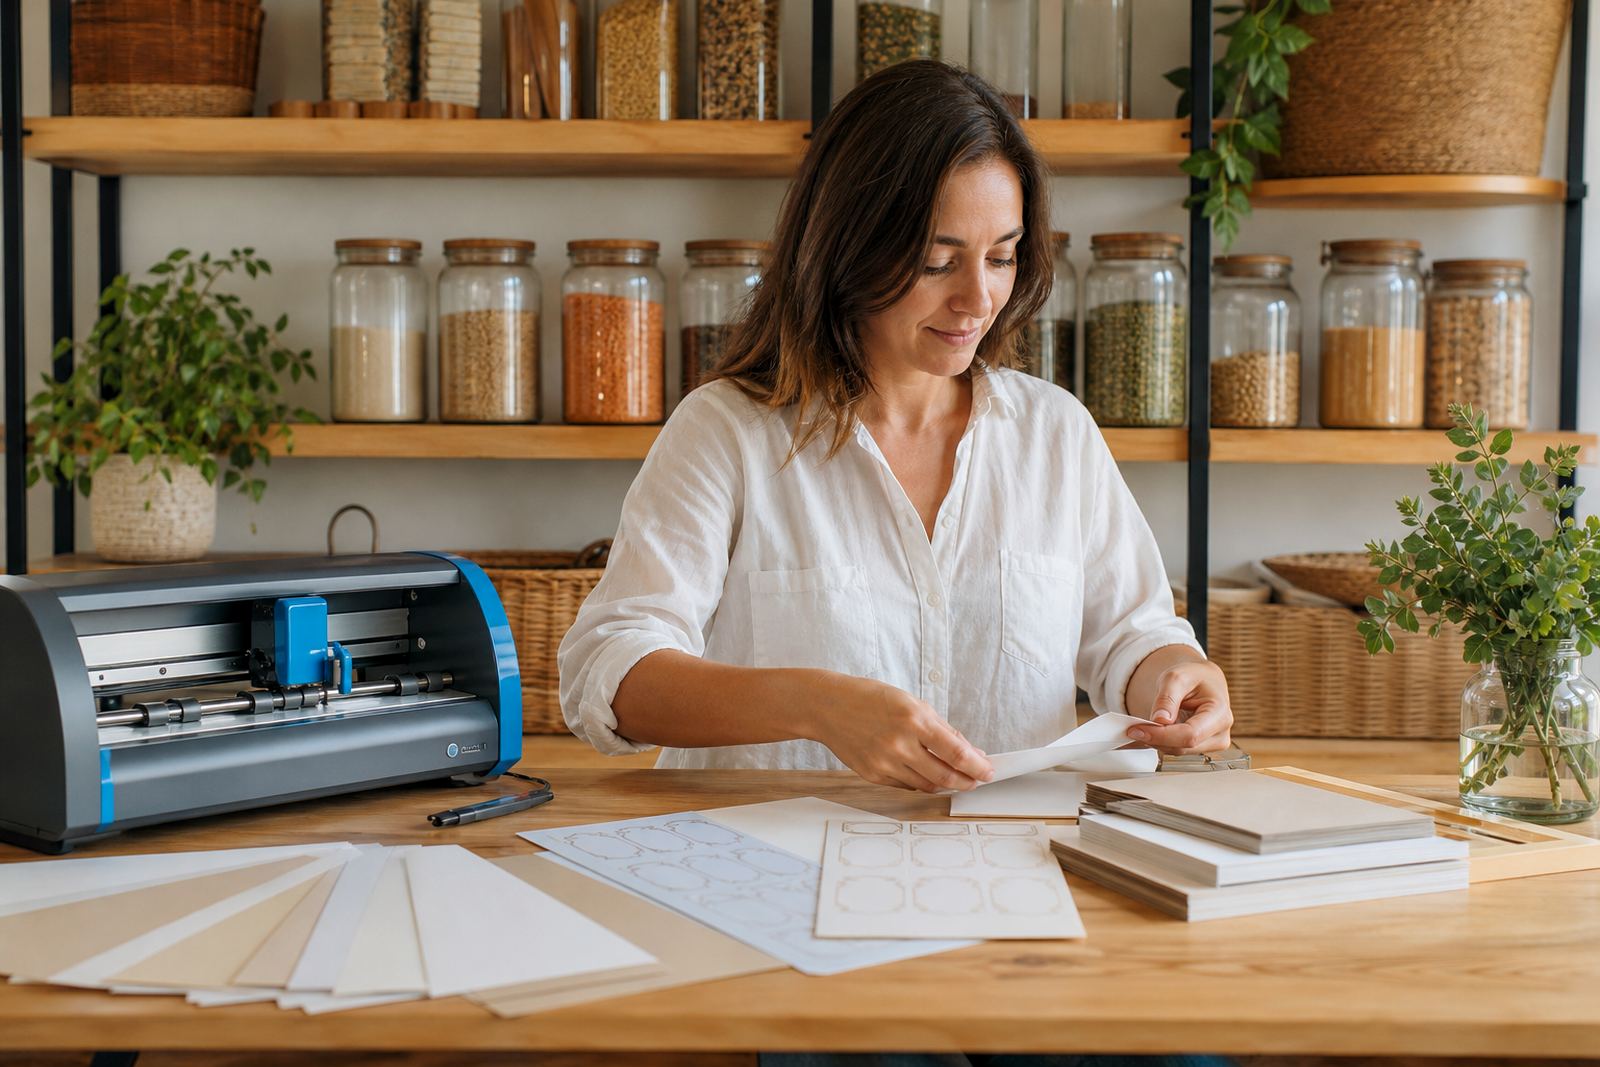
For cutting, some home makers trim labels with scissors or a craft knife, while others use a craft cutter for repeated sizes. Straight-sided pantry labels are the easiest to batch, though rounded corners help the edges last better on jars that get washed or wiped. A small test sheet is worth using before the full run, especially when the layout includes thin borders or a pale background.
- Check printer type before loading the sheet.
- Set the artwork to the actual label size.
- Allow ink to dry fully before handling or stacking.
- Test one sheet before cutting the full set.
How to plan a pantry set that feels consistent
A good pantry set starts with sorting the containers, not the labels. Group the items by shelf or by use, then decide which names need large text and which can sit in a smaller side label. Sugar, flour and rice often need the biggest names because the jars may be deeper and placed higher. Smaller containers for spices or seeds can use narrower strips, which keeps the whole cupboard looking ordered.
It also helps to work out the layout before printing. Decide whether each label will be horizontal, vertical or wrapped around the jar. If the shelf labels need to match the jar labels, keep the same font family and colour family through the whole set. A little planning saves material and reduces odd offcuts that sit unused in the stationery drawer.
- Measure the widest jar before designing the full sheet.
- Use the same margins across all label groups.
- Reserve a separate style for expiry or batch notes.
- Keep darker text on lighter paper for easier reading.
Mistakes that show up after the jars are filled
Pantry labels often fail because the print is too small, the surface was not cleaned first, or the label was stuck on too quickly. Dust, oil and condensation can all interfere with adhesion. On glass jars, even a light film from the kitchen can make an otherwise good sheet peel at the edge. On plastic tubs, labels can lift if the curve is too tight and the sheet was cut without enough room to settle.
Another common issue is over-decorating. Fancy borders and tiny script may look lovely on screen, but the label still has to be read while someone is cooking. When the cupboard is full, clarity matters more than ornament. A plain format often looks better after a month of handling because it stays easy to read and easier to replace if the contents change.
- Clean and dry the surface before applying the label.
- Press from the centre outwards to avoid bubbles.
- Leave enough time for the adhesive to settle.
- Keep a spare sheet for changed contents or broken jars.
Budget ranges for a kitchen label run in Rand
Pantry labels are usually one of the more affordable print projects because the design can be reused across many containers. A small starter run for a few jars may sit in the lower Rand range, especially if the labels are simple and printed on one sheet. A medium set for a full cupboard, including mixed sizes for tins, bottles and storage tubs, will cost more but still stays manageable for most home projects.
The final spend depends on paper finish, sheet size, how many label shapes are needed and whether the job is being cut by hand or with a cutter. If the pantry includes a lot of matching containers, using one layout across several jars can keep waste down. Clear and vinyl options usually sit a little higher than basic matte sheets, while kraft can be a neat middle-ground for decorative kitchen storage.
Typical home-use budgets often fall into these ranges:
- Small label refresh: about R150 to R300.
- Full pantry cupboard set: about R300 to R700.
- Mixed storage system with several label styles: about R700 to R1 200.