Keep the adhesive face away from dust and fingerprints
The sticky side of printable sticker paper is meant to meet the page, not the air in your store room or craft table. Each time a sheet picks up dust, lint, flour, pet hair or a thumbprint, that small mark can affect the bond when the label is finally applied. For home makers in Cape Town, especially where windows stay open on breezy days, it helps to handle sheets with clean dry hands and only remove one sheet at a time.
If you work with smaller offcuts, keep them in a sealed sleeve or a box with a lid. That helps in humid coastal weather too, where open packs can attract moisture and curl at the edges. A sheet that stays clean from the start usually prints neater and applies more evenly.
- Keep packs closed when not in use
- Store loose sheets inside a dust free sleeve
- Use dry hands only, never damp cloths
- Avoid laying sheets on a table with crumbs or craft glitter
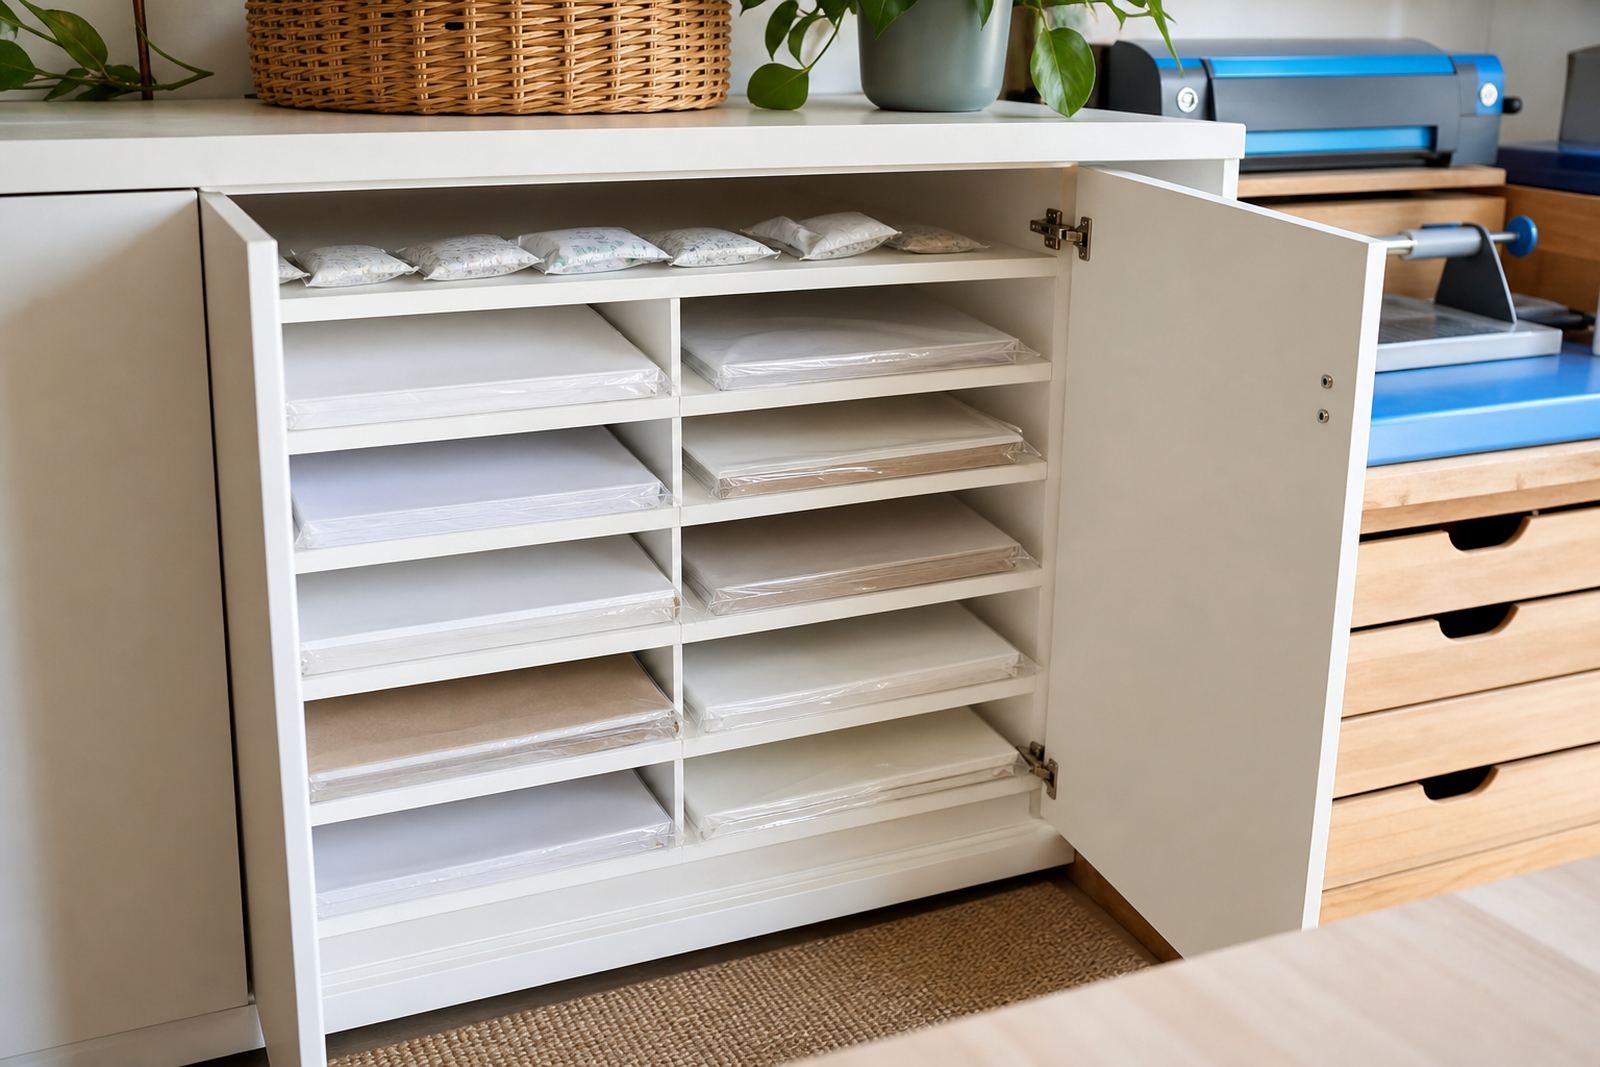
Flat storage keeps the liner and adhesive steady
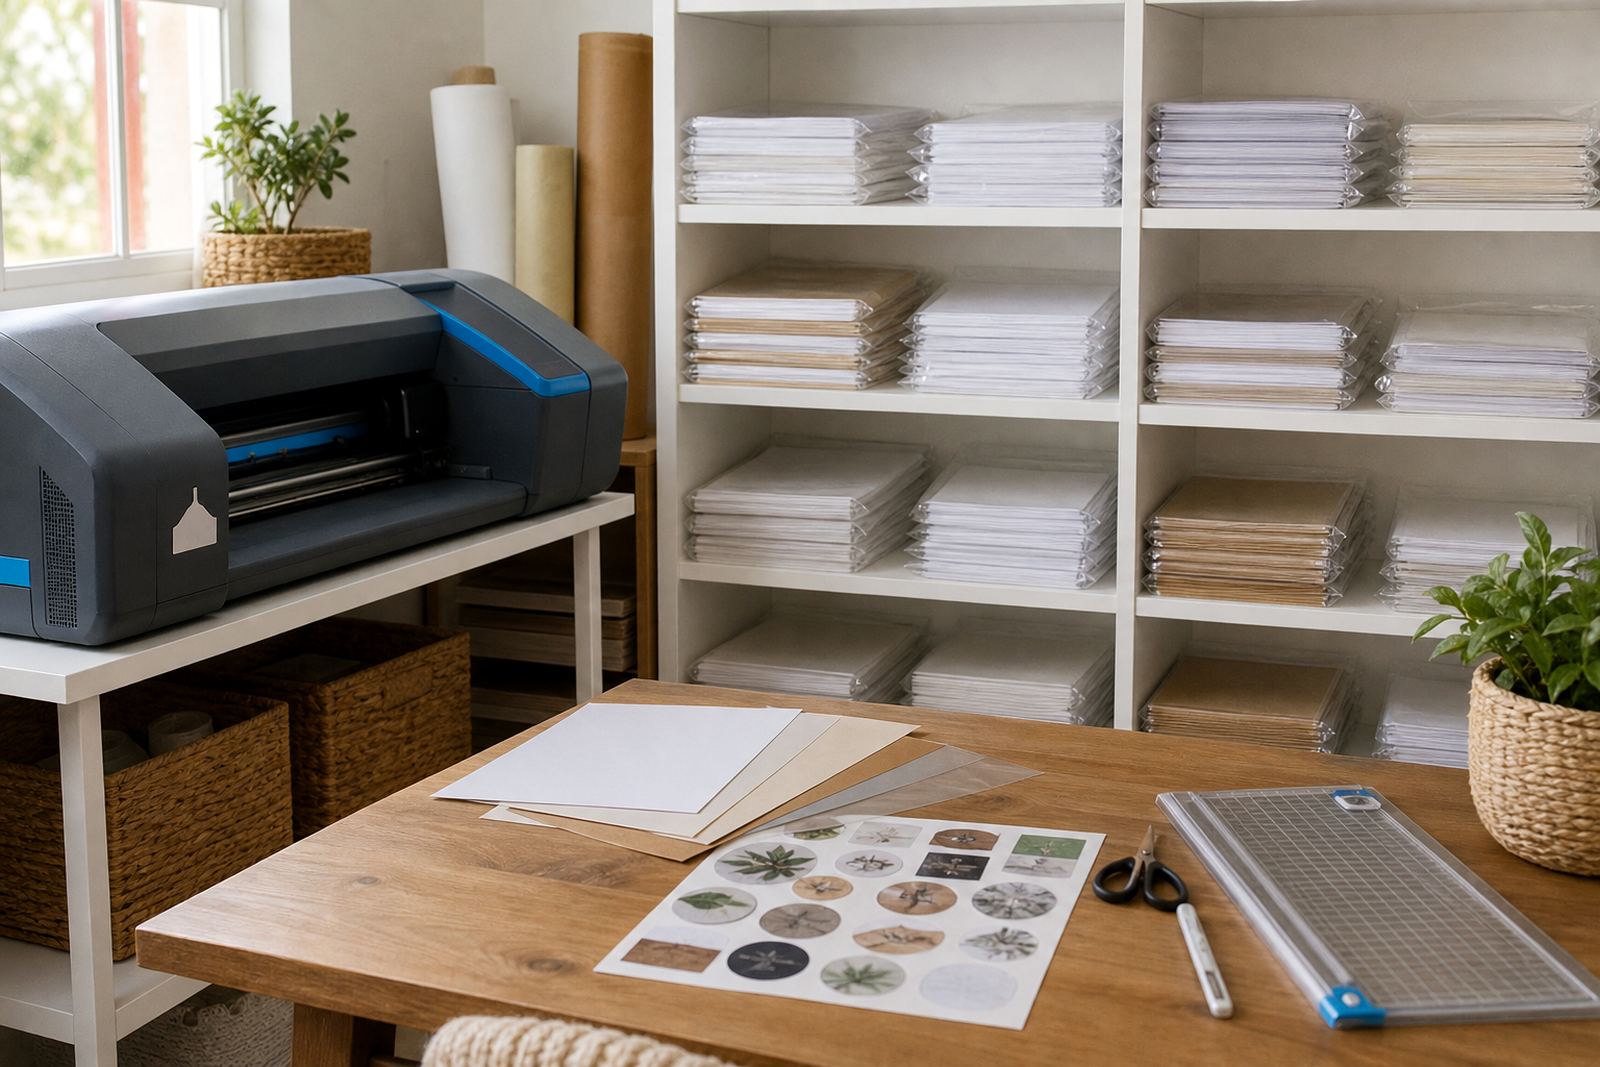
Printable sticker paper should stay flat. When sheets bend, the liner can crease and the adhesive layer may settle unevenly, which makes feeding, cutting and peeling harder later. A flat stack also helps when you are printing multiple labels for storage jars, school items or gift tags in the same session.
In Durbanville homes with limited cupboard space, a rigid folder or a shallow plastic tub works better than a loose pile under other supplies. If you are storing clear sheet or vinyl sheet material, keep it out of direct sun and away from warm appliance tops. Heat can make the edges lift, while cold storage in a damp garage may leave the sheets wavy.
- Store packs flat, not upright
- Keep them in a dry room with steady airflow
- Avoid heavy books or boxes that press the corners
- Separate opened packs from unopened stock
Match the paper to the printer before you print
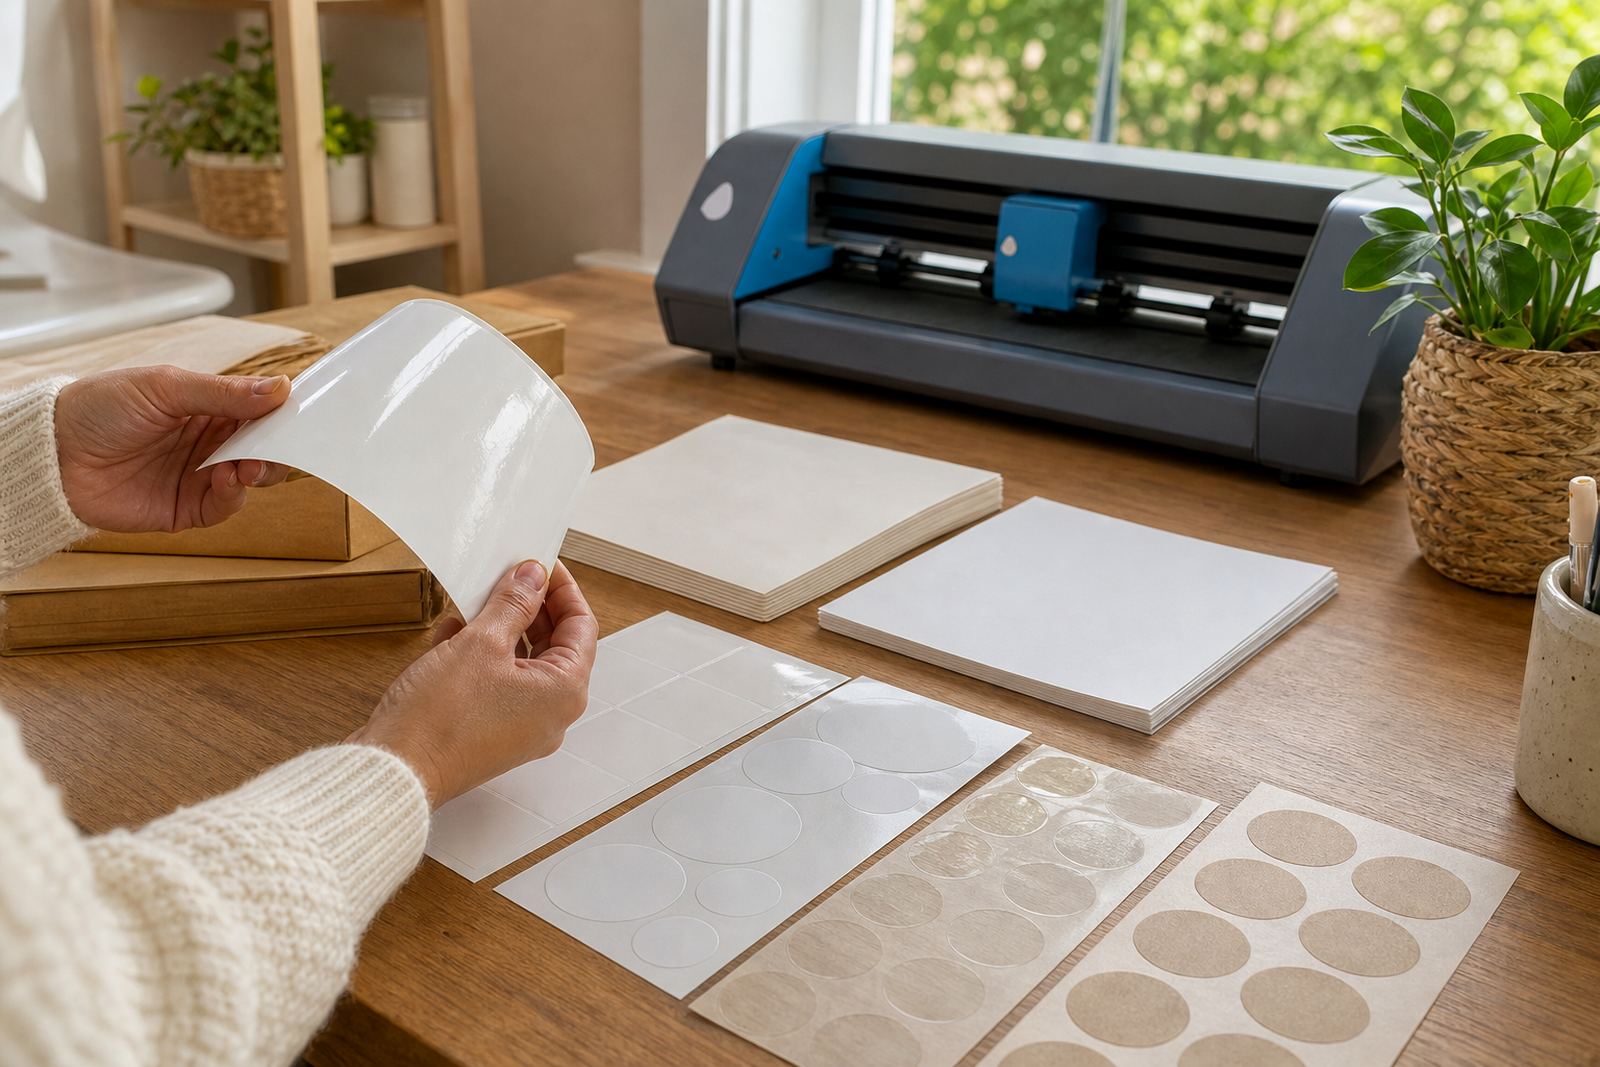
Adhesive care starts before the sheet enters the machine. Matte paper, gloss paper, clear sheets, vinyl and kraft styles each behave a little differently in inkjet and laser printers. The wrong setting can leave extra moisture on an inkjet print, or too much heat on a laser print, and both can affect how cleanly the adhesive sheet is handled afterwards.
For home offices and craft rooms in Cape Town, a short test print is worth the effort. It lets you check feed direction, colour, and drying behaviour before you run a full batch. If a sheet has been stored in a humid room, let it sit flat at room temperature before printing so the edges do not catch in the tray. That small pause can save the backing paper from curling or sticking at the wrong moment.
- Confirm inkjet or laser compatibility before loading sheets
- Use the correct paper setting on the printer
- Allow printed sheets to dry fully before cutting
- Keep the output tray clear so sheets do not bend at the end
Cutting cleanly protects the edges you need later
Whether you cut by hand or with a craft cutter, clean edges help the adhesive stay usable until the final application. Ragged cuts can lift the liner, and rough handling can catch dust on the exposed edge. When making labels for kitchen jars or school supplies, it helps to trim on a clean mat and avoid sliding finished sheets around the table.
For craft cutters, keep the blade sharp and the mat free of old adhesive build up. For hand cutting, use a ruler, steady pressure and a clean blade. A quick peel test on one corner shows whether the cut went through the top layer only, not the backing. If the corner lifts too early, the rest of the sheet may have been overworked.
- Use one clean cutting surface for sticker work
- Replace worn blades before edges start tearing
- Do not stack freshly cut sheets under heavy items
- Lift pieces from the backing gently, not with a tug
Humidity and heat change how adhesive behaves in South Africa
South African storage conditions vary a lot from place to place. A craft room in Durban can feel very different from one in Pretoria or Bloemfontein, and coastal humidity in Cape Town or Durban may soften the edges of a loosely packed sheet. Heat can also make adhesive more active, which is not ideal when sheets are touching each other in a tight stack.
A practical routine is to keep your paper in the same room where you print and cut, so the sheets adjust to the local temperature before use. In a Durbanville home, for example, a box of sticker paper kept beside a sunny window may warp by afternoon. Move it to a cool shelf, out of direct light and away from damp floor areas.
- Keep sheets off concrete floors and away from damp walls
- Store them out of direct sunlight
- Let cold or warm packs settle before opening
- Seal opened packs again after use
Apply stickers while the surface is clean and dry
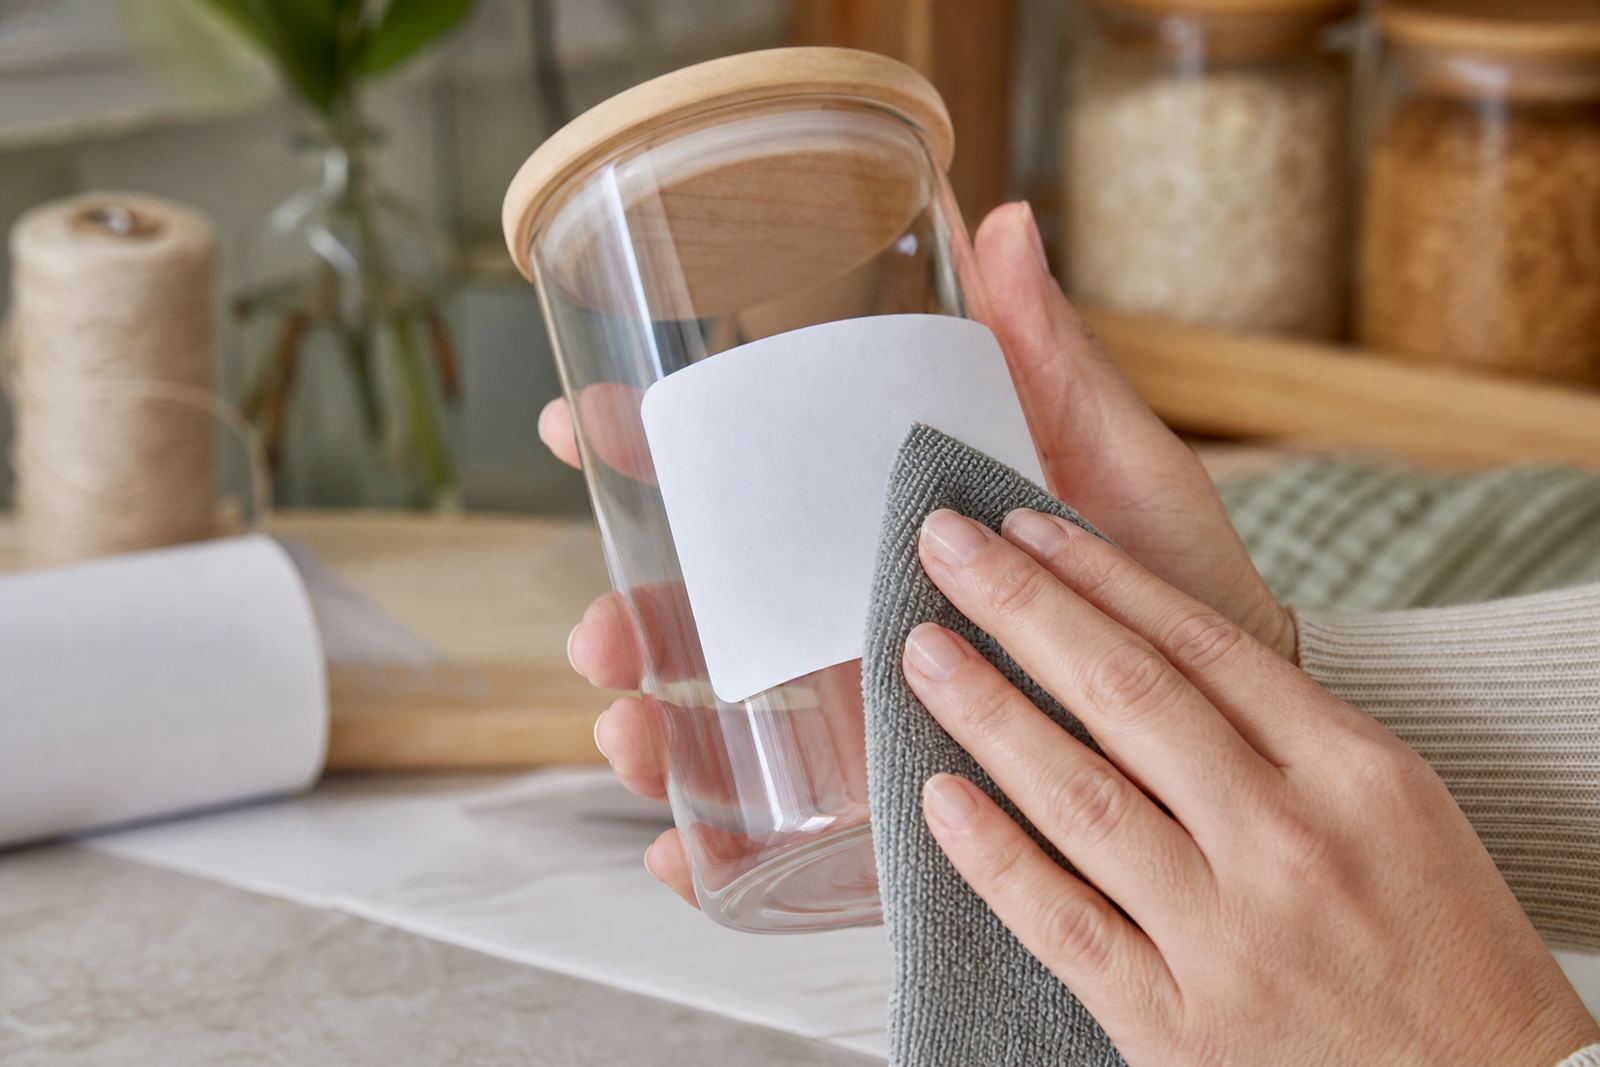
Good adhesive care continues at the point of use. A sticker can only hold properly if the surface is dry, dust free and free from oil or soap residue. That matters for storage jars, gift boxes, toy labels and home organisation projects where the sticker may need to stay in place for a long time.
When applying a label, press from the centre outward and smooth the edges slowly. If you are working on curved bottles or tins, do not stretch the sheet too far or the adhesive may lift at the corners. For larger labels, use a soft cloth or card to push out air pockets. The cleaner the surface, the neater the finish, and the less chance there is of early peeling.
- Wipe the surface and let it dry fully first
- Align the sticker before pressing it down
- Smooth from the middle towards the edges
- Avoid touching the adhesive side during placement