When vinyl gives you a better bend
Printable vinyl is often the better pick when the surface is not flat. It can follow the shape of rounded jars, curved water bottles, snack tins, seed trays, and craft boxes with less cracking than many paper-based sheets. That matters when the label needs to stay neat after daily handling, wiping, or being lifted often.
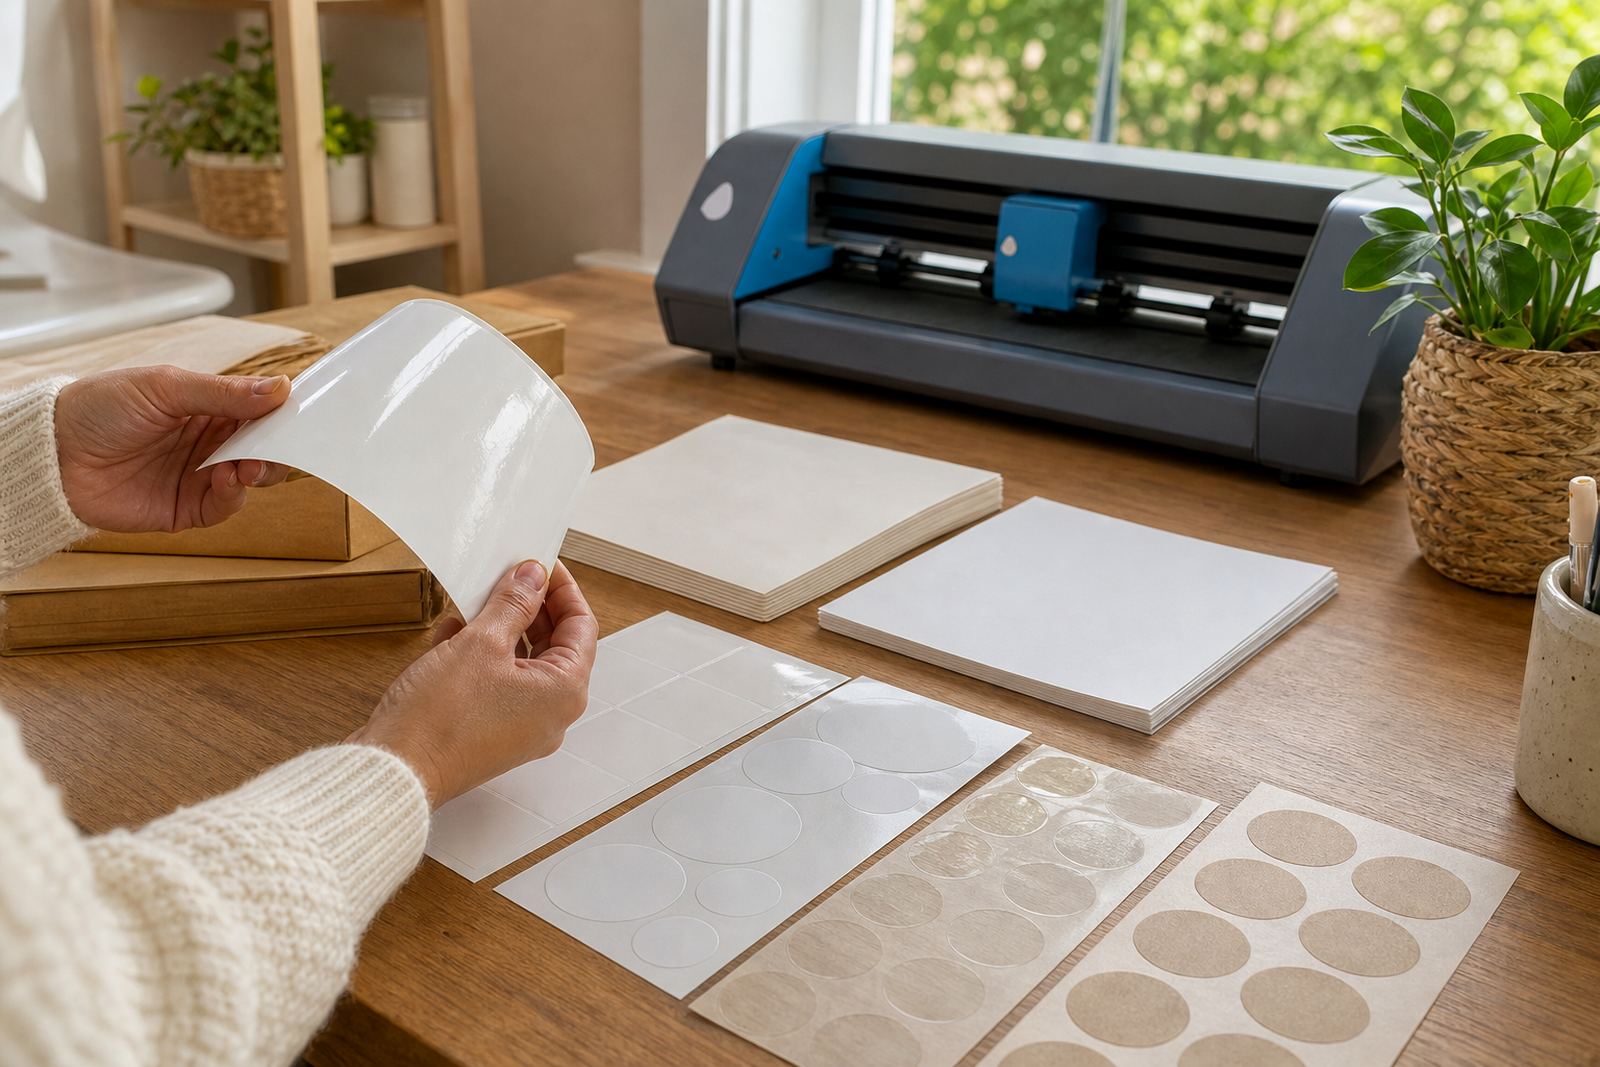
The feel changes from product to product, but vinyl usually has more give under the fingers. Matte vinyl gives a softer look, while gloss vinyl brings a brighter finish and can look sharper on colour-rich designs. Clear vinyl suits designs where the container should show through, and kraft-style sheets work well for a natural, handwritten look on gifts and pantry jars.
For home makers in Durbanville and Stellenbosch, this extra flexibility often saves a project that would otherwise lift at the corners. It also helps when a label has to pass over a slight ridge, such as a bottle shoulder or a lid edge.
Inkjet or laser, match the sheet to the printer
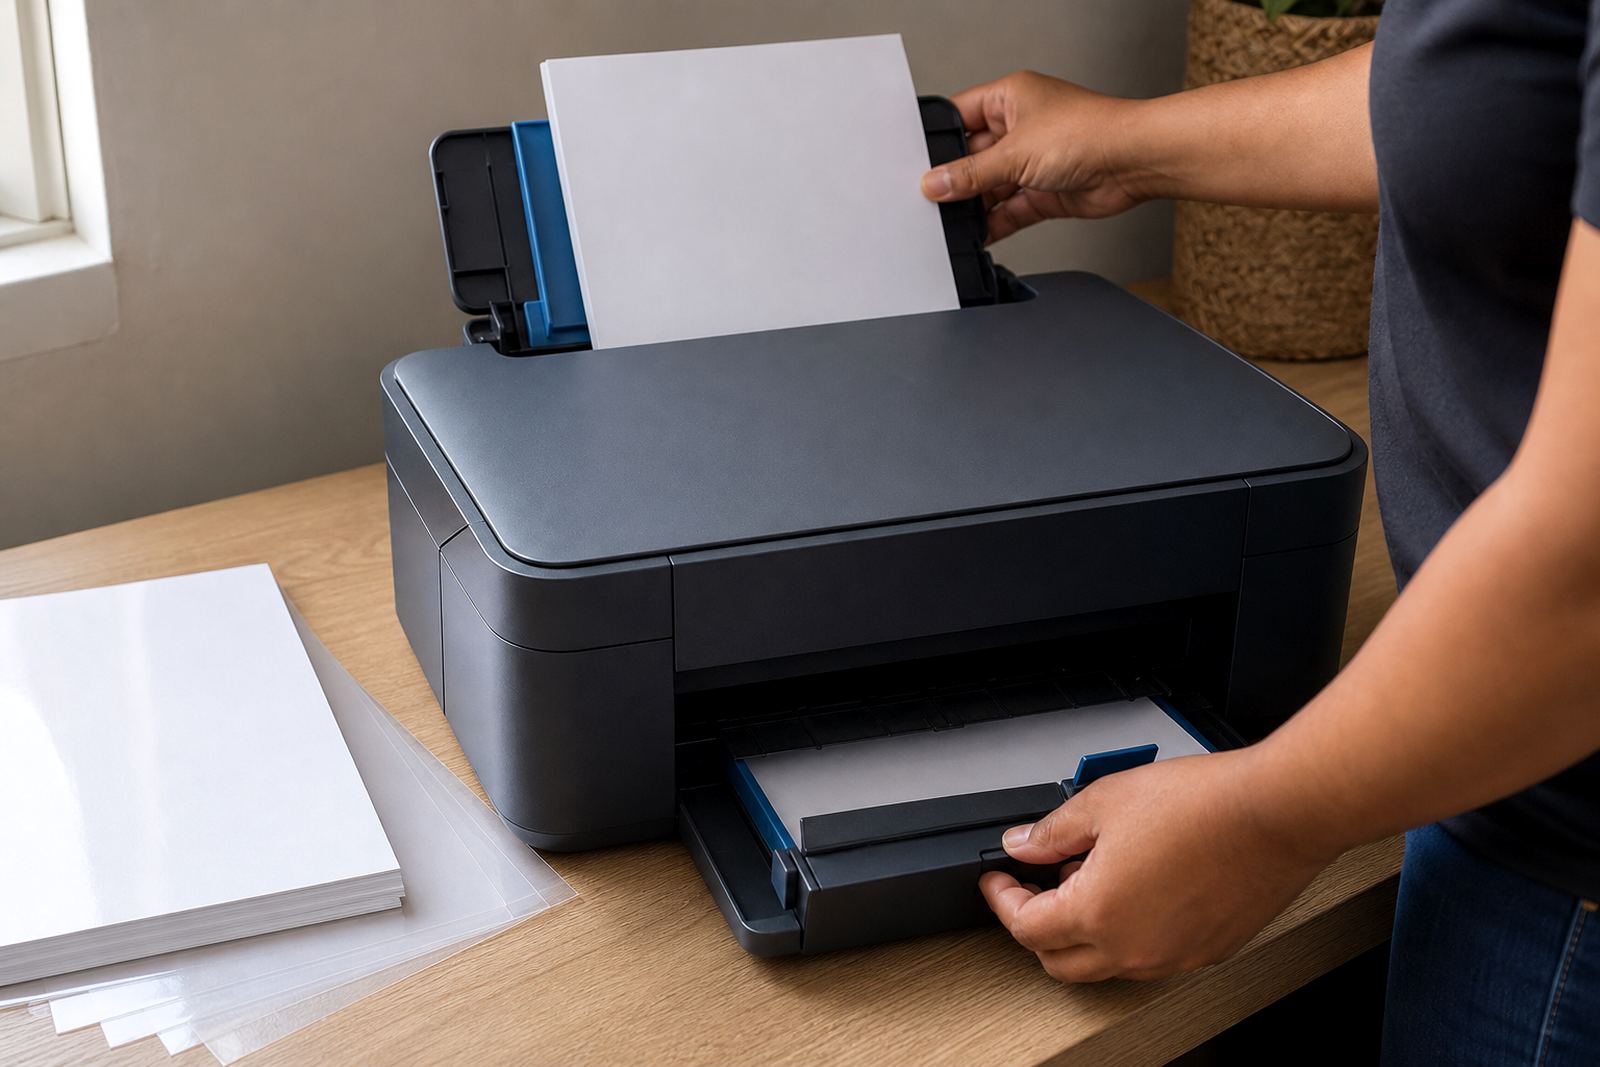
Printable vinyl is not all the same, and printer compatibility matters more than many people expect. Inkjet printable vinyl is made to absorb liquid ink cleanly, while laser printable vinyl handles toner and heat in a different way. Mixing the wrong sheet with the wrong printer can lead to smudging, poor colour, or a surface that does not take the print properly.
If you print at home in Pretoria or Johannesburg, it helps to check the sheet type before loading the tray. The paper feed, heat setting, and print mode all influence the final result. A quick colour test on one sheet can save a full batch from wasting, especially where detailed icons, fine text, or pale backgrounds are involved.
- Use inkjet sheets only in inkjet printers.
- Use laser sheets only in laser printers.
- Let the print settle before cutting or handling.
- Keep extra sheets flat in a cool dry place.
That last point matters in coastal air too, because humidity can make stacked sheets curl a bit if they are left open on the table.
Cutting by hand or with a craft cutter
Flexible vinyl cuts differently from many paper sheets. A sharp blade and a clean cutting mat help keep edges tidy, whether you are trimming by hand or using a craft cutter. Light pressure is often enough for kiss cuts, while heavier settings can go too deep and mark the backing sheet.
Hand cutting suits labels with simple shapes, pantry names, and short runs for gifts or school containers. A steel ruler and a fresh craft knife give better control on straight lines, though the blade should be replaced before it starts to drag. That avoids torn corners and helps keep small text readable.
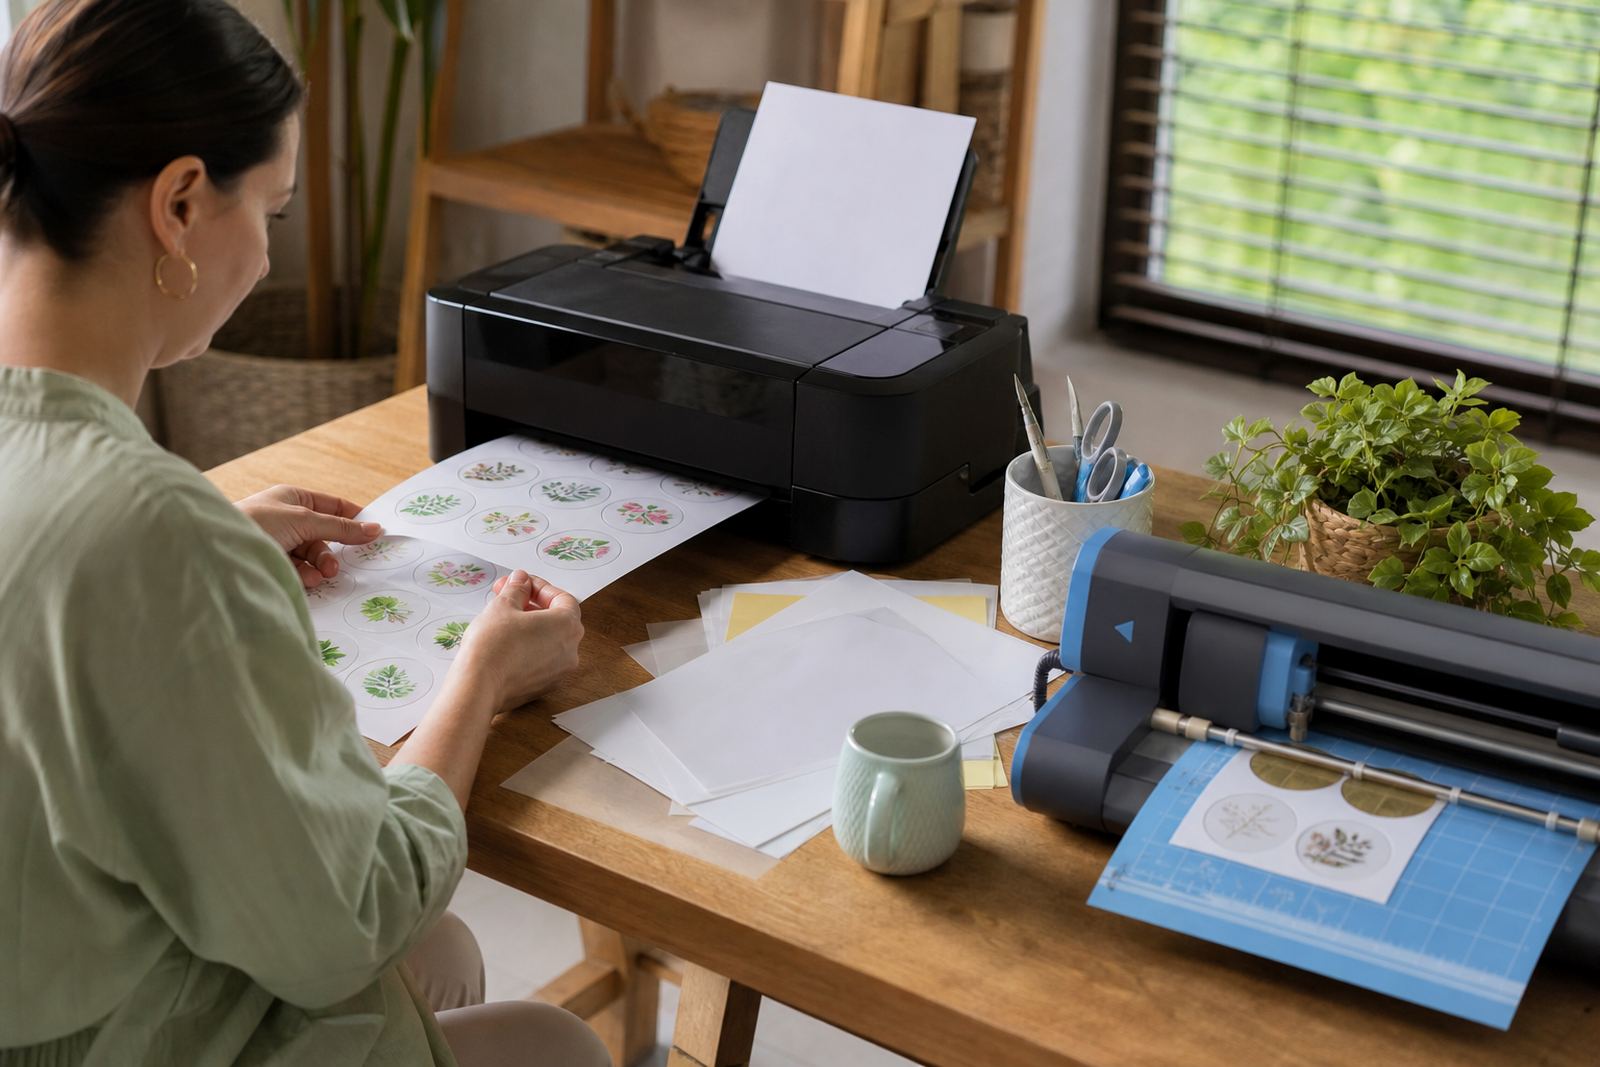
Craft cutters are useful for repeated shapes, small decals, and neat batches for market prep. If the design has thin letters or tiny cutouts, test one sheet first and check that the backing releases cleanly. A small tweak to the blade depth can make a big difference, and a tiny pause before lifting the decal often helps too.
- Slow the cut speed for detailed designs.
- Test one corner before lifting the full piece.
- Use a firm mat so the sheet does not shift.
- Store trimmed sheets flat to prevent curl.
Smudging, drying and the first touch after print
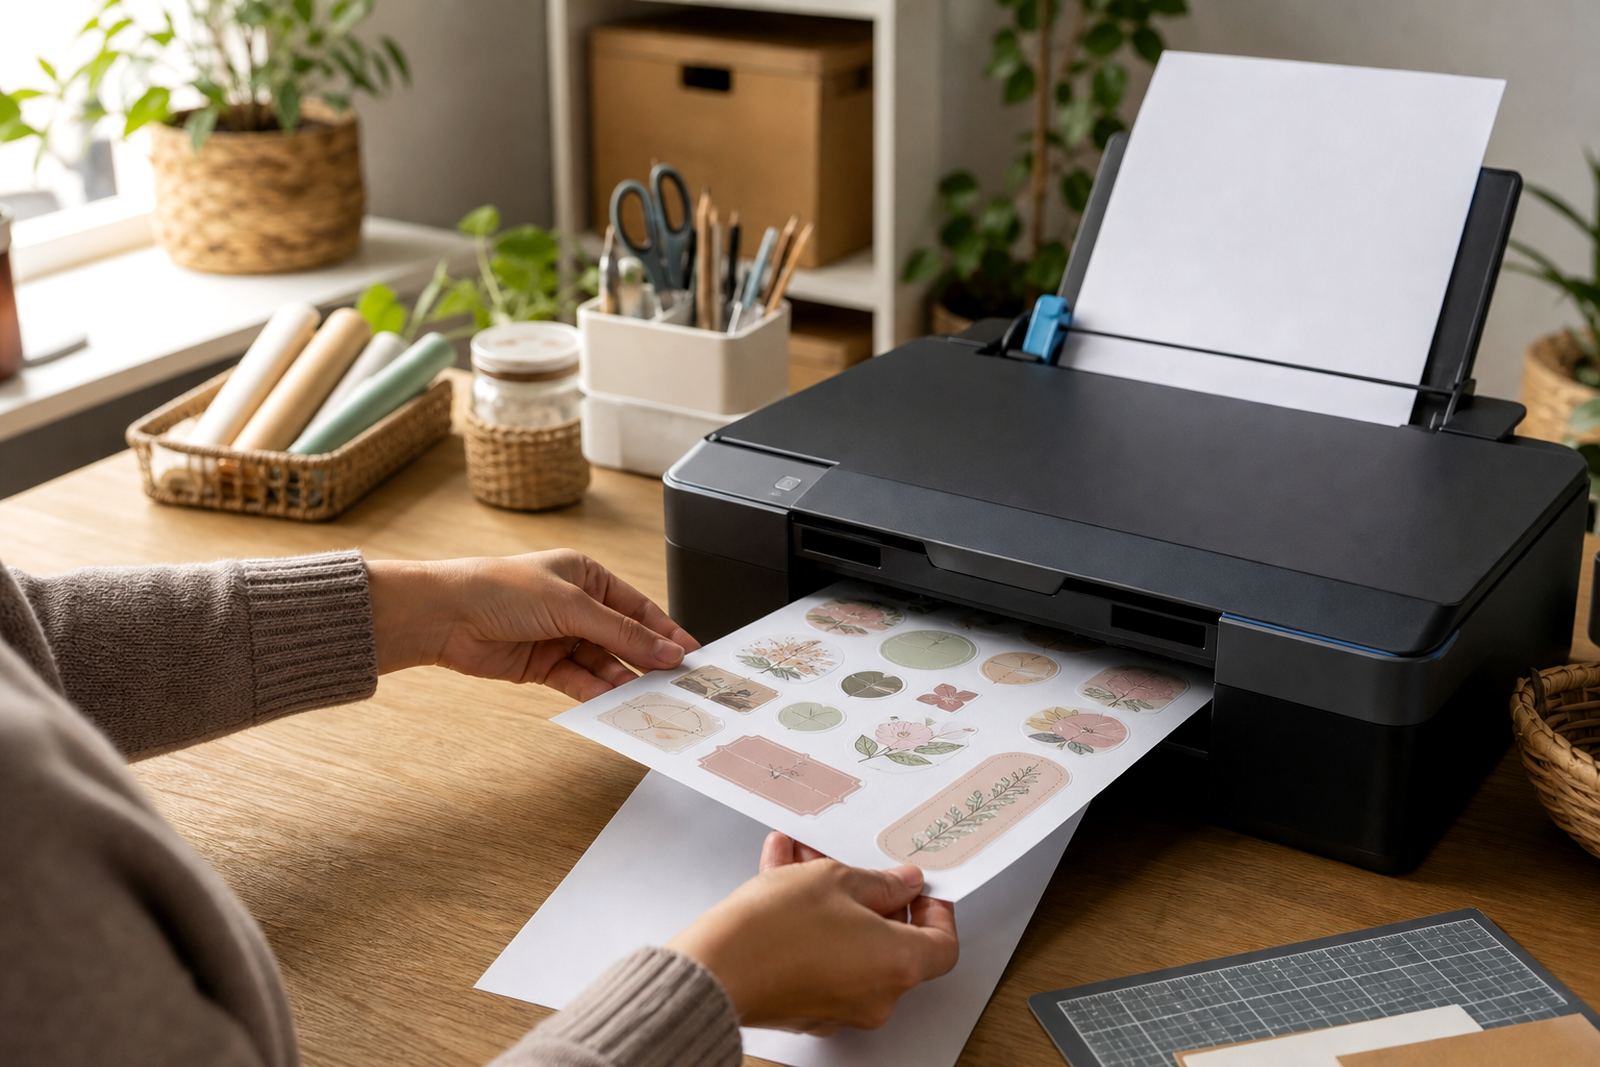
Vinyl can feel more forgiving than paper when a project is handled often, but the print still needs proper care. Inkjet prints need time to dry fully before the sheet is cut or rubbed. If the design goes straight into use too soon, the surface can mark or smudge at the edges. Laser prints are handled differently, yet the sheet should still cool before stacking or trimming.
For kitchens in Cape Town, where labels may sit near sinks, damp cloths or cooking steam, the finish choice becomes part of the job. Matte surfaces can hide a little wear, while gloss can be wiped clean more easily in some cases. Clear vinyl can look sharp on glass jars, though fingerprints show sooner on darker artwork.
Keep the first handling light, especially on small labels and layered artwork. A gentle press with a squeegee, ruler edge, or clean cloth helps the adhesive settle without forcing it. That small bit of care often keeps corners down and edges neater.
Where flexibility helps on real South African projects
A practical example is a home organiser in Durban who wants matching labels for flour jars, a washing powder bottle, and clip-top containers. The jars are round, the bottle has a narrow neck, and the tubs get opened daily. Printable vinyl suits that mix better than a stiffer sheet because it bends with the container instead of fighting it.
Another common job is a craft table in Bloemfontein where small gift stickers need to sit on boxes, envelopes, and candle jars. A flexible sheet makes it easier to place the design neatly without lifting at the edges after handling. It also helps when the surface has a slight curve or a textured finish.
- Round containers need more bend than flat boxes.
- Frequent handling calls for cleaner edge adhesion.
- Small labels need careful pressure during application.
- Gift items often look better with a smoother wrap.
If the label must sit across a curve, allow a little extra margin in the design. That gives the vinyl more room to settle and makes application less fussy.
Storage and application notes that protect the sheet
Printable vinyl keeps best when it is stored flat, dry, and away from dust. Bent corners can affect feeding through a printer, and curled edges make cutting less accurate. A clean sleeve or box helps keep the sheets tidy between uses, especially in busy homes where craft supplies share space with school files and stationery.
During application, start from one edge and smooth outward. That reduces bubbles and helps the sticker follow the surface without stretching. On narrow bottles or curved tubs, a slow press works better than trying to lay the whole piece down at once. A small amount of patience can keep the finish neater, and it avoids lifting a corner after the fact.
For crafters around Durbanville and Paarl, this is where vinyl earns its place. It gives a bit more forgiveness on curves, it takes everyday handling well, and it supports projects that need a cleaner finish without being overcomplicated.
- Keep sheets flat before printing.
- Trim only after ink has settled.
- Apply from one edge to the other.
- Use light pressure on rounded items.