When clear film gives the neatest result
Clear labels suit surfaces where the background already carries the look you want to keep visible. Glass jars, smooth plastic tubs, polished tins and flat bottles all let the transparent parts work properly, while the printed areas sit cleanly on top. The label can look almost printed directly onto the pack, which is why it suits home jams, pantry jars, soap bottles and gift packs.
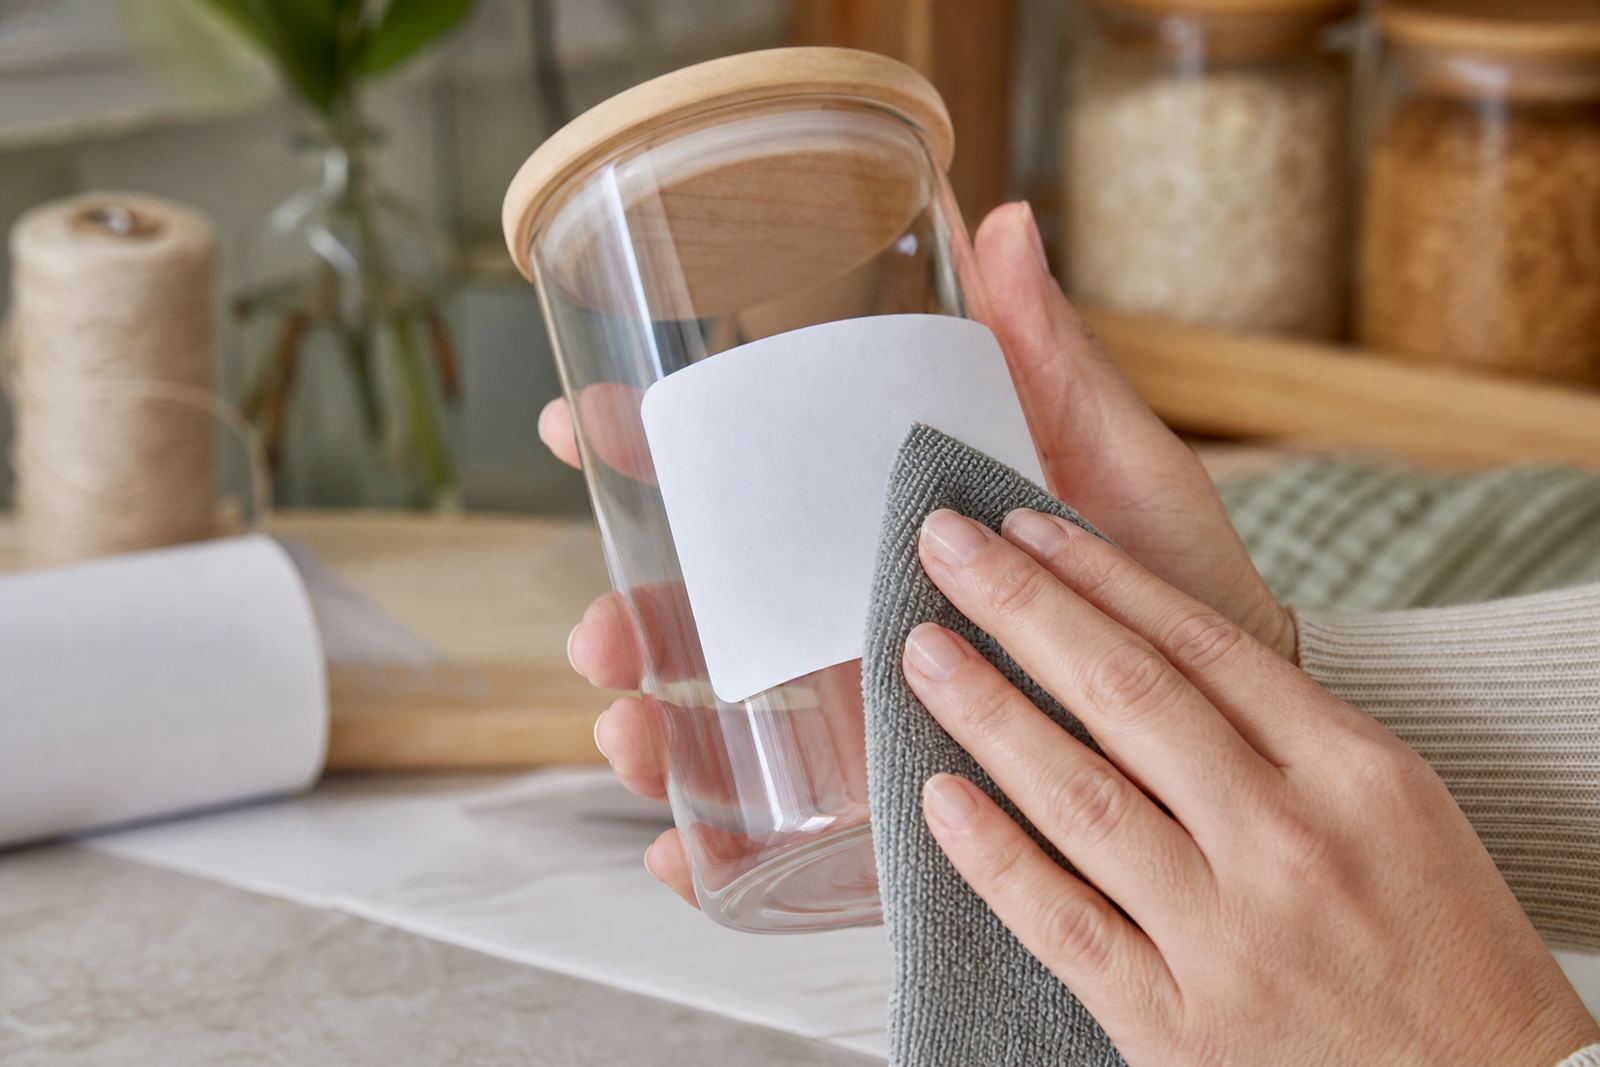
On a rough or curved surface, the edges can show more than expected. Tiny bumps, mould lines and textured finishes catch light in awkward ways, so the label may look patchy from a few steps away. For a cleaner result, use a surface that has been wiped down and fully dried before application, with no powder, oil or condensation left behind.
- Best on glass, smooth plastic and coated tins
- Works well for pantry jars and bath products
- Needs a clean, dry face for the clear film to sit neatly
Picking the right clear sheet for the job
Not every clear sheet behaves the same way once ink and cutting come into play. A gloss clear option gives a brighter finish and stronger shine, which suits gift jars and display items. A softer clear finish can look less reflective, which helps when the label must stay readable under kitchen lighting or near a window.
Think about the surface colour underneath. Clear labels placed on white containers still show the transparent edge, but the visual effect is more subtle than on dark bottles or amber jars. On dark packaging, the printed text and artwork stand out strongly, while the clear areas disappear into the background. That is useful for a tidy branded look, but it also means any dust or bubbles show more clearly.
- Gloss clear suits decorative packs and gift items
- Less reflective finishes help in bright rooms
- Dark backgrounds make the printed parts stand out more
Inkjet and laser use on clear stickers
Clear printable sticker paper should match the printer type used at home or in a small studio. Inkjet printers work with liquid ink that sits on the coating before it dries, so the label needs proper drying time and careful handling. Laser printers use heat, which means the sheet must be made for toner and heat application if you want the print to hold properly.
For colour work, test a small strip before doing the full sheet. Clear material can change how pale colours appear, especially when the surface below is dark or patterned. Strong black text usually reads best, while soft pastels may need a white backing or a different surface choice. In Durbanville, where a lot of home makers store jars in sunny kitchens and laundry rooms, that contrast matters more than people expect.
- Use inkjet sheets in inkjet machines only
- Use laser sheets in laser machines only
- Test pale colours before committing to a full batch
Cutting clean edges by hand or machine
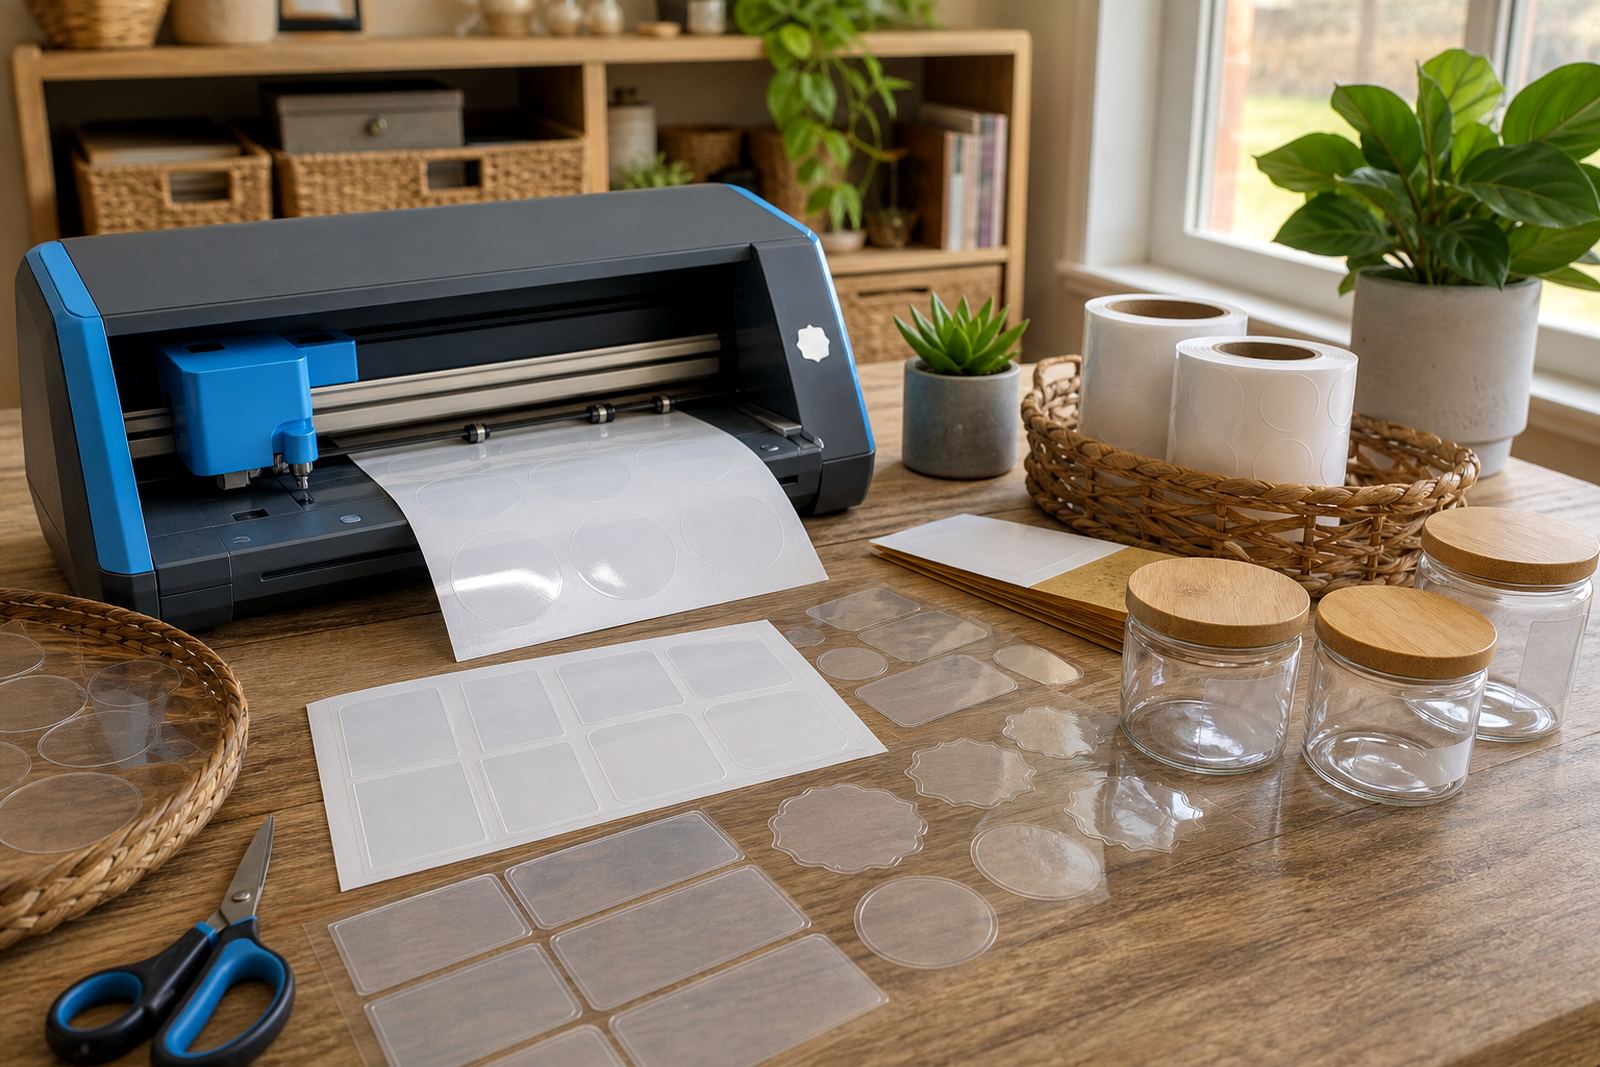
Clear sheets show cut lines more clearly than many people expect, so clean trimming matters. A sharp craft knife and ruler can work for straight labels, while scissors suit simple round or square shapes. For more detailed forms, a craft cutter helps keep repeated labels even, especially for pantry sets, soap bottles and event packaging.
Keep blade pressure light where possible. Heavy pressure can leave rough edges or lift a corner when the label is peeled from the backing sheet. If the sticker has a small border, that border can make handling easier without spoiling the transparent look. It also helps when the label must sit on curved glass, because the edge has a little more strength during application.
- Use a sharp blade for straighter cuts
- Light cutter pressure helps reduce frayed edges
- Small borders make peeling and placing easier
Surface prep in kitchens, garages and gift rooms
Good surface prep does most of the work before the label even touches the pack. Wash off soap residue, wipe away dust and let the surface dry fully. On containers used in kitchens or workrooms, oils from hands can leave a film that weakens adhesion. Even a tiny bit of moisture can make clear labels lift at the corners later.
For home storage in coastal areas, humidity can make labels curl if jars are filled or washed often. In Cape Town homes close to the sea, a pantry shelf may feel fine to the eye but still carry damp air through the evening. That makes careful storage of printed sheets useful too. Keep the stack flat in a cool, dry cupboard and avoid leaving it near steam, sinks or open windows during wet weather.
- Wash and dry containers before labelling
- Keep printed sheets flat and dry
- Humidity can affect corners and edges over time
A Durbanville kitchen jar example
A Durbanville customer might use clear labels on glass spice jars, dry goods tubs and homemade gift bottles for a weekend market table. The jars often sit on pale shelves, so the label needs to stay easy to read without covering the contents. Clear stock suits that job well because the herbs, grains or preserves remain visible, while the printed wording sits neatly on the front.
For a set like that, matching the surface matters as much as the artwork. A smooth jar with straight sides gives the best result. A ribbed bottle or frosted plastic tub can still work, but the clear finish loses some of its clean look. If the same jars move from kitchen shelves to a packed market crate, a tougher label style may be worth considering for extra handling.
- Clear labels suit spice jars and preserve jars
- Flat jar sides give the neatest finish
- Busy handling calls for careful application and storage
Where clear labels stop looking clear
Clear sticker paper is not the right match for every surface. Textured cardboard, dusty plastic, rough kraft packaging and soft-touch finishes can all dull the effect. The label may still stick, but the transparent areas lose their purpose when the background is uneven or heavily patterned.
If the goal is a tidy label for home use, start with the surface before you think about the artwork. Smooth and clean beats fancy every time. That is the point where clear labels earn their place, especially when the pack itself should stay visible under the print.
- Rough cardboard hides the transparent look
- Textured packs can make the label appear uneven
- Smooth clean surfaces give the clearest finish