Why the first few minutes matter after printing
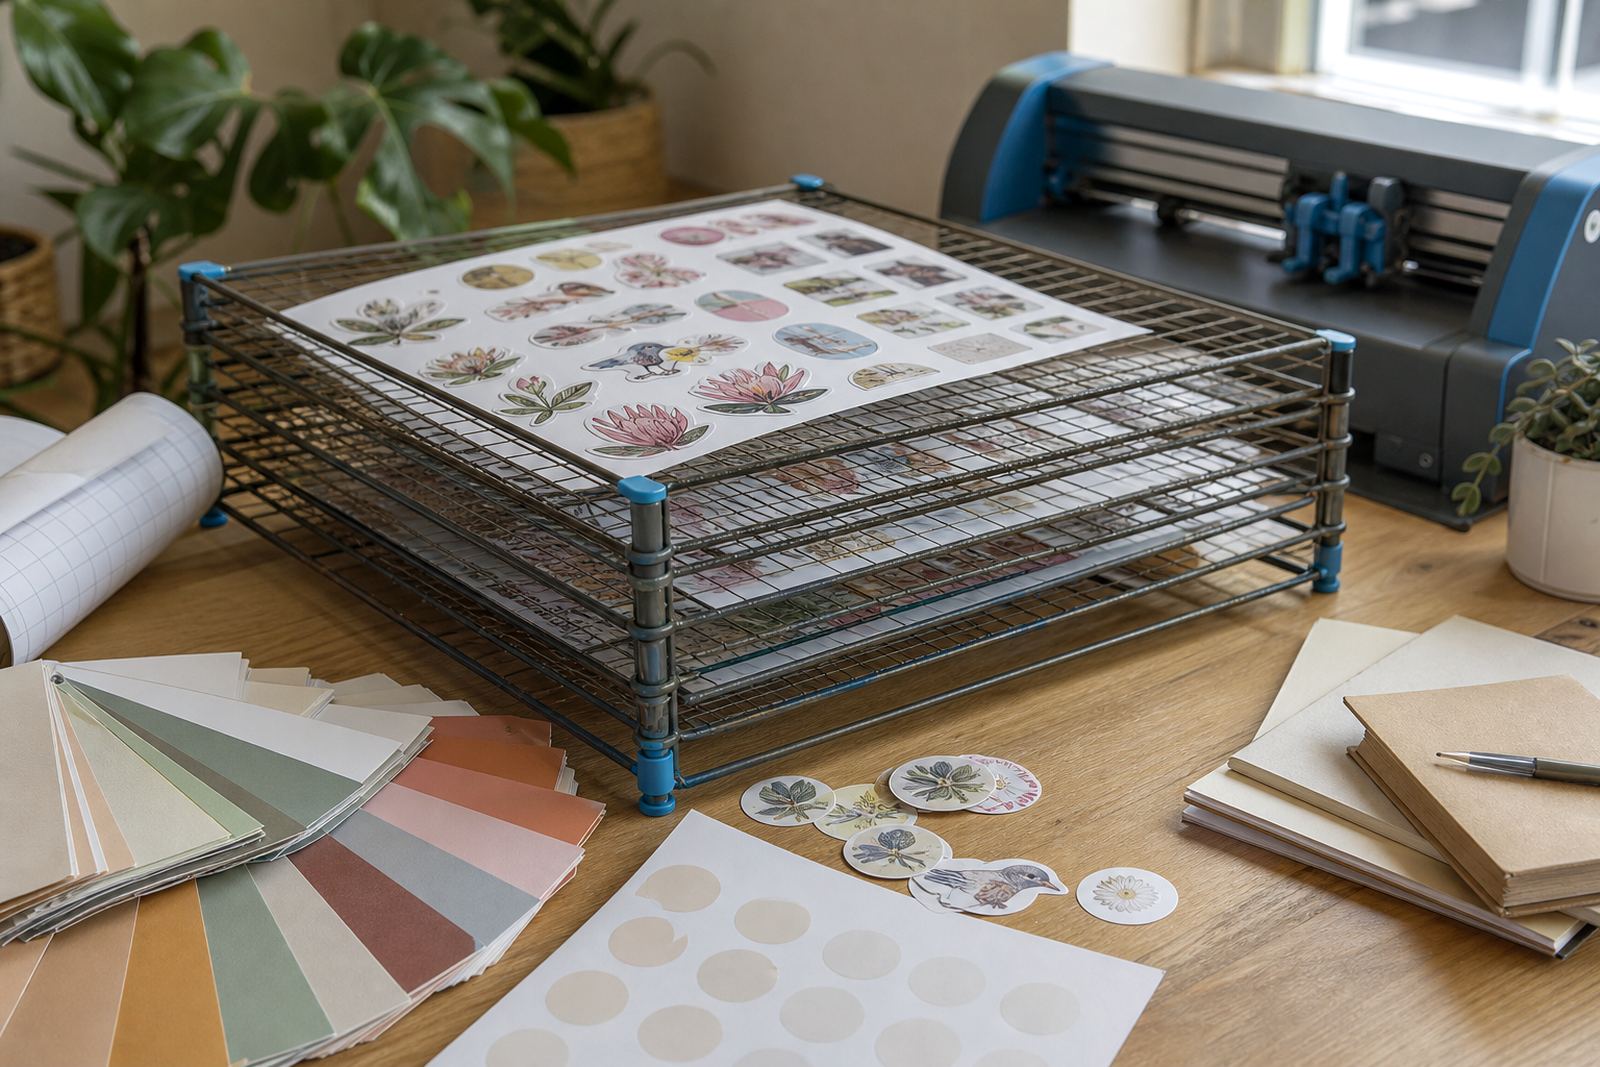
Fresh ink sits on top of the sheet before it settles into the coating, so the surface can mark easily if it is touched too soon. On matte stock the risk is lower, while gloss and clear sheets can show scuffs very quickly because the surface is smoother and less forgiving.
In Durbanville and other coastal parts of Cape Town, humidity can stretch drying time a bit more than people expect. A print that feels dry in a warm room may still be fragile where the air is damp, so it helps to leave the sheet flat and untouched for a while before trimming or stacking.
Inkjet and laser sheets dry in different ways
Inkjet sticker paper needs the ink to sit and settle on the coating. If the print is heavy with colour, block fills or dark artwork, the top layer can stay vulnerable longer. Light contact, a ruler edge or even a clean fingertip can leave a faint mark that only shows up once the sheet is cut.
Laser printing works differently because the toner is fused by heat. Once the sheet leaves the printer and cools, the print is usually ready to handle sooner, though it is still worth letting it lie flat for a short while so the sheet does not curl before cutting.
- Matte inkjet sheets often dry faster than gloss sheets.
- Clear sheets need care because smears show through the backing and face.
- Laser prints should cool before they are stacked or trimmed.
- Heavy colour blocks usually need more patience than light text labels.
Clues that a sheet wants more time
There is a practical rhythm to checking a print. If the surface feels tacky, if the colour looks uneven where a finger touched it, or if the sheet curls sharply at the corners, give it more time before handling. A proper pause is safer than trying to rescue a sheet after a thumb print lands on the face.
For home makers printing pantry labels, jar circles or gift stickers, the safest habit is to set the sheet aside flat after printing and only move it once the surface has settled. That small pause can save a lot of reprints when the work needs a neat finish.
- Look for shine shifts where the ink still sits wet.
- Check whether dark panels leave a faint mark when touched lightly.
- Watch for curled edges on full colour sheets.
- Keep finished sheets away from stacked paper until they settle.
How finish type changes the wait
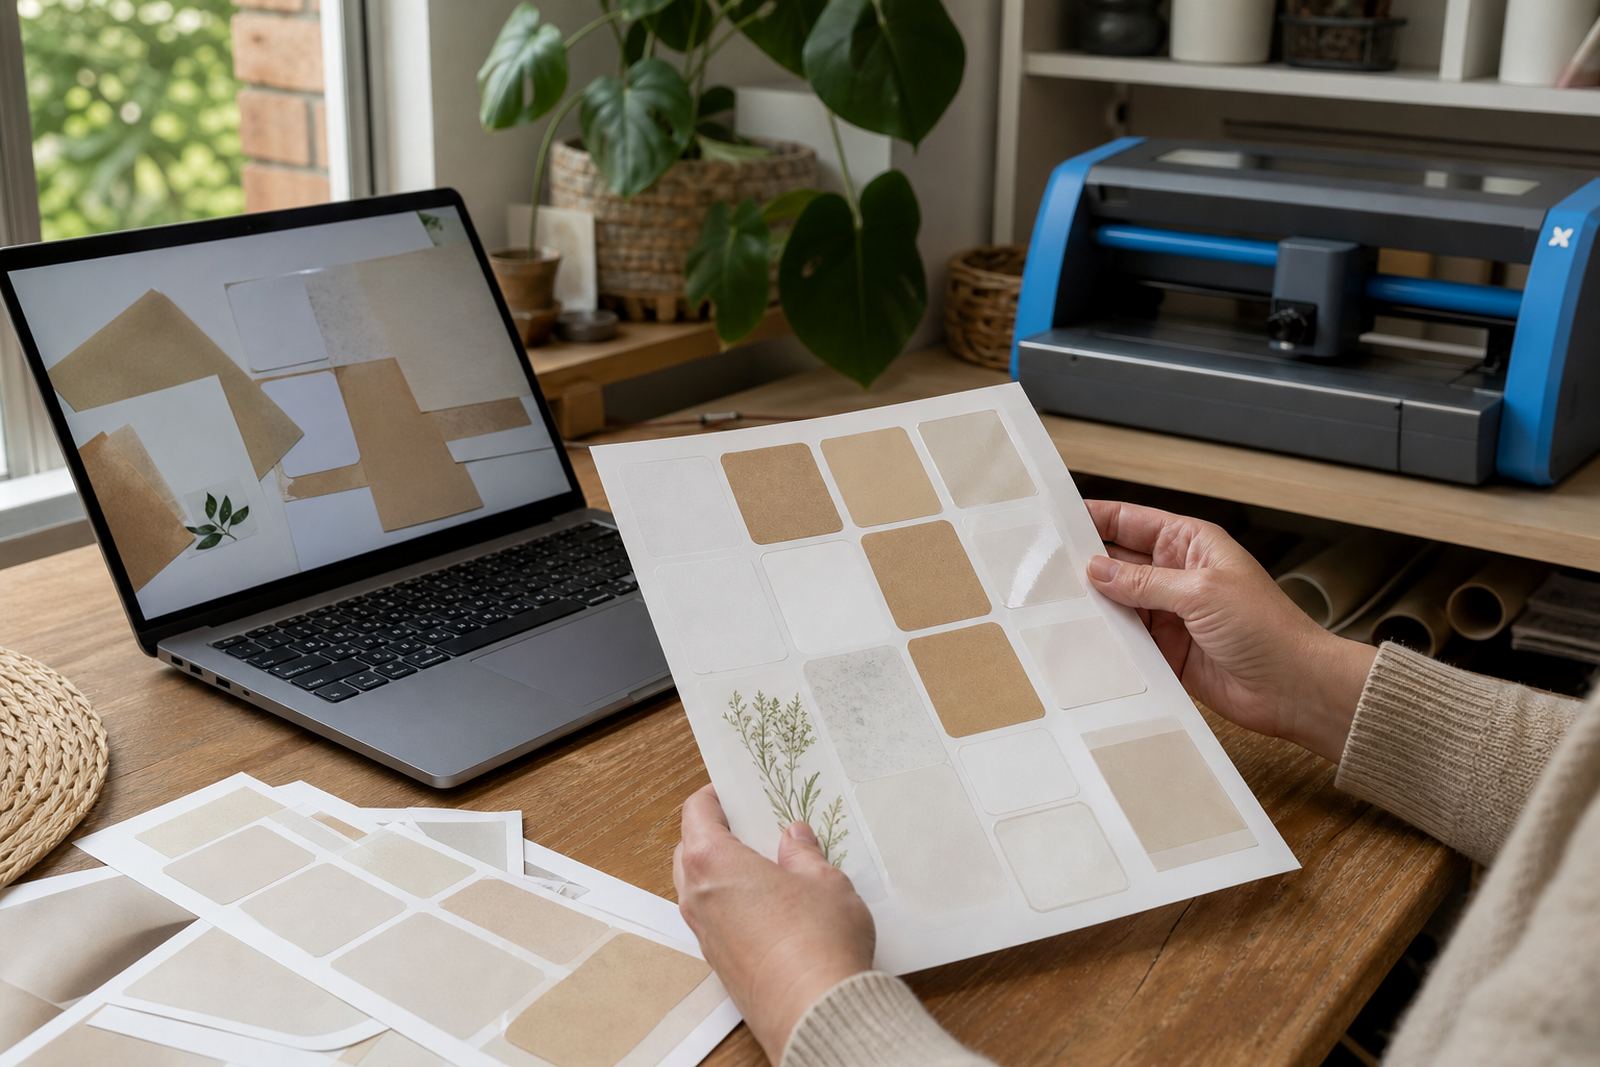
Different sticker papers behave in different ways. Matte gives a more open surface for ink to settle into, which helps with handling, while gloss can hold moisture on top for longer. Clear sheets need a careful touch because the print has less visual cover, and any smear is easy to spot once the light catches it.
Vinyl sheets are often used for labels that need a tougher feel, and they still need the print to be properly dry before cutting or applying. Kraft has its own look and usually shows colour in a softer way, but the same rule applies: if the ink has not settled, pressure from fingers or blades can disturb the finish.
- Matte: usually the most forgiving for quick handling.
- Gloss: attractive, but more prone to surface marks.
- Clear: needs clean hands and a steady drying pause.
- Vinyl: benefits from full drying before edge cutting.
- Kraft: works well for rustic labels, though ink still needs time to settle.
Cutting by hand or with a craft cutter
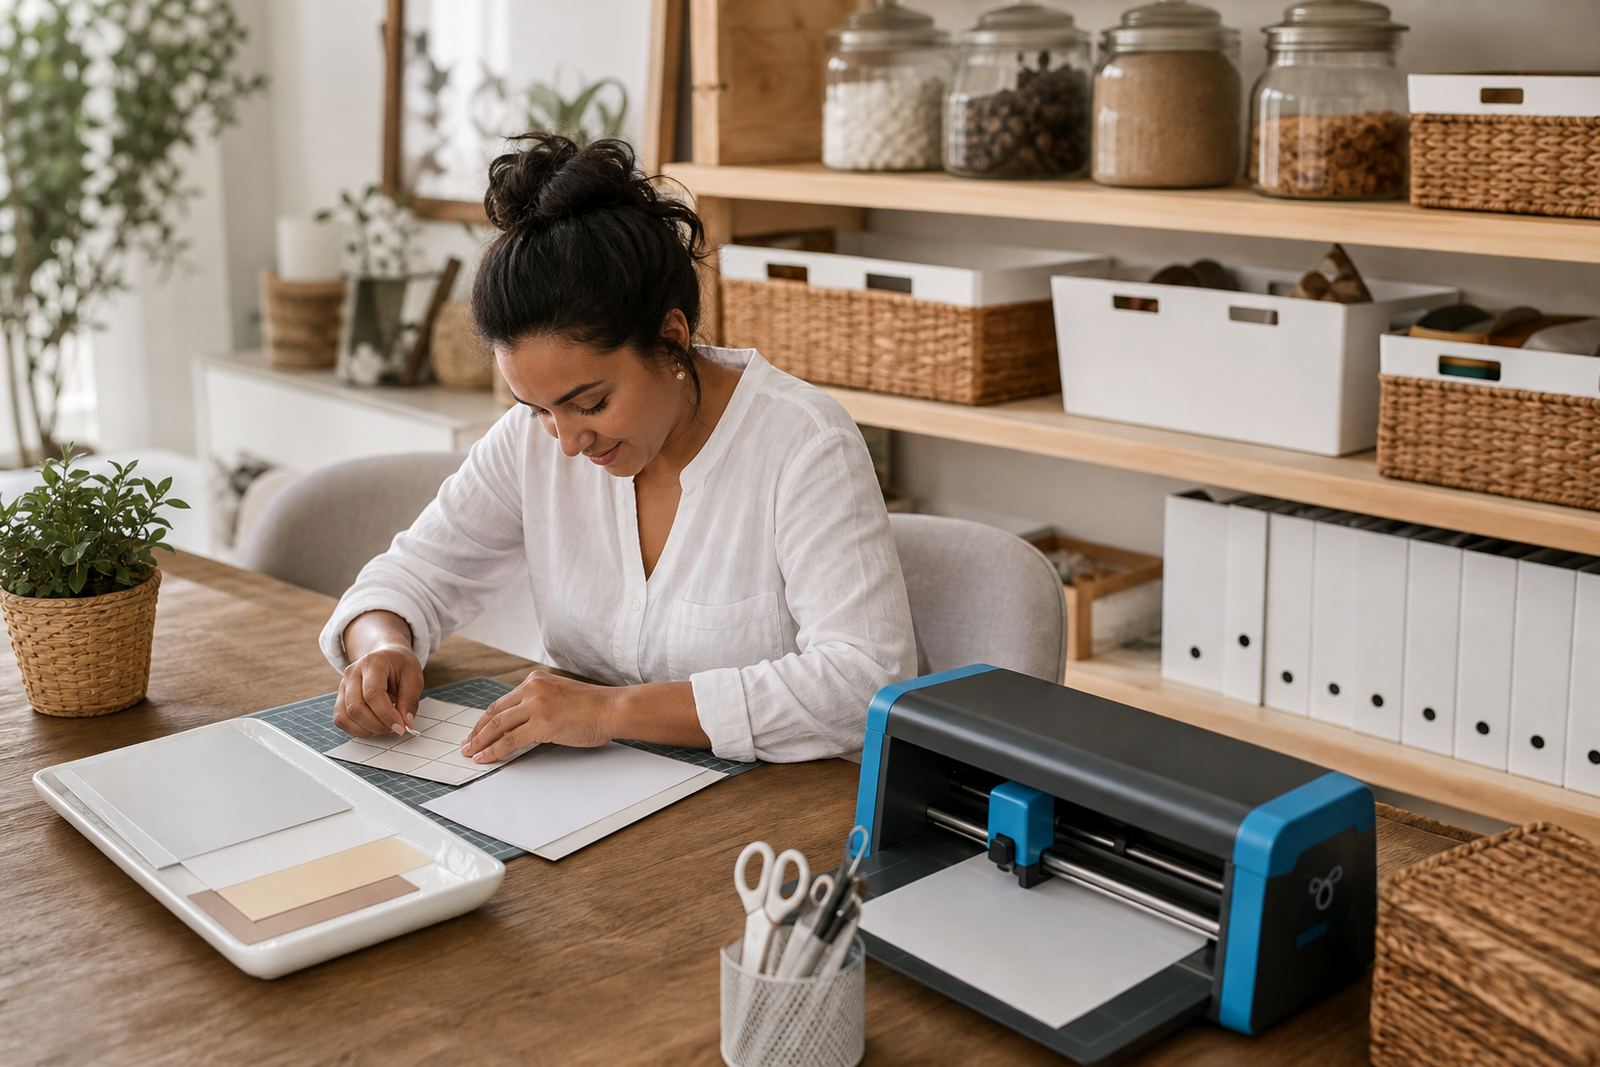
Whether the sheet is trimmed with scissors, a craft knife or a cutting machine, the order of work matters. If you cut too soon, the blade can drag wet ink at the edges and leave tiny smudges on the white border or the artwork itself. A dry surface gives cleaner lines and less lifting at the corners.
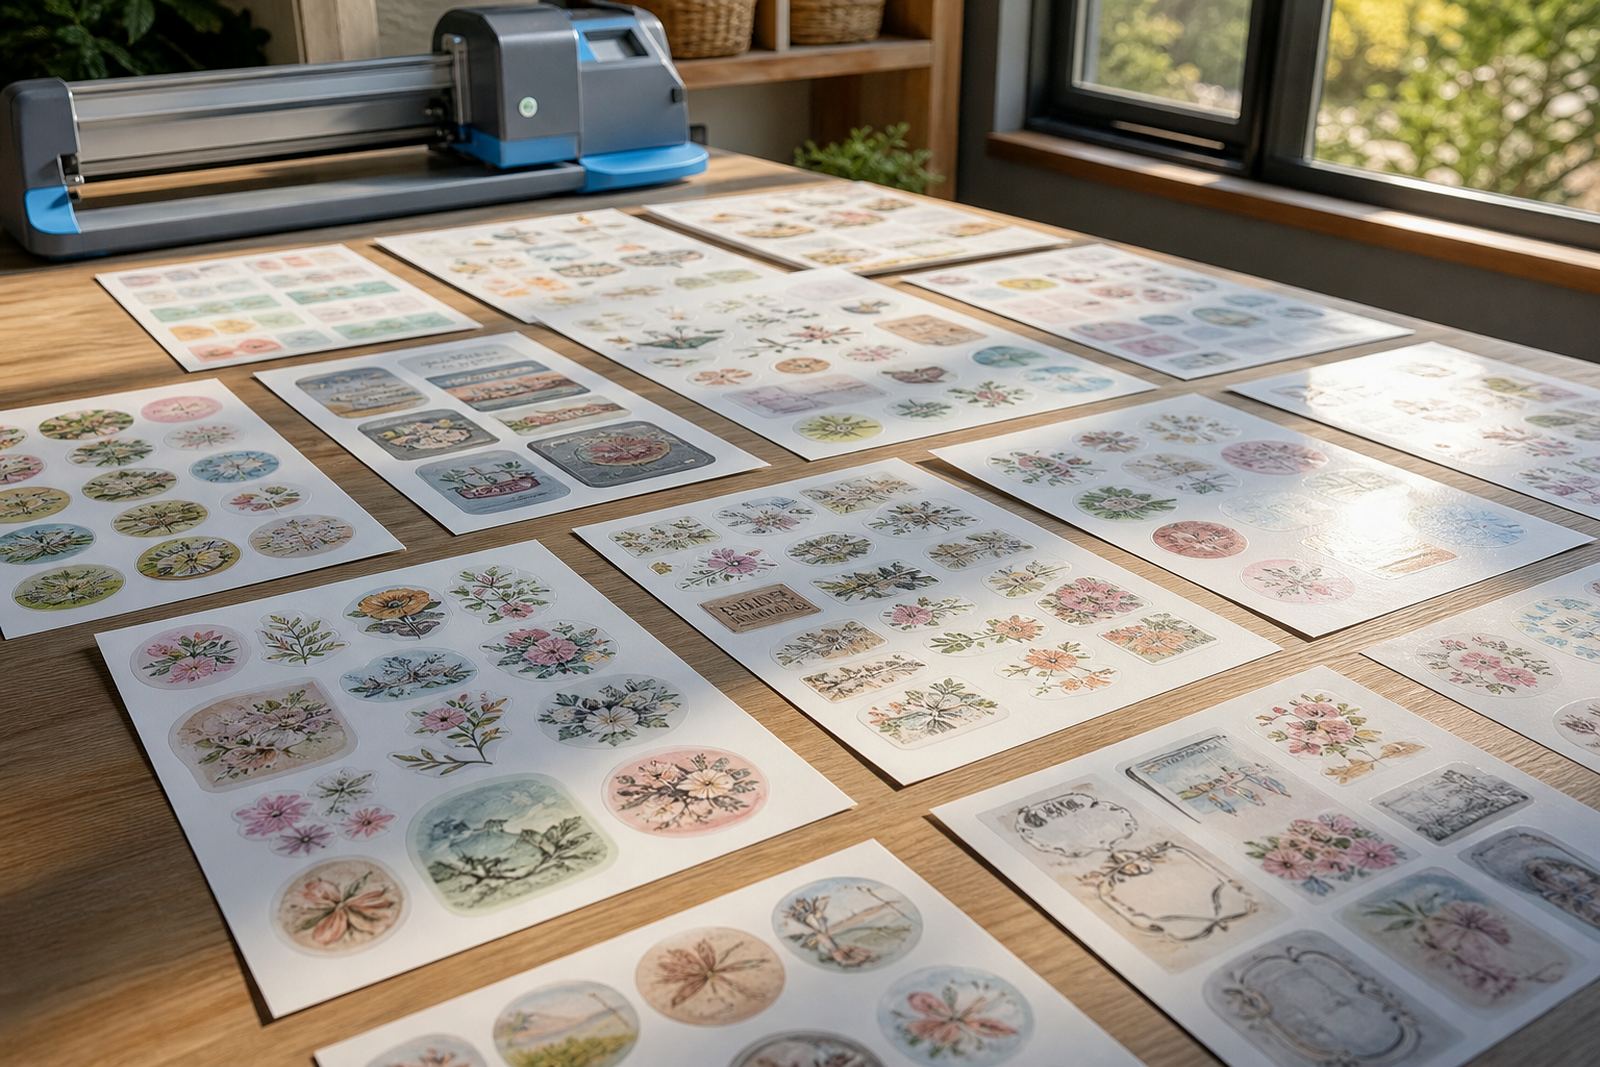
For small batches, let the print rest first, then test a corner cut before running the whole page. For larger runs of labels or home storage stickers, it helps to keep printed sheets separated so the bottom sheet does not pick up pressure from the stack above it.
- Use a light touch on the first cut edge.
- Keep hands away from fresh print areas.
- Separate pages with clean backing sheets if needed.
- Check blade pressure on a spare corner before a full cut.
A Durban example from a humid week
A home organiser in Durban on the coast may print pantry labels in the morning and find that the sheets need longer than expected before trimming. The room can feel warm enough, but damp air slows the settling of inkjet colour on gloss stock, especially where the design uses rich blacks or deep blues. A little patience here saves the sheet from fingerprints and dull patches.
That same job on a dry interior day in Pretoria may be ready to handle sooner, but the print still needs care before it is cut and applied. The conditions are different, yet the rule stays the same: let the ink settle, then move on to trimming, peeling and sticking.
For crafters around Cape Town, Johannesburg, Durban, Pretoria and Bloemfontein, the best routine is to treat drying as part of the job, not an afterthought. It keeps labels cleaner, gift stickers sharper and project sheets easier to work with.
Storage habits that protect the finish
Drying does not end the moment the printer stops. If sheets are stacked too soon, the top print can transfer marks onto the sheet above or below it. Flat storage in a dry indoor space gives the coating time to settle, and it keeps corners from bending while the sheet is still sensitive.
When storing printable sticker paper, keep the packs closed until needed and avoid placing them near damp walls, open windows or sunlit spots where heat can curl the pages. A tidy shelf or drawer in a home office or craft room is usually enough, as long as the sheets stay flat and clean.
- Store unused sheets flat in the original pack.
- Keep printed sheets apart until fully dry.
- Avoid pressure from books, tools or storage tubs.
- Let finished stickers cool and settle before peeling.