Gloss Finish Needs a Cleaner Touch
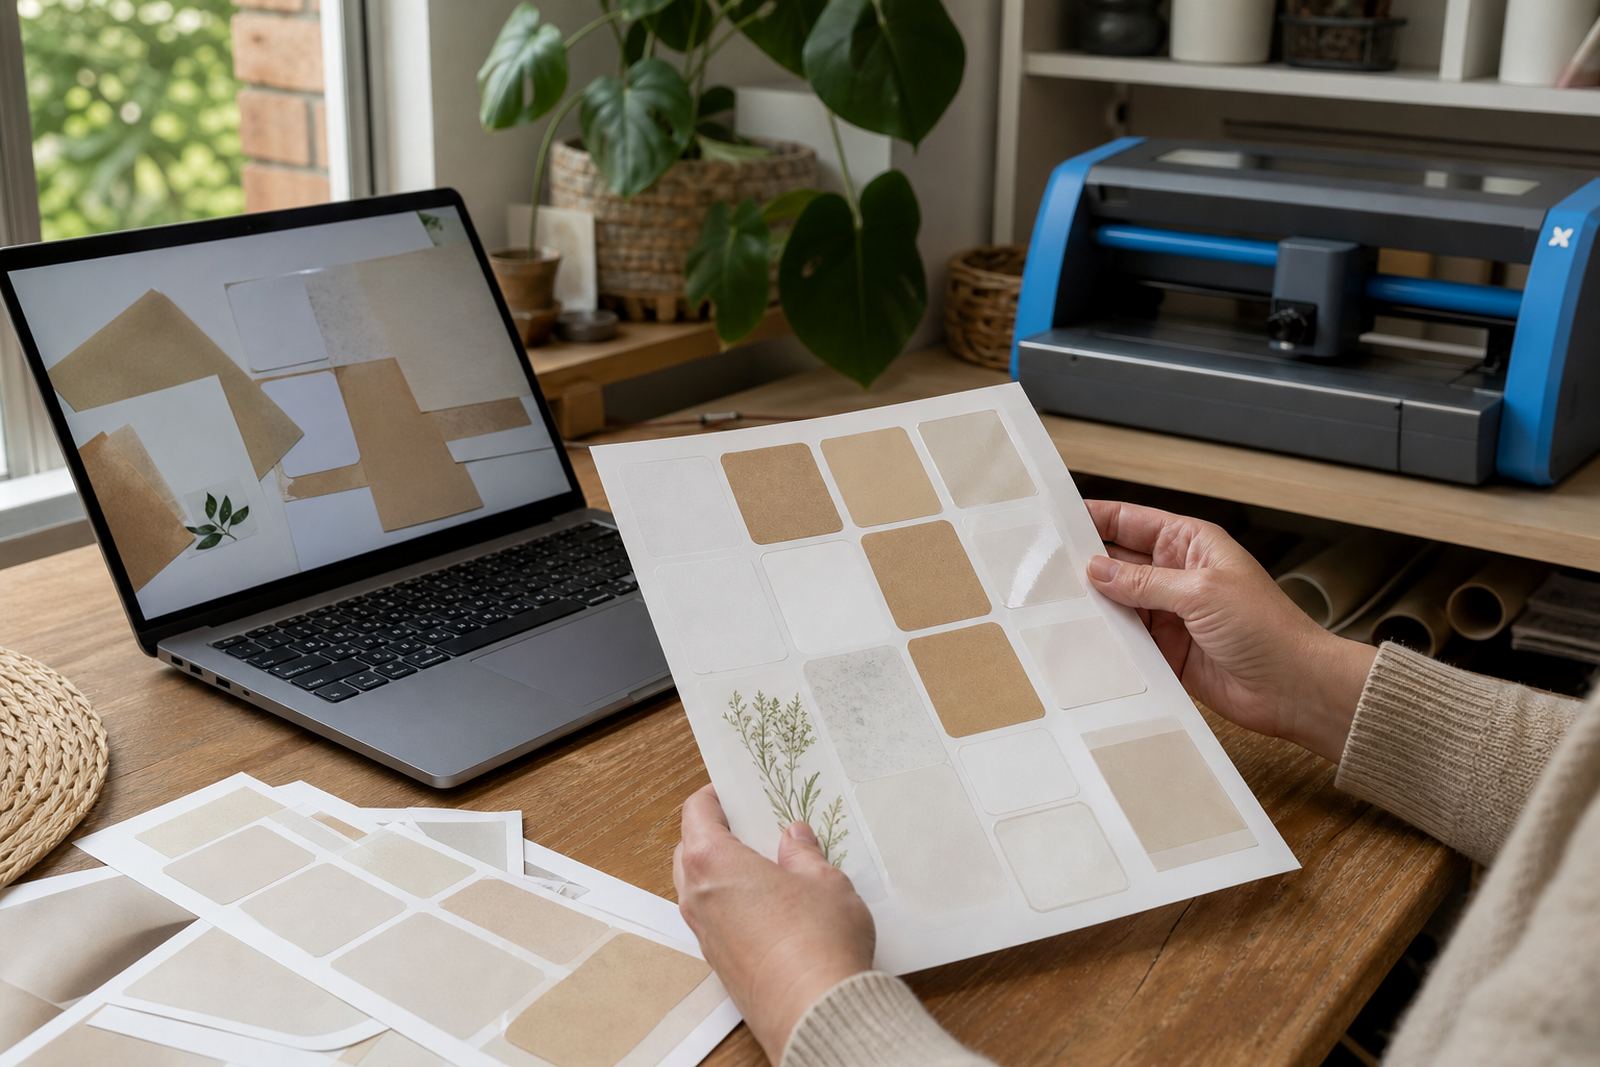
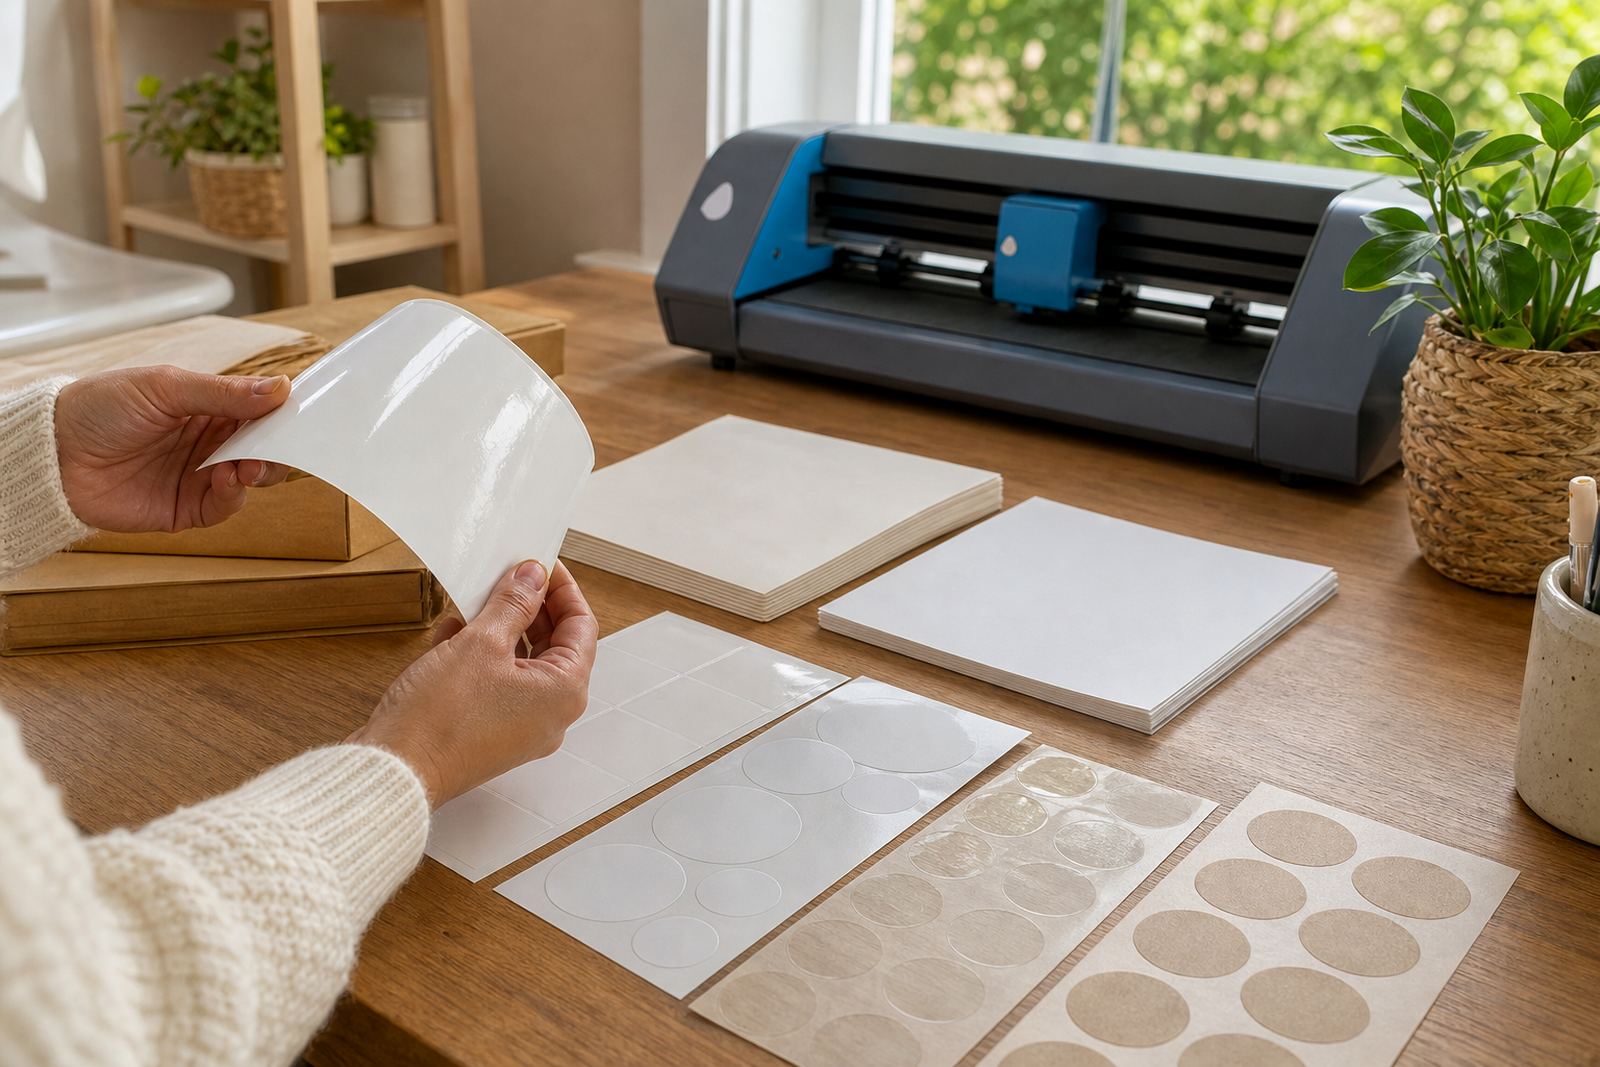
Gloss printable sticker paper has a coated surface that reflects light, which is part of its appeal. The shine helps colours look vivid, but it also means marks from hands, dust, and uneven storage can show up more easily. If sheets are handled with dry, clean hands and stored flat, they usually stay in better shape for printing and cutting.
For crafters working on labels, planners, party packs, or home organisation, gloss paper often looks smartest when it is treated like a finished surface rather than a rough craft supply. That means avoiding repeated rubbing, bending the corners, and stacking loose sheets where they can pick up grit. In humid coastal areas around Cape Town, a closed sleeve or folder helps the coating stay neat and prevents curling at the edges.
Prints That Stay Sharp on Gloss Stock
Gloss sheets work well for bright images, text labels, and custom stickers where colour matters. Inkjet and laser users both need to match the sheet to the printer setting, because the coating behaves differently from plain paper. When the print setting is too heavy, the surface can take longer to settle, and that can lead to smudging when the sheet is handled too soon.
For cleaner results, allow the printed sheet to rest before cutting or peeling. This helps reduce accidental finger marks across logos, ingredient labels, and gift tags. If you are printing batches at home in Pretoria or Johannesburg, keep the printed sheets separate from unprinted stock so the top layer does not pick up dust or toner marks from nearby papers.
- Use the correct media setting for the printer type.
- Let the ink or toner settle before cutting.
- Keep the print area free of dust and loose scraps.
- Where you can, hold the sheet by its edges.
Cutting Gloss Without Scuffing the Surface
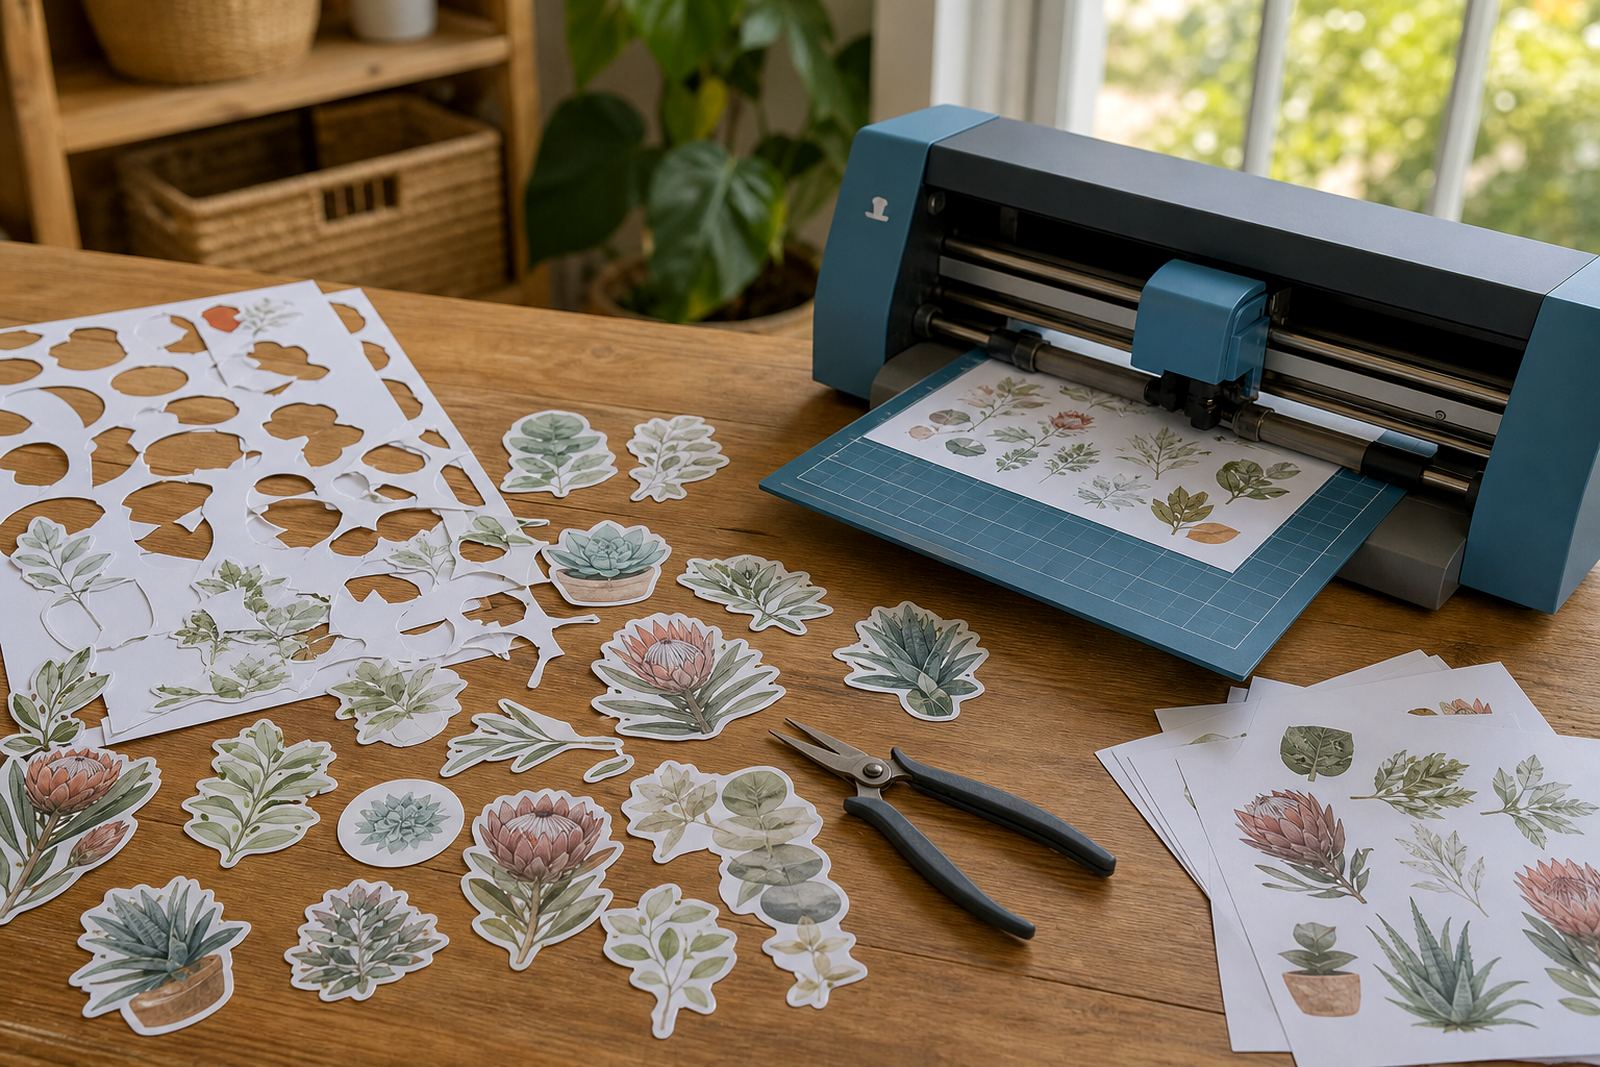
Gloss finish care does not stop at printing. Cutting can leave small marks if the blade drags or if the sheet shifts during the pass. Hand cutting works well for simple shapes, but a sharp craft knife or scissors should be used on a clean mat so the surface is not scratched by grit. Craft cutters also need a sensible blade depth and a test cut before a full run.
When using a craft cutter, keep the sheet flat and avoid over-pressing the blade. Too much force can leave a faint crease that shows under light. If you cut by hand, trim with steady strokes and avoid stacking several glossy sheets together while cutting, because the bottom sheet can pick up pressure marks. A careful cut means the edges look neater and the front face keeps its shine.
Storage That Protects the Shine
Good storage makes a big difference with gloss sticker paper. Sheets should stay flat, dry, and away from direct sun, which can affect both the coating and the adhesive side. In homes where a few craft packs are kept in cupboards or shelves, a simple folder or sleeve can stop corners from curling and protect the top sheet from dust. In Durban and other humid coastal towns, sealed storage is especially useful because moisture can soften the edges and make sheets harder to feed through a printer.
It also helps to separate gloss stock from heavy objects. A stack of jars, books, or tools can leave pressure lines on the top sheet, and those lines may show once the label is printed. If you print only small batches for labels or homemade gifts, take out what you need and return the rest to storage without bending the pack.
- Store sheets flat, not rolled or folded.
- Keep them in a sleeve or folder.
- Avoid heat, damp, and strong sunlight.
- Do not place heavy items on top of the pack.
A Durbanville Kitchen Label Example
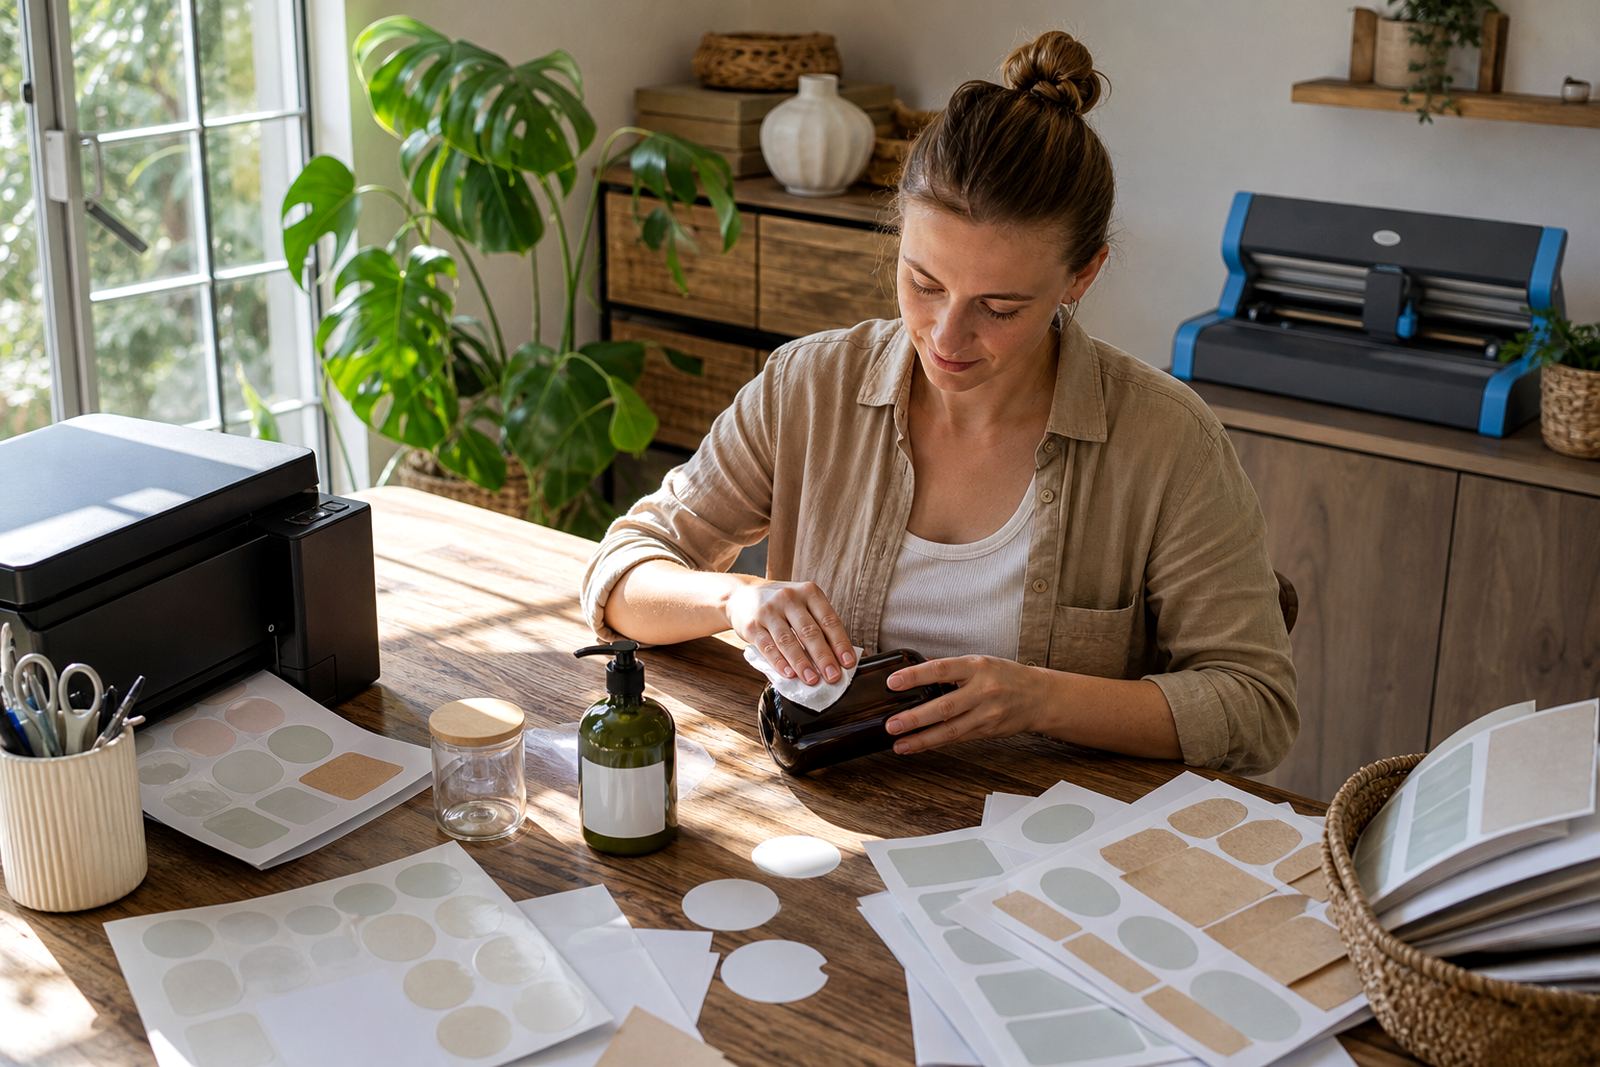
A local home maker in Durbanville may use gloss sticker paper for spice jars, tea tins, and pantry containers. The polished surface suits neat shelves, but the labels need a gentle hand during application. If fingers are oily or damp, the shine can pick up prints before the label is even stuck down. Wiping the jar first and holding the sticker by its edges helps the finish look cleaner from the start.
Once applied, gloss labels usually look best on smooth containers with a firm wipe using a soft dry cloth. That helps flatten any small air pockets without rubbing the print too hard. For clear sheets, the same careful handling matters even more, because the transparent areas show any trapped dust or smudges very clearly. Vinyl sheets benefit from the same practical care when they are used indoors on jars, folders, or storage boxes.
Choosing the Right Gloss Use for Each Project
Gloss finish works well when you want colour to stand out and the final sticker to look polished. It suits gift packaging, product labels, children’s craft projects, and decorative tags, but it is less forgiving of rough handling than matte paper. That does not mean it is difficult to use, only that the workflow needs a little more care from print to peel.
If your project will be handled often, touched by many hands, or stored in a busy kitchen, think about where the sticker will live before you print. Gloss is often best for pieces that should look bright and tidy, while matte can suit notes and labels that need a quieter finish. The right choice depends on the surface, the printer, and how much handling the sticker will get after application.
- Use gloss for bold colour and polished presentation.
- Keep a lighter touch during printing and cutting.
- Match the sheet to the printer type and settings.
- Store finished packs away from dust and pressure.