Corners are the first place trouble starts
Peeling usually begins at the corner because that is where handling, rubbing and moisture meet. A sharp point catches on fingers, basket edges and box lids more easily than a rounded edge, so the lift starts there and slowly works across the sheet. On projects used in kitchens, storerooms or laundry areas, that small lift can make a label look untidy long before the rest of it fails.
For printable sticker paper, the fix often begins before printing. Leave a little margin around each design, avoid tiny pointed tabs and keep the overall shape easy to handle. A circle, soft oval or rounded rectangle gives the adhesive a calmer edge to hold. That matters on gloss, matte, clear, vinyl and kraft finishes, because every surface gets tested a bit differently once it is cut and applied.
Rounded cuts help more than most people expect
Round corners spread the stress across a wider edge, which helps the label resist peeling when it is wiped or moved around. With home organisation labels, especially on containers that are lifted often, the change can be noticeable. A square label may look neat on screen, but its sharp points are the first bit to catch and fray. Rounded corners keep the edge from working loose so fast.
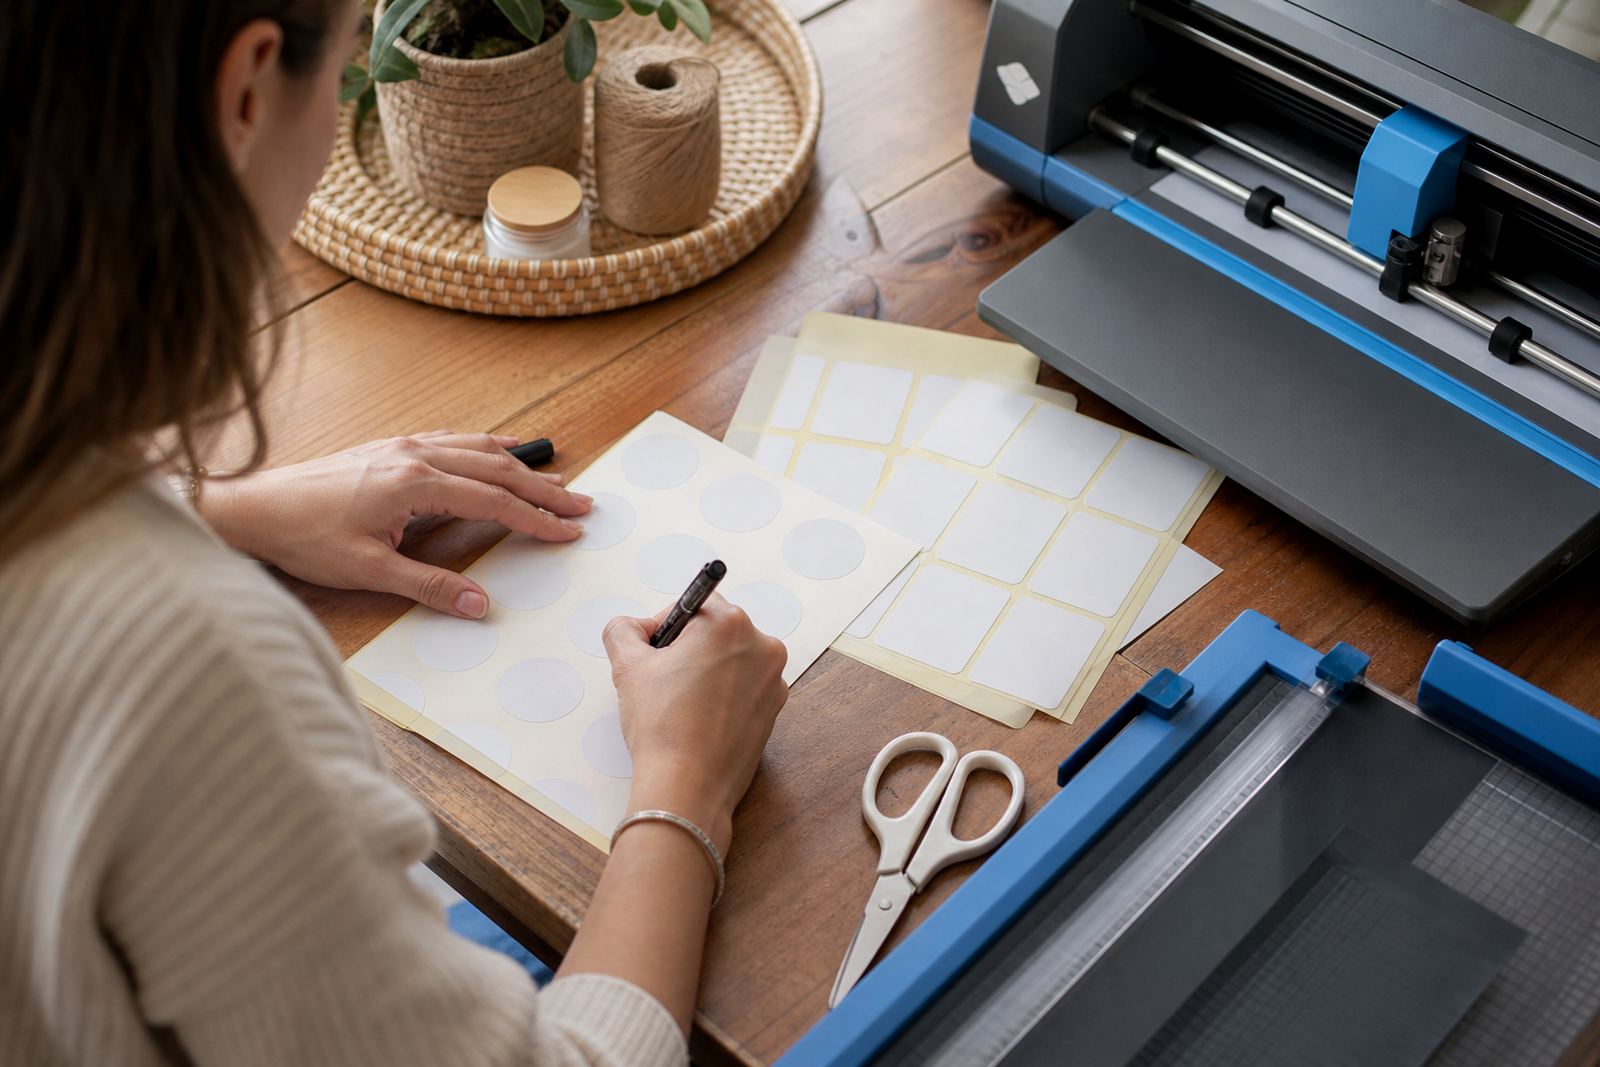
Hand cutting can do this with a pair of scissors and a steady eye, though a corner punch or cutter gives a more even finish. Craft cutters are handy for repeat shapes, while hand cutting suits one-off tags, school projects and labels with odd sizes. If the sheet is being cut by hand, it helps to mark the corners lightly first so the final shape does not wander. A slightly softer finish also gives clear sticker paper a cleaner line, because the edge does not have to fight itself around a point.
- Use a small radius on square labels instead of a sharp point.
- Keep designs a few millimetres in from the edge.
- Avoid tiny corners on very small labels.
- Trim frayed edges before application.
Match the finish to the surface it will live on
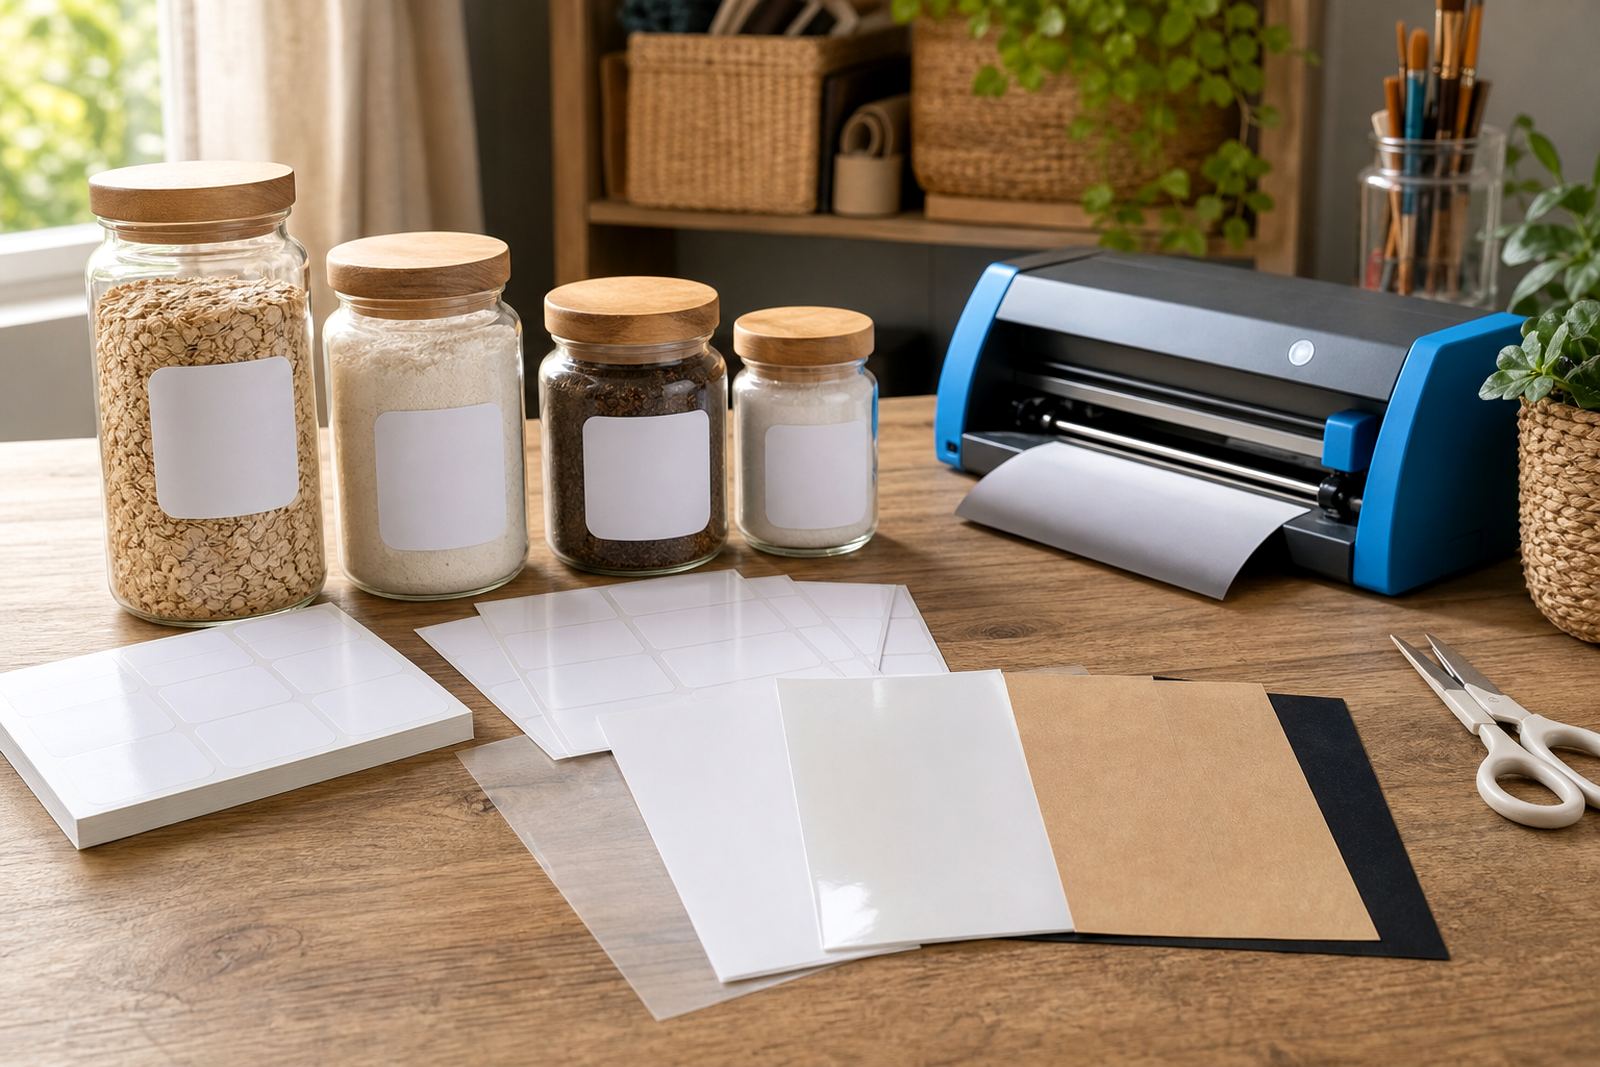
The finish you print on can change how well a corner stays down. Matte sticker paper is often better for folders, pantry jars and handmade packaging because it gives a low-glare look and a little more grip. Gloss can suit colourful gifts and art projects where the shine is part of the finish, though very smooth gloss may show finger marks more easily. Clear sheets work well when the background must show through, while vinyl can be useful on surfaces that need a tougher outer layer.
Kraft sticker paper is popular for a more natural look on hampers, brown paper bags and handmade jars. It can hide small marks better than bright white stock, but the corners still need care. A label that is too large for a curved tin or a busy ridge line is more likely to lift, no matter the finish. The trick is to pick a sheet that suits the surface, then keep the cut shape practical for the item it will sit on.
- Matte: good for neat labels and reduced glare.
- Gloss: suits bright artwork and gift work.
- Clear: useful when the background should show.
- Vinyl: helpful where a harder wearing finish is preferred.
- Kraft: works well for earthy, handmade styling.
Printing and drying affect the edge before it is even cut
Ink that has not settled properly can make corners feel tacky, soft or uneven. That can lead to smudge marks and weak handling at the edges, especially on inkjet printed sheets. Let the print dry fully before cutting, stacking or folding the sheet into storage. Laser printed sheets need care too, because the printed layer can still scratch if it is rushed through the next step.
For Durban humidity, this part matters more than many people expect. Moist air can slow drying and make the paper curl a little, so it helps to keep sheets flat and stored in a dry place. If a corner starts to turn up after printing, a clean weight on the sheet for a short while can settle it. Avoid touching the adhesive edge more than needed. Oils from fingers are small, but they do make the corner less reliable.
- Allow printed sheets to settle before cutting.
- Keep storage flat and away from damp rooms.
- Handle edges gently after the backing is removed.
- Check for curl before applying to containers or files.
A careful stick beats a rushed press
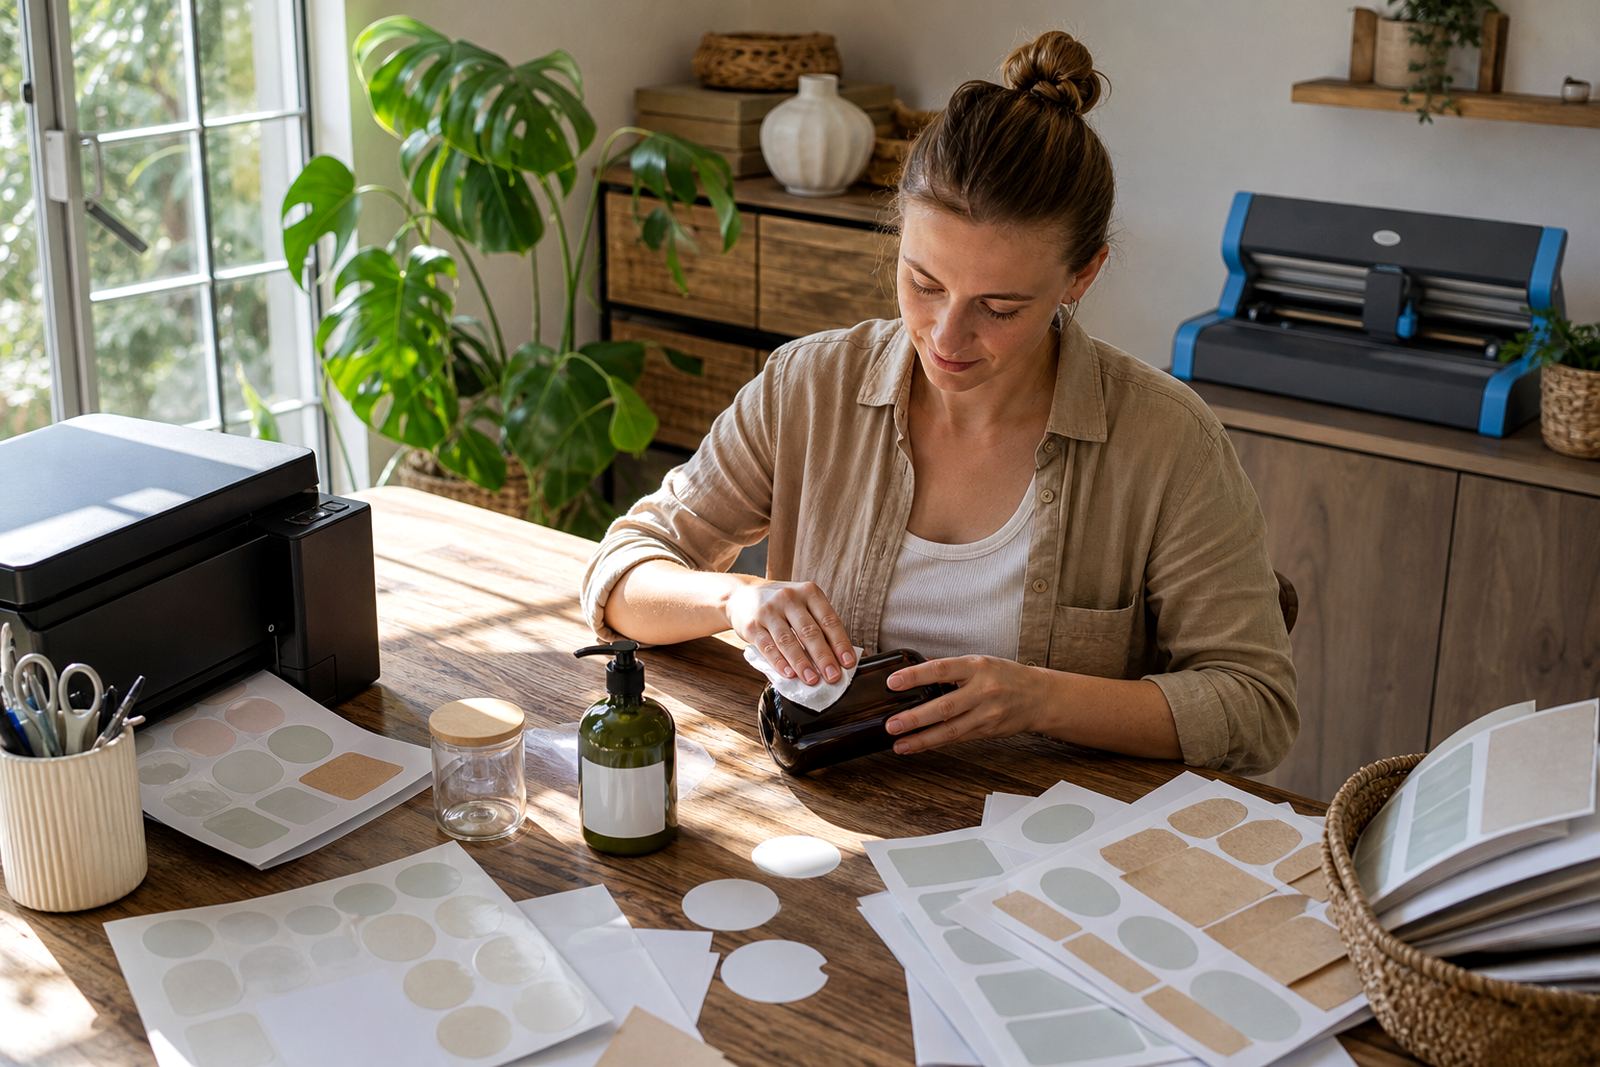
Application matters just as much as the cut. Start by aligning one side first, then smooth the label out toward the opposite edge. This keeps air from collecting at the corners, which is where peeling often begins. A firm press with clean hands or a soft cloth helps the adhesive set evenly without wrinkling the print.
On curved jars and bottles, do not stretch the label around too much. Stretching pulls the corner out of shape and creates a point that wants to lift later. For straight-sided tubs, boxes and files, press from the centre outward and pay extra attention to the last few millimetres at each corner. If a label needs to be removed and replaced, the corner often weakens during that second attempt, so it is better to line it up carefully the first time. Small mistakes are part of the process, but repeated lifting can make a neat project look tired very fast.
Small fixes for labels used in busy South African homes
Home makers often use sticker paper on pantry jars, school books, storage bins and gift packs, and each of those gets handled in a different way. A label on a spice jar in Cape Town may face damp kitchen air and frequent wiping, while a box in Pretoria may face dust and rough handling. The same sheet can work well in both places, but the cut and the application need to suit the job. That is where corner care becomes practical, not decorative.
For labels that need extra help, keep these habits in mind:
- Round corners on anything that will be handled often.
- Leave a small border between artwork and cut line.
- Wipe the surface clean before sticking.
- Choose a finish that suits the room and the item.
- Store spare sheets flat so the corners stay true.
When the corner is planned properly, the whole label lasts longer and looks tidier. That is useful on everyday kitchen stock, craft gifts and storage systems that get moved around. A little extra care at the edge saves a lot of peeling later, and it keeps the printed surface doing its job without fuss.