Start with the surface, not the sticker
Sticker paper can look tidy in your hand, then wrinkle or lift once it meets a dusty shelf, a greasy jar, or a damp plastic tub. The easiest fix is to prep the surface first, not after the label has already gone on. That small habit makes a visible difference to home organisers, crafters, and anyone printing labels for daily use.
Most smooth surfaces work best when they are clean, dry, and free of loose residue. Glass, sealed plastic, coated metal, painted wood, and polished jars usually hold stickers well once they have been wiped down properly. Rough timber, powdery paint, and wet condensation are a different story, because the adhesive has little to bite into.
What to clean off before applying
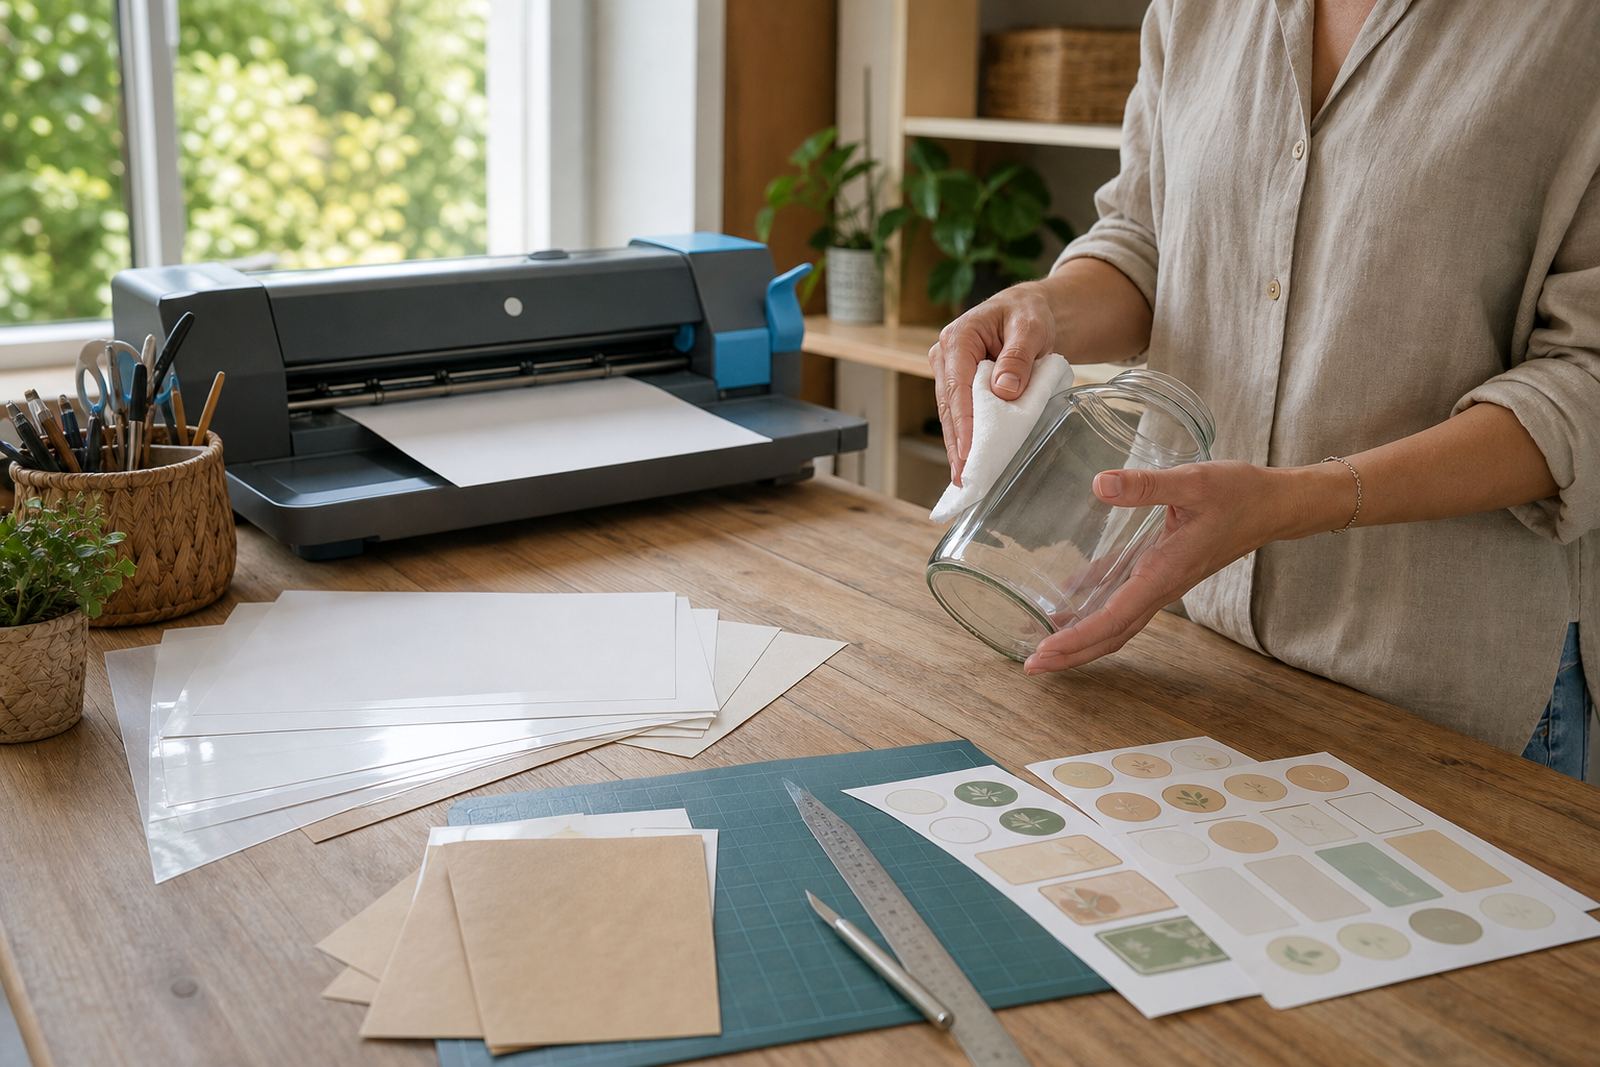
Finger oils, food splashes, soap film, and fine dust can all sit between the sticker and the item. Even a tiny smear can show through a clear sheet or create a pale patch under a glossy label. On matte paper it may not be obvious at first, but the edge can still lift sooner than expected.
- Wipe the item with a clean, lint free cloth.
- Use a little alcohol based cleaner on glass or metal when needed.
- Let the surface dry fully before positioning the sticker.
- Avoid touching the adhesive side with damp hands.
- Check corners, grooves, and ridges for trapped dust.
In coastal parts of Cape Town, and around Durban where humidity can cling to containers, moisture is often the hidden problem. A jar may feel dry, yet still carry a fine film of dampness. If the surface feels cool or slightly clammy, give it more drying time before applying the label.
Match the finish to the item you are labelling
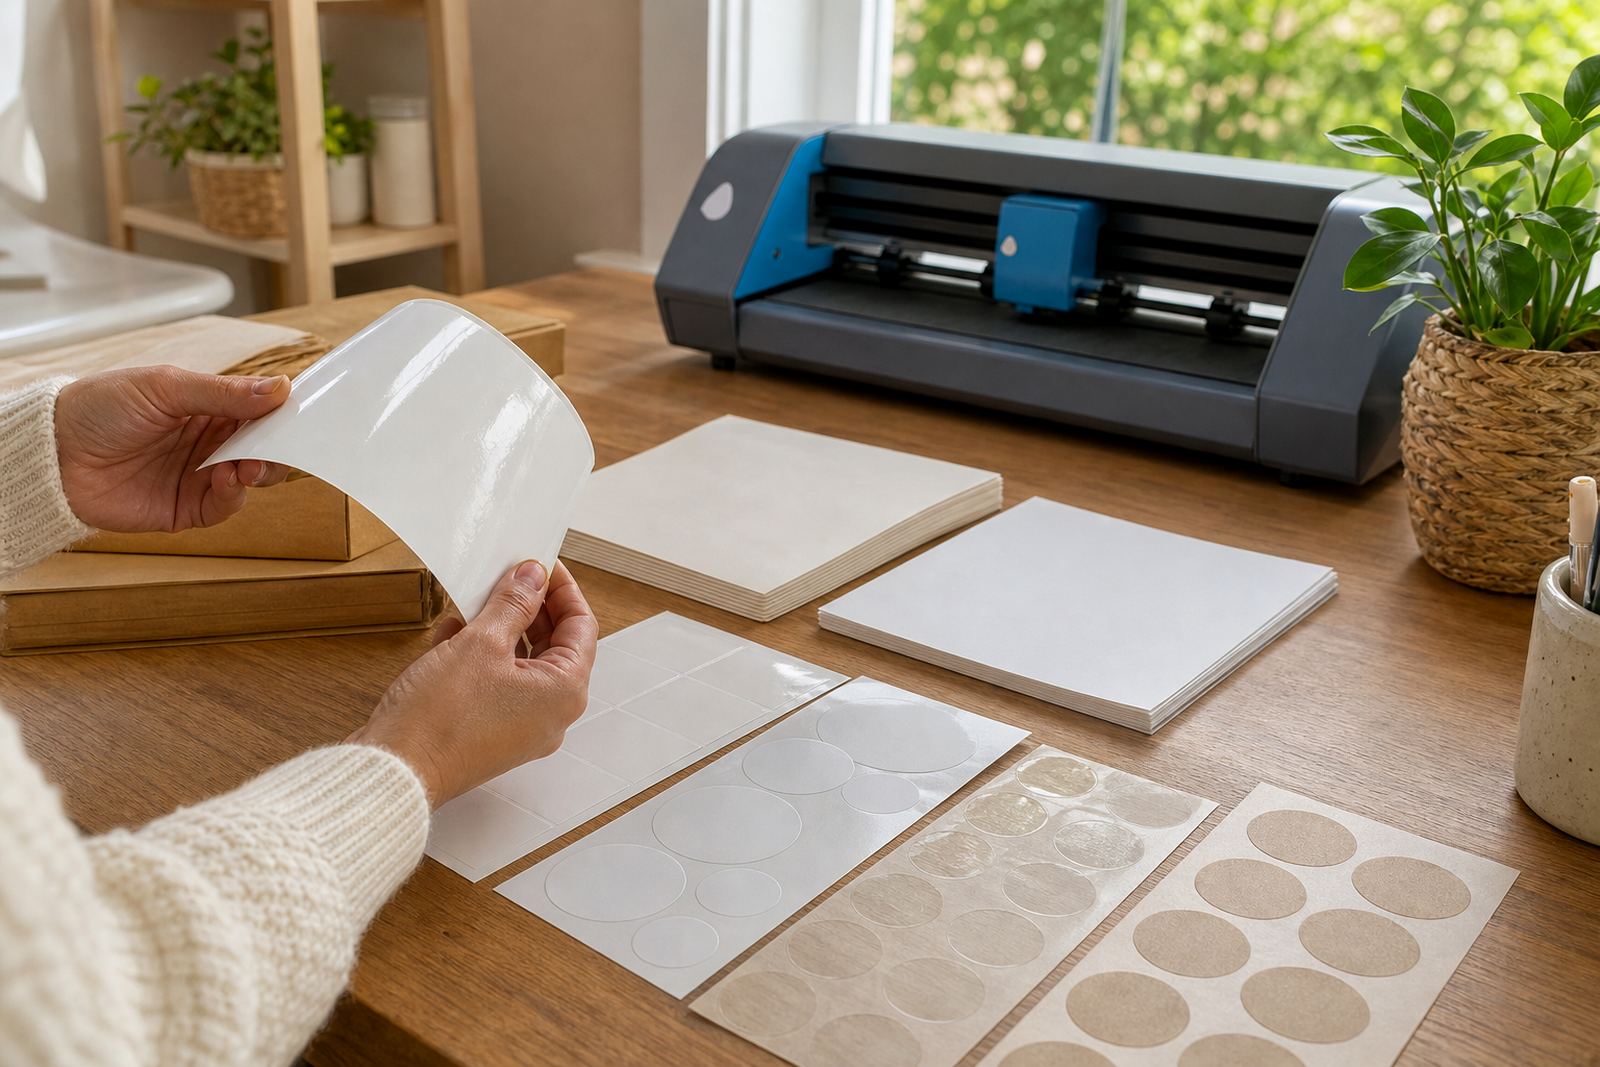
Matte sticker paper suits pantry jars, file labels, gift tags, and other pieces where you want a softer look. Gloss paper gives sharper colour for bright graphics, while clear sticker paper works well when you want the container or packaging to show through. Vinyl is useful for surfaces that get handled more often, and kraft gives a more natural finish for handmade goods.
The finish affects surface prep too. Clear stickers show dust and bubbles more easily, so the item must be especially clean. Gloss can reveal fingerprints quickly. Kraft paper sits nicely on dry cardboard and paper packaging, but it still needs a smooth base or the surface texture will show through the print.
- Use matte for home organisation and plain labelling.
- Use gloss for bold colour and photo style artwork.
- Use clear for bottles, jars, and see through packaging.
- Use vinyl when the label will be handled more often.
- Use kraft for a handmade look on dry packaging.
Cutting and placement need a steady hand
Clean surfaces help more than many people expect, but placement still matters. Start at one edge and lower the sticker slowly, rather than dropping it flat in one go. That gives you a better chance of smoothing out air before it gets trapped under the sheet. A plastic scraper, a card wrapped in soft cloth, or your fingertips can all help with gentle pressure.
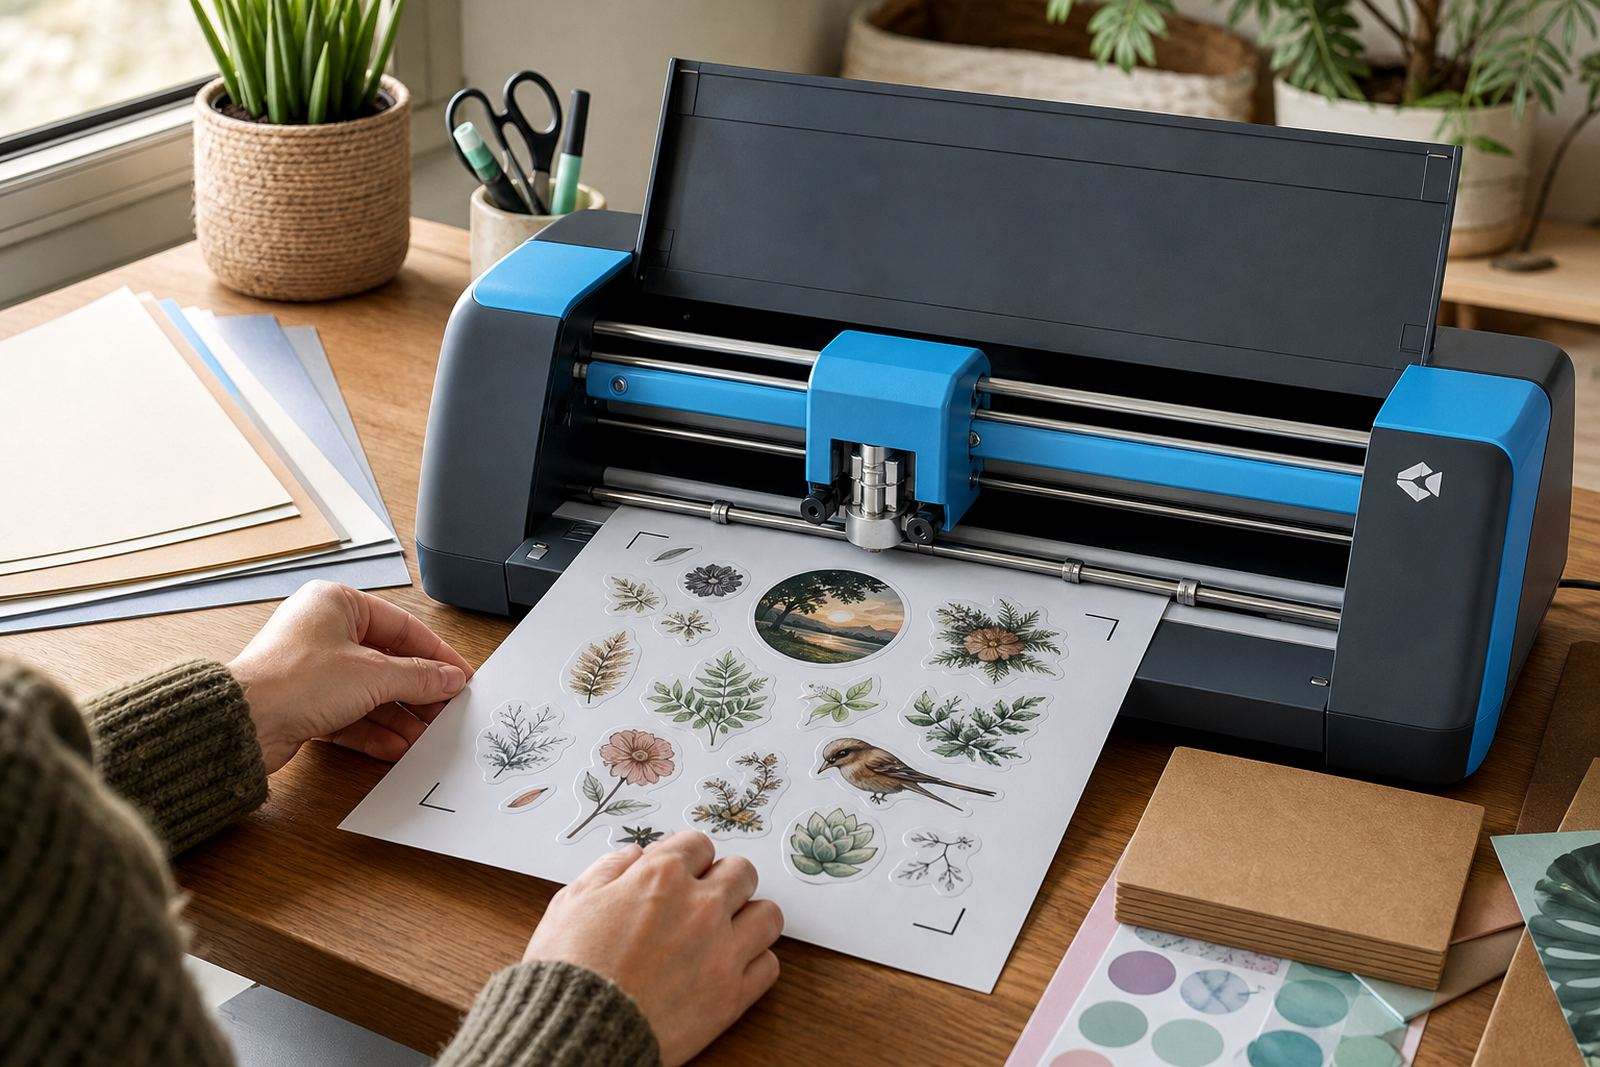
If you cut by hand, leave a neat border where possible so the edges do not sit too close to curves, seams, or screw tops. Craft cutters can give a more consistent shape, but the surface still needs the same careful preparation. A label placed on a rough patch will not sit flat just because the cut was precise.
- Press from the centre outward.
- Work slowly around rounded bottles and jars.
- Do not stretch the sheet while applying it.
- Trim away loose corners after the sticker is set.
- Pause if the surface starts to collect dust again.
A Durbanville pantry example
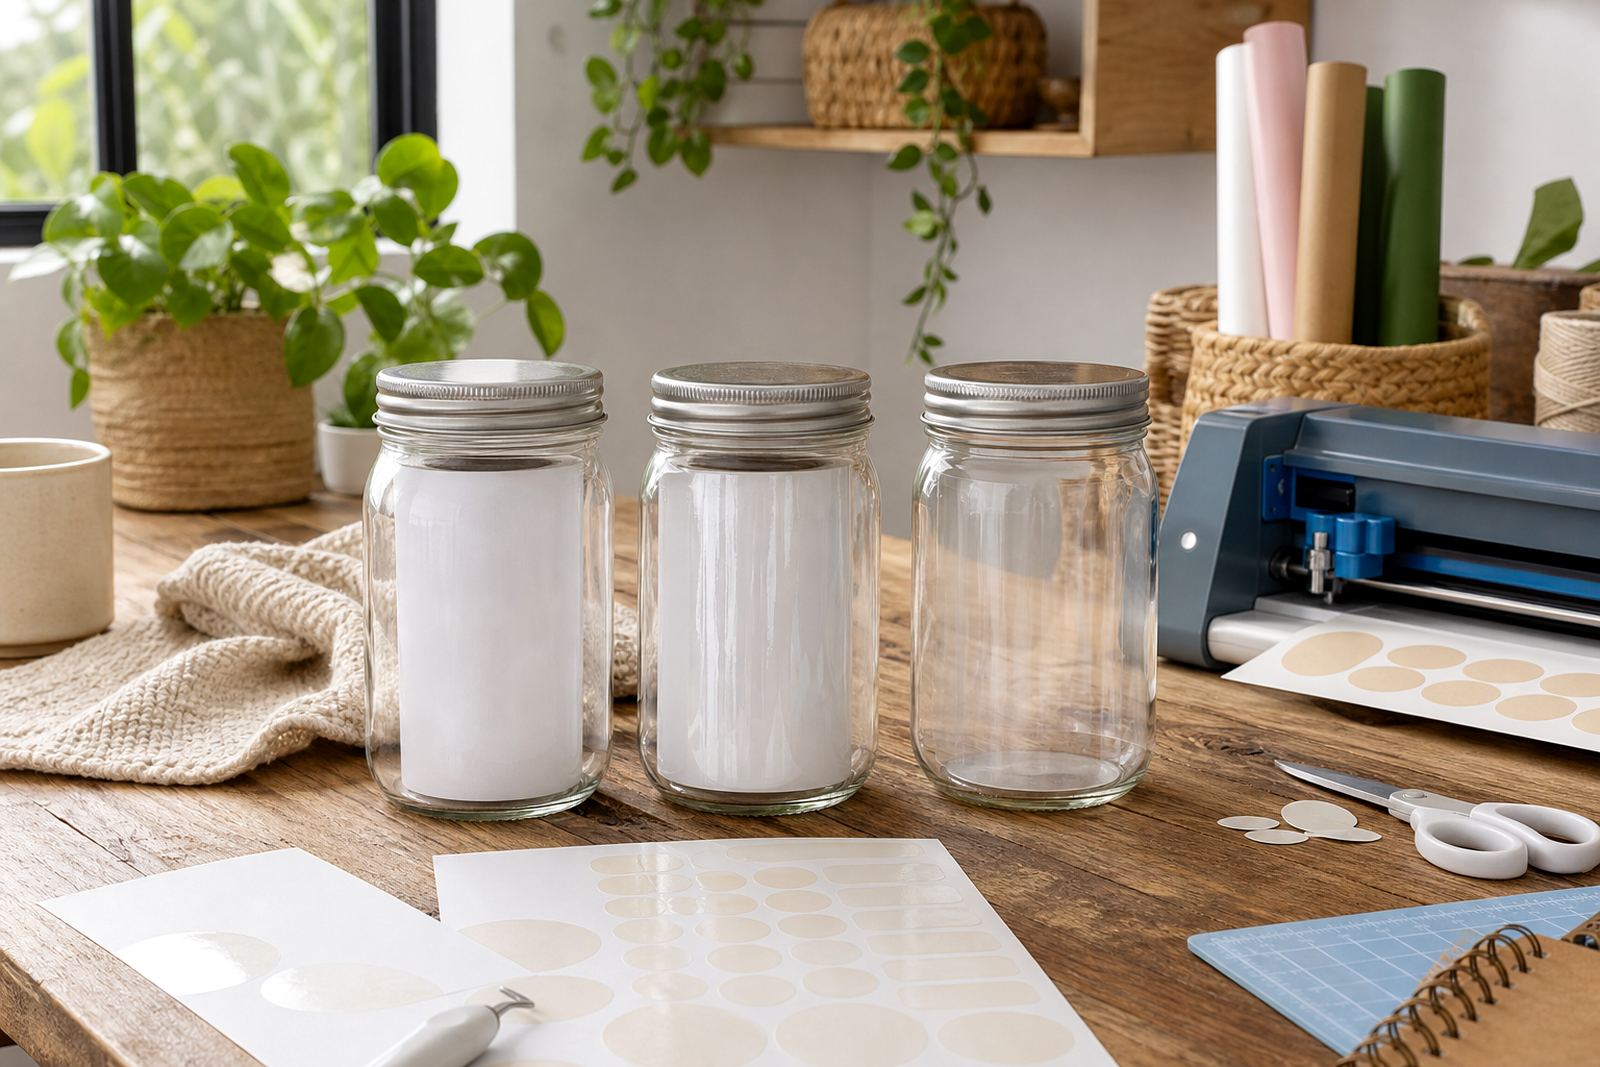
A common local job is pantry labelling for a family home in Durbanville or Stellenbosch. The jars may look spotless at a glance, but the lids often carry a light dusting from cupboard shelves, and the glass can hold finger marks from moving them around. If the labels go on before that is removed, the edges can lift sooner and the centre may show tiny air pockets.
For a neat result, wipe each jar, dry it completely, and lay the label down in a calm spot with good light. A cool morning in Cape Town can leave a slight film on glass from kitchen steam, so it helps to wait until the item feels fully dry. Once the sticker is set, avoid washing or heavy handling straight away. That gives the adhesive a better chance to settle properly.
Keep sheets and surfaces ready together
Good surface prep works best when the sticker sheets are also kept tidy. Store printable sticker paper flat, away from damp areas and direct heat, so the edges stay even and the sheet feeds cleanly into the printer. Bent corners can make alignment harder, and a warped sheet can lead to awkward cuts or uneven placement later on.
When your label surface and your sticker sheet are both ready, the whole job feels easier. Inkjet and laser printed sheets can both benefit from the same basic care, especially when you are making kitchen labels, gift tags, or storage markers for a busy house. The aim is not perfection for its own sake, but a cleaner finish that stays put for longer.