A test print shows the paper how your design behaves
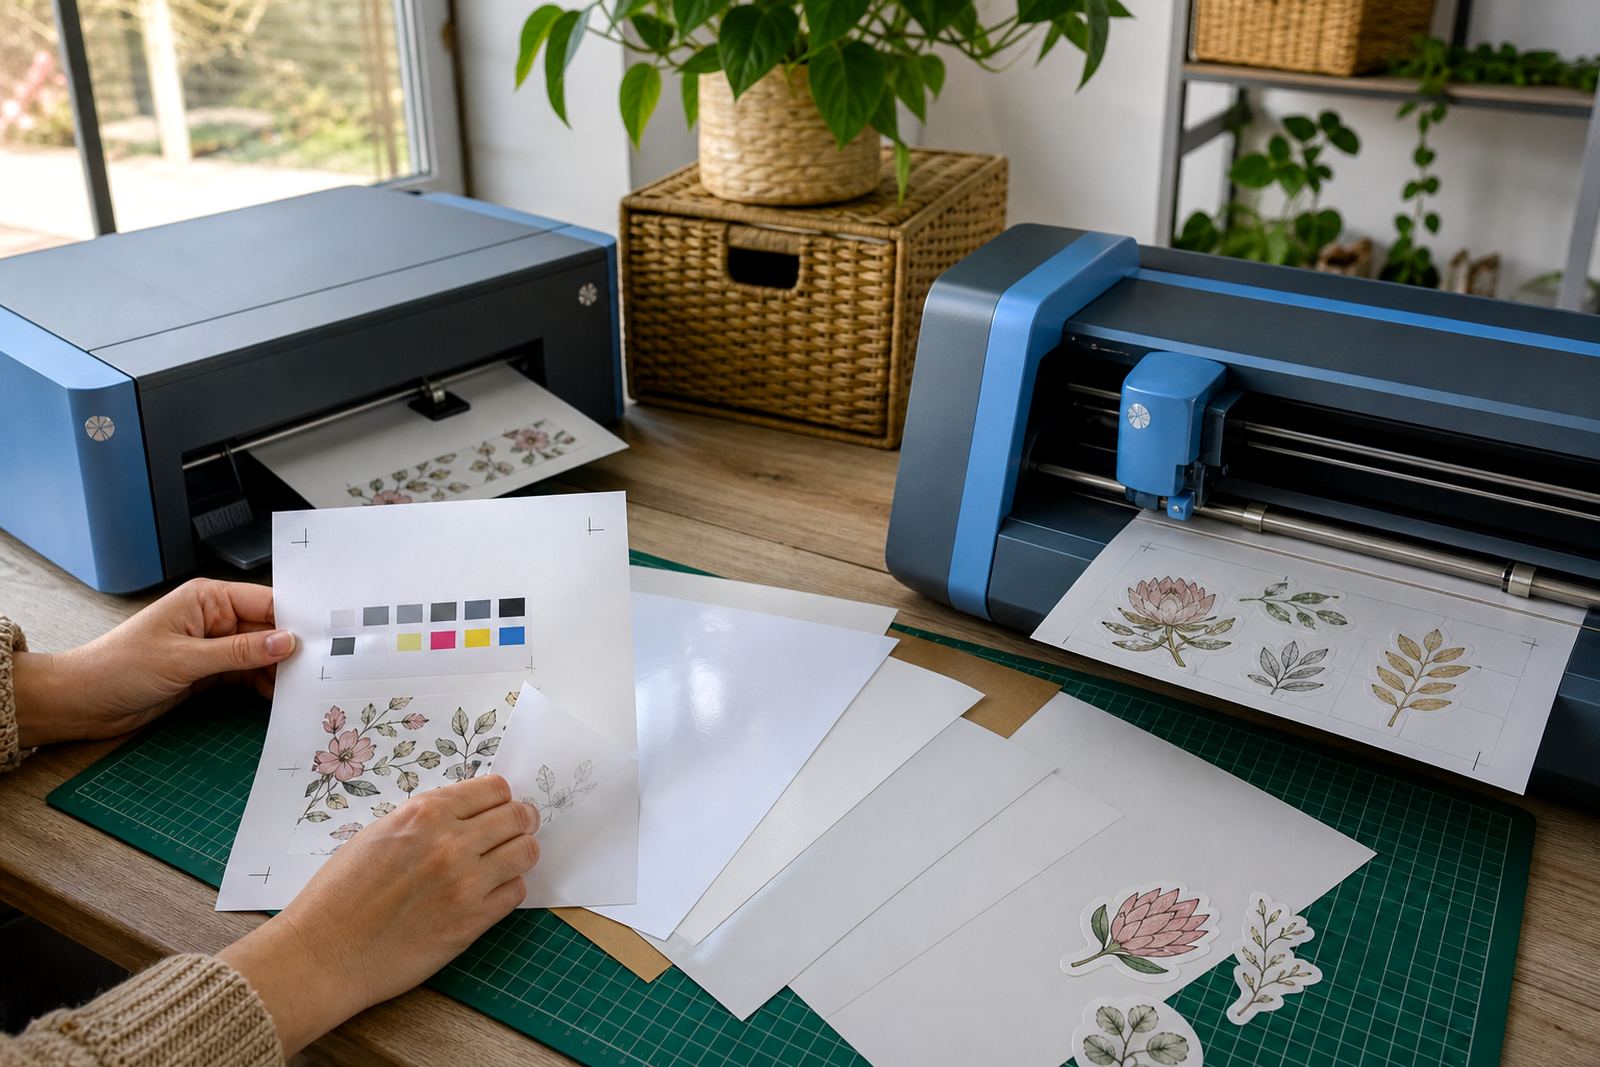
A design can look tidy on screen and still land differently on paper. Test prints help you check where borders sit, how much white space remains around each label, and whether the artwork feels cramped once it is placed on a real sheet.
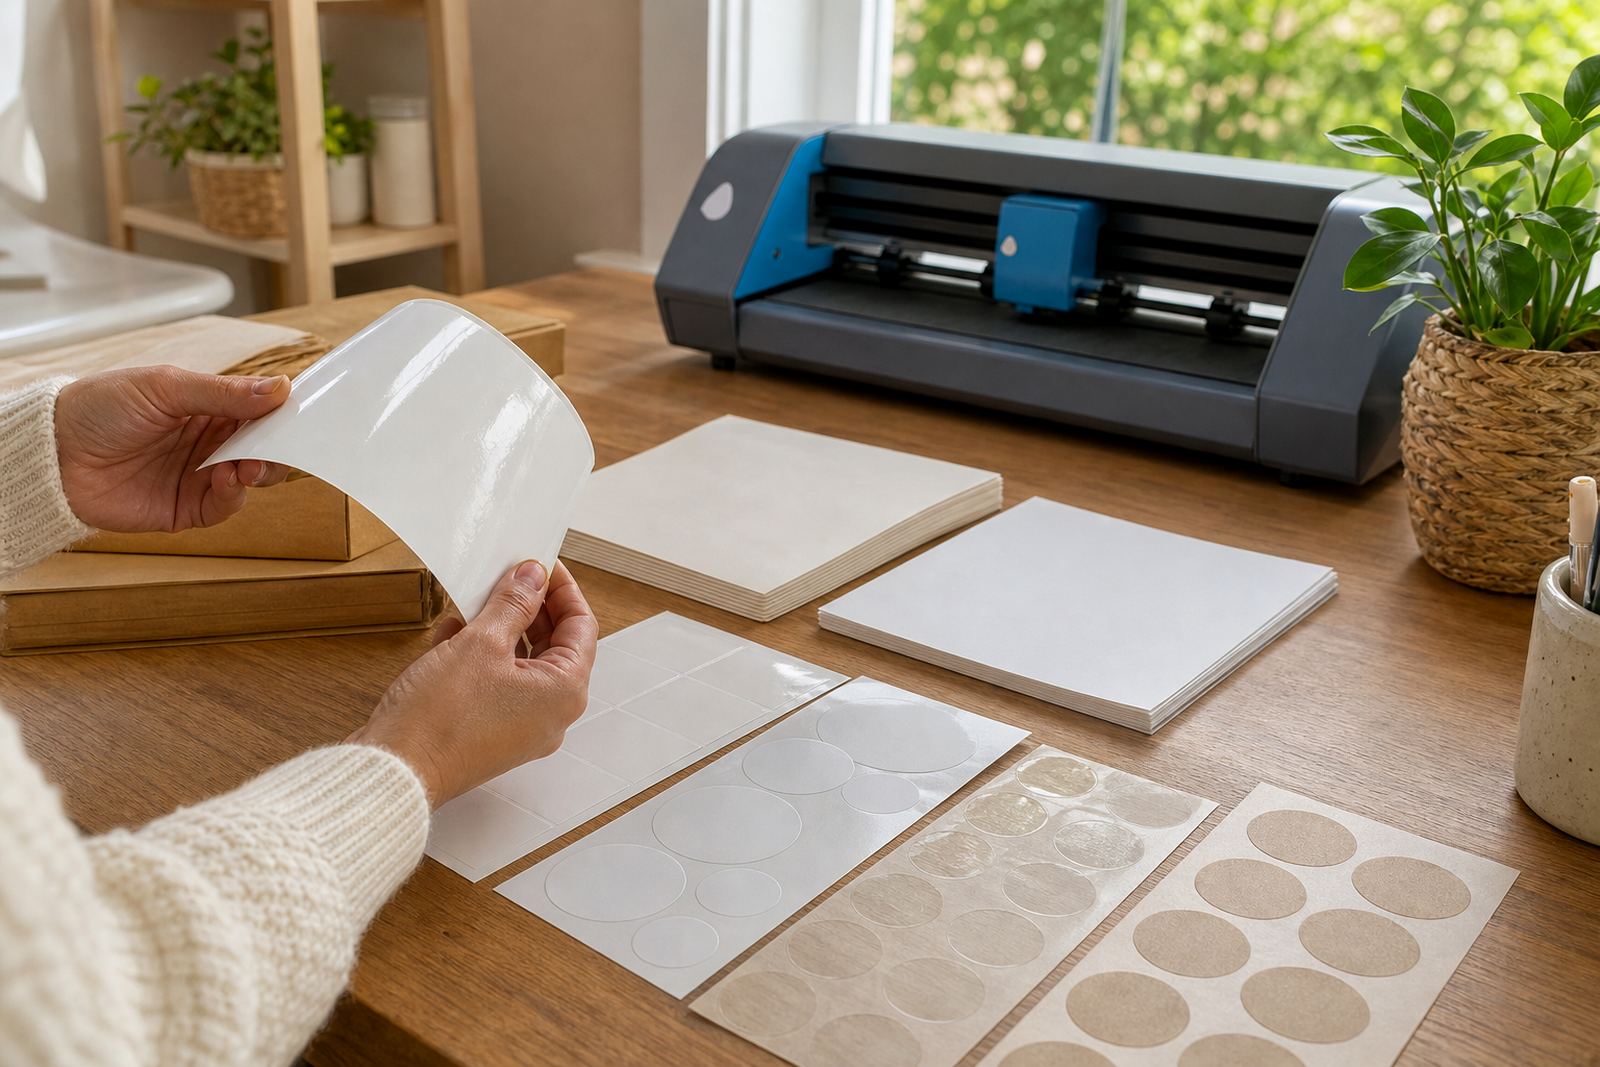
This matters with printable sticker paper because matte, gloss, clear, vinyl and kraft each change the look of colour in their own way. A pale design can disappear on kraft, while dark artwork on clear film may need a stronger outline to stay legible.
Colour changes once ink meets a real sheet
Ink behaves differently on every finish. Matte paper usually gives a softer, less reflective result, while gloss can deepen colour and make blacks feel richer. Clear sheets need careful planning because transparent areas show the surface underneath, which may alter the whole look.
- Print one sheet first, then compare it under daylight and indoor light.
- Check if greys lean warm, cool, or muddy on the chosen paper.
- Look at small text, because thin letters can lose clarity fast.
- Keep the same printer setting for the final sheet if the test looks right.
Alignment is easier to fix before the full run
Most print headaches are small at first. A label that sits a few millimetres off centre can still be usable, but on a full sheet that same error can waste a lot of material. Test prints let you see whether margins, trim marks and label spacing are sitting where they should.
If you are using a craft cutter, a trial print also helps confirm the cut position. The machine may read the marks cleanly, yet the artwork itself can still sit slightly higher or lower than expected. That is the sort of thing a quick sample catches before the whole batch goes through.
Hand cutting needs a sample just as much
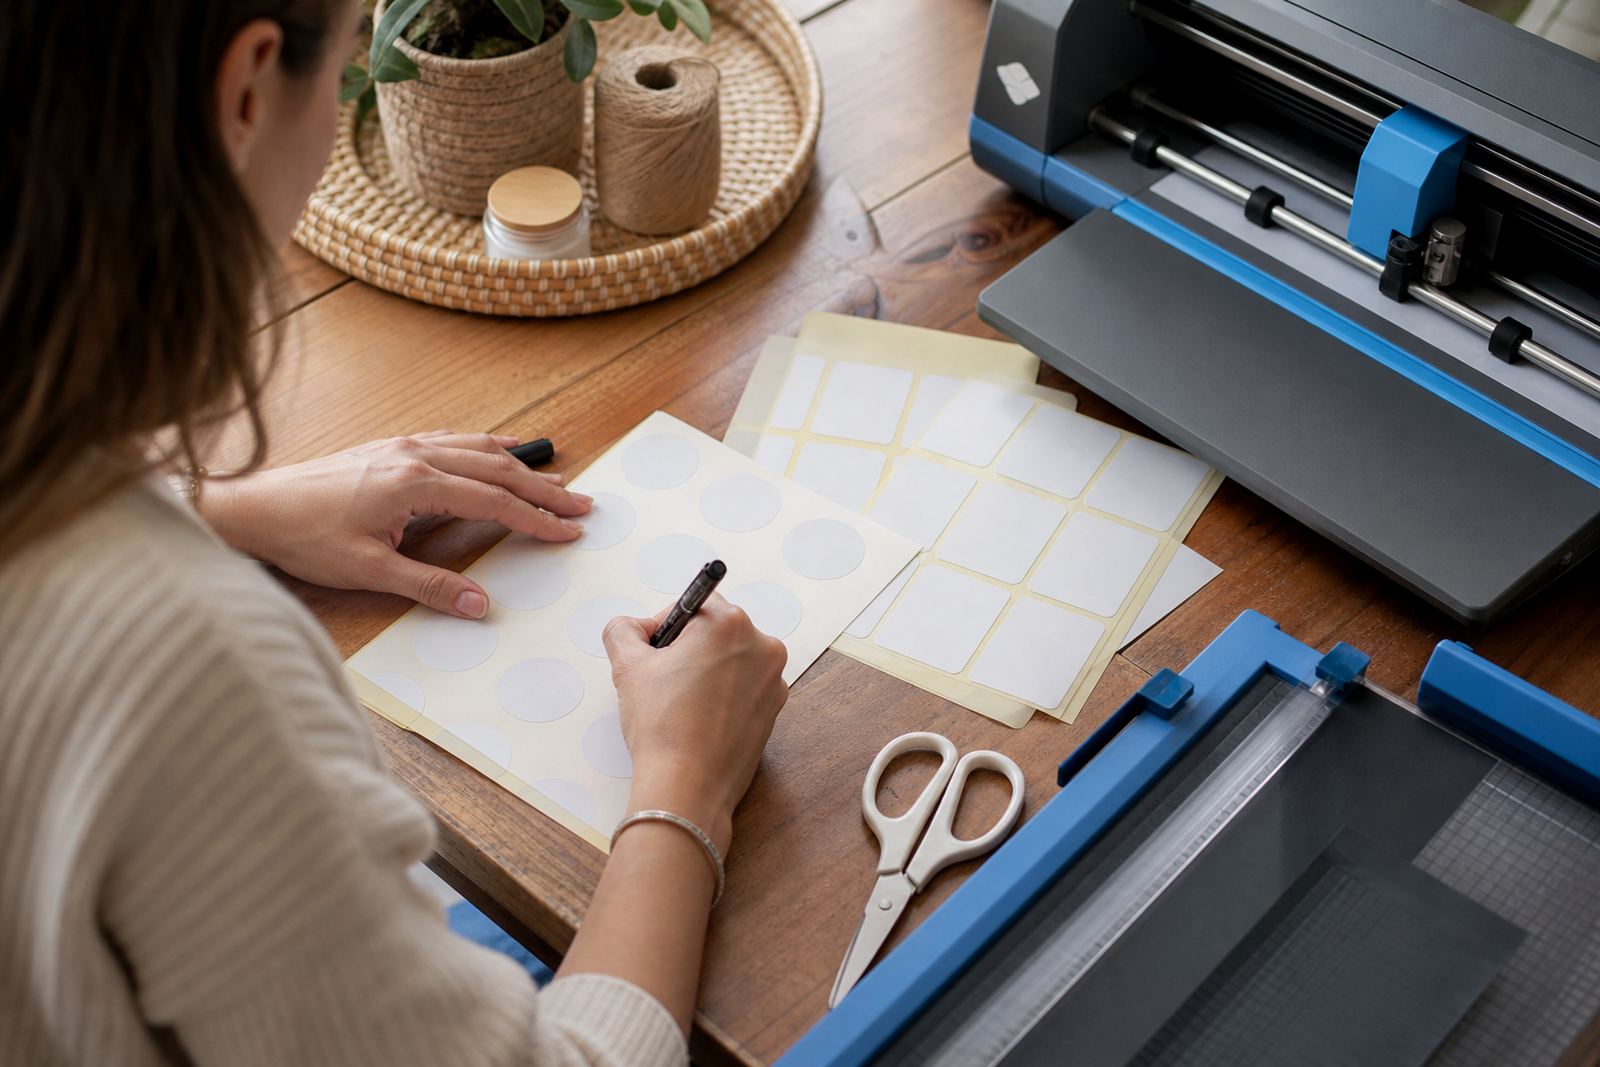
Not every project uses a cutter. Plenty of home makers cut by hand with a ruler, scissors or a craft knife. A test sheet shows how easy the edges are to follow, whether rounded corners hold their shape, and if there is enough margin to trim neatly without shaving off text.
- Mark one corner guide before you cut the full page.
- Check if the design leaves enough room for a steady hand.
- Try a small batch first when the shape is irregular.
- Keep pressure light on clear and glossy sheets to avoid scuffing.
Even a careful hand can drift a little, so a sample sheet gives you a chance to see the tricky spots before you commit to the real set.
Inkjet and laser printers ask for different habits
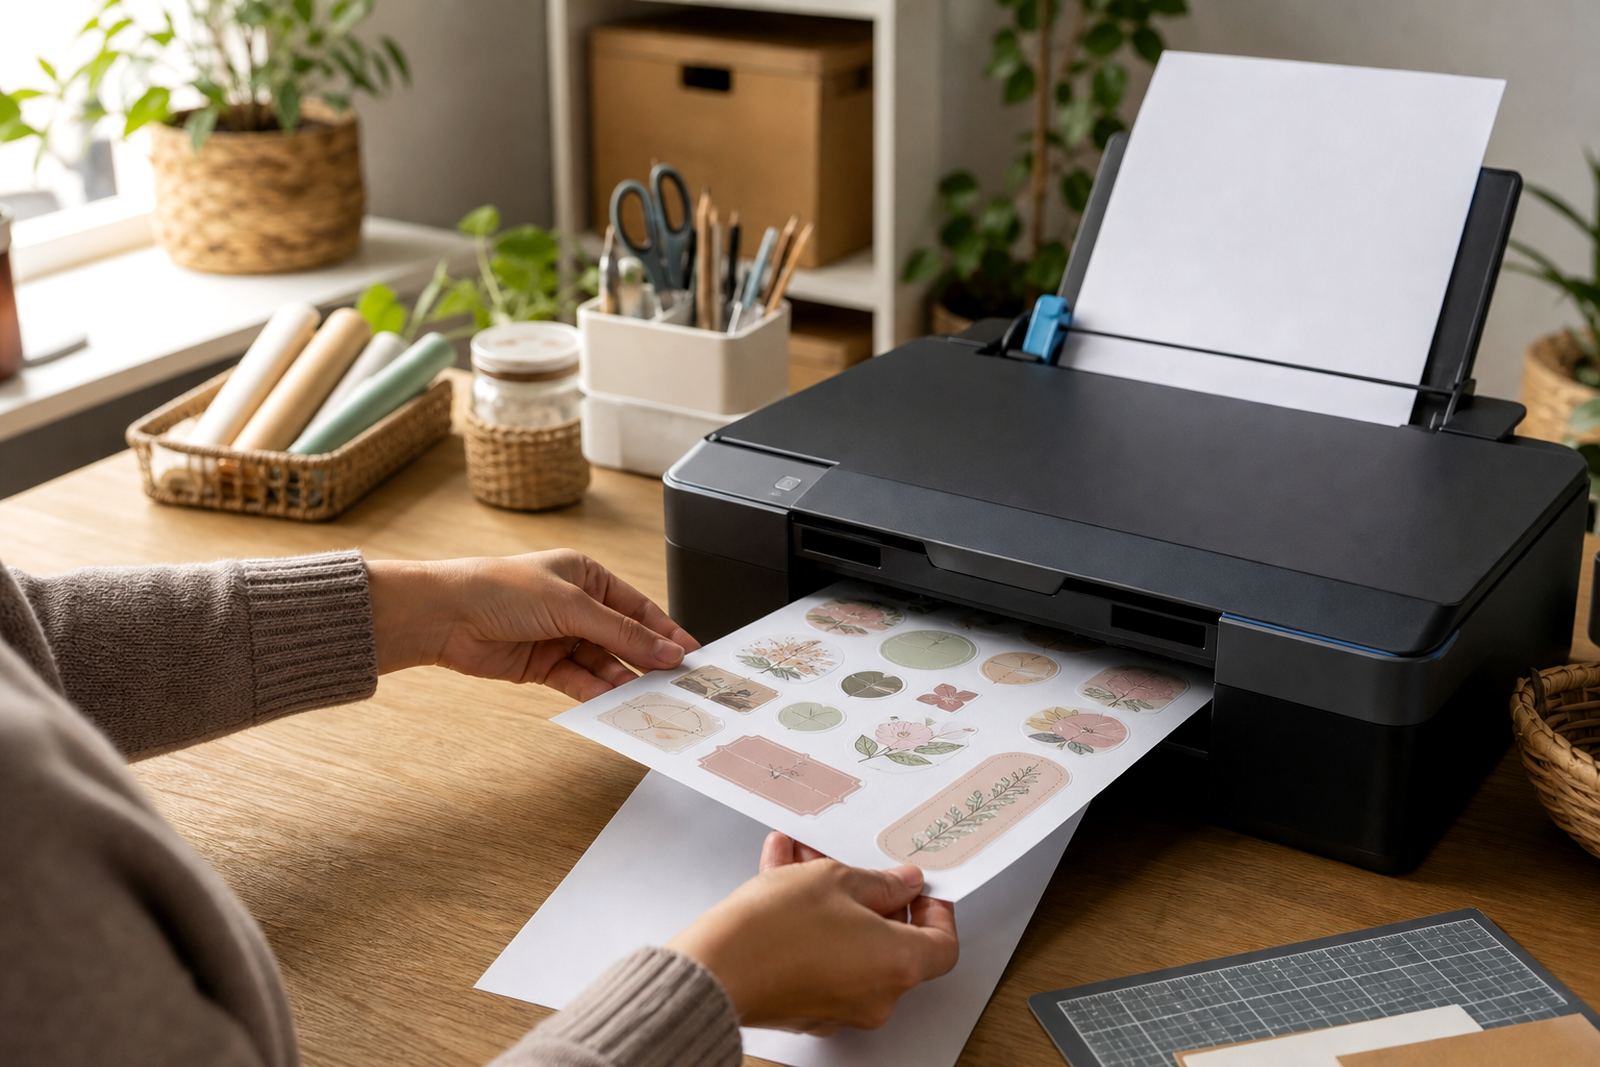
Test prints are useful whether you print at home or in a small studio. Inkjet printers need the right drying time and paper setting, while laser printers need the correct heat-tolerant sheet type. A trial run helps you confirm that the sheet feeds properly and that the toner or ink bonds cleanly.
If smudging shows up on the first pass, you can adjust the setting before the sheet is wasted. If the paper curls, curls are often a sign that the weight or feed path needs attention, and the test gives you that warning early.
A Durbanville label job that spared a full pack
A home baker in Durbanville might be preparing labels for jam jars, gift boxes and thank-you cards ahead of a weekend market in Cape Town. The wording is ready, but the jar size is a little unusual and the labels need to line up beside a curved edge. A test print on matte sticker paper would show whether the font is readable at the smaller size, and whether the cut line sits neatly around the curve.
That same trial can reveal whether the colour feels too soft in daylight near a window, or whether the adhesive release behaves the way you expected on a smooth glass surface. It is a small step, but it can save a whole pack from being used too soon.
Test prints also help with storage and later use
If a sheet prints well today, it is worth keeping a note of the printer setting, paper type and cut method. That makes later batches easier to repeat without guesswork. It also helps when sheets are stored in a cupboard or craft room, because you can match the paper to the right job instead of opening packs at random.
- Write the successful print setting on the pack.
- Keep sheets lying flat in a cool, dry place.
- Keep clear and gloss sheets away from dust and fingerprints.
- Separate test pieces from final sheets so nothing gets mixed up.
For crafters across South Africa, from Johannesburg to Bloemfontein, that habit keeps the process steady. A quick test print gives you a better read on colour, cut position and finish, and it turns a tricky project into something far more manageable.