Labels that stay neat on glass, plastic and PET bottles
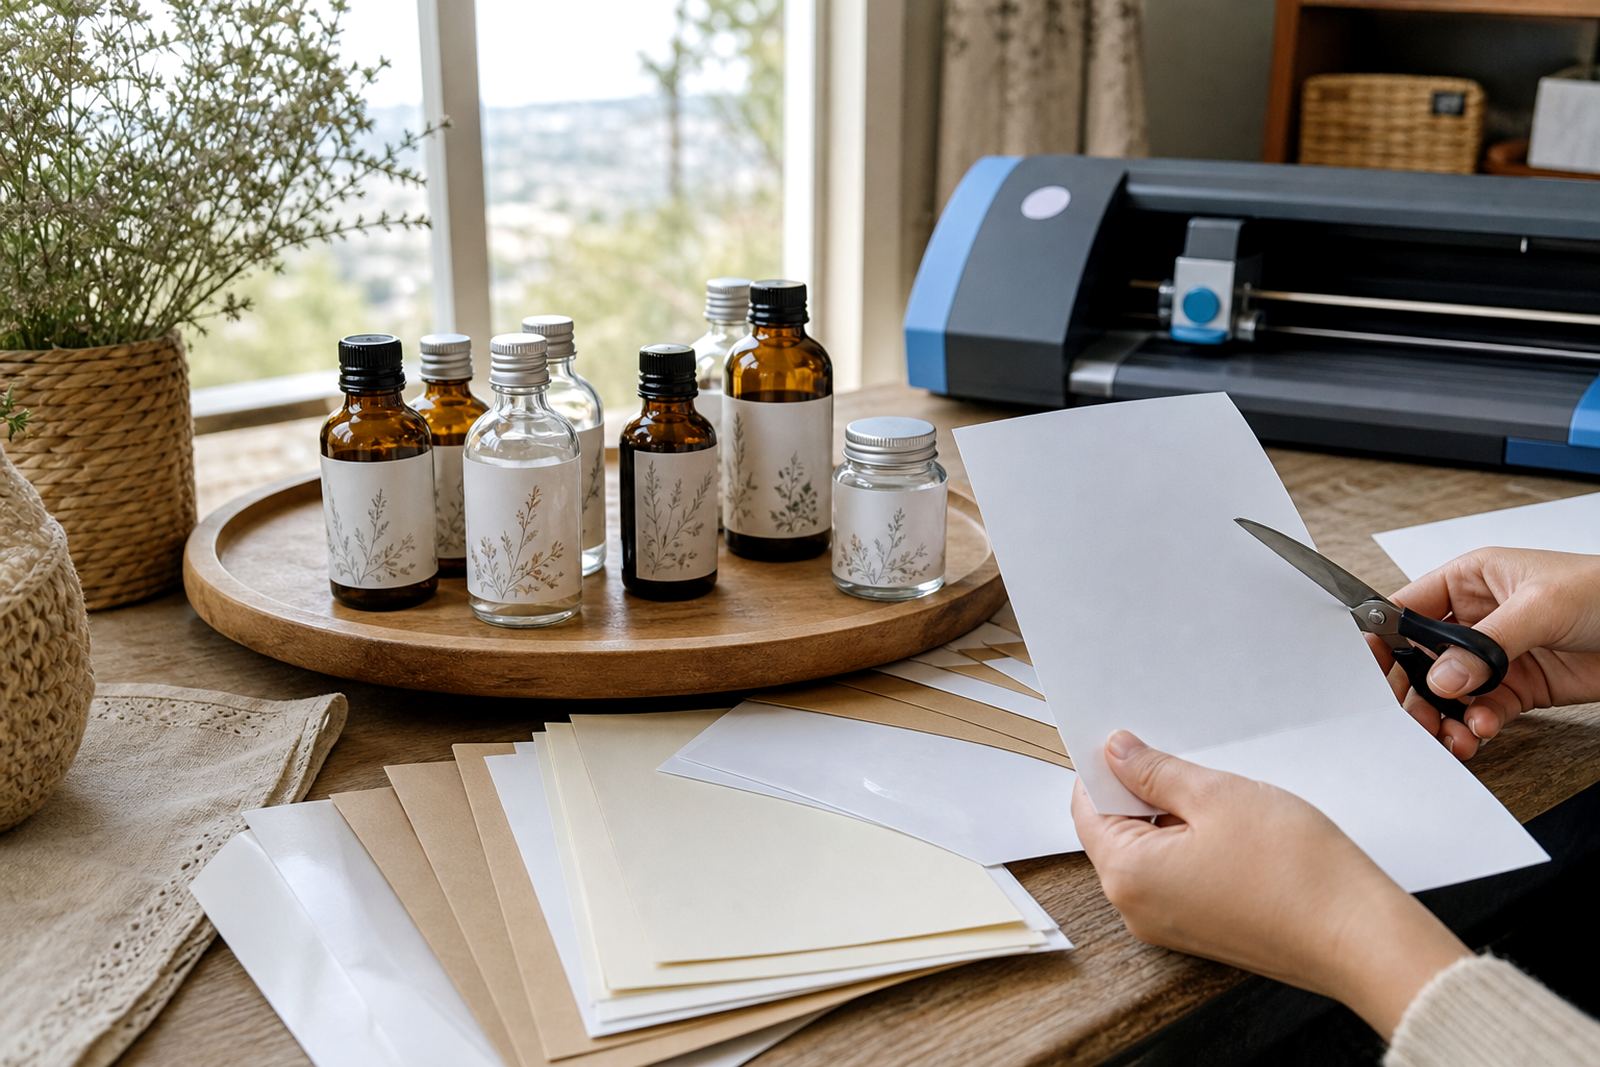
Bottle labels sit in places where fingers touch, fridges drip and surfaces curve, so the sheet has to settle cleanly and stay readable. For gifts, homemade cordials, pantry bottles and event favours, gloss, clear and vinyl stock all work well when the bottle is dry and the label size suits the shape.
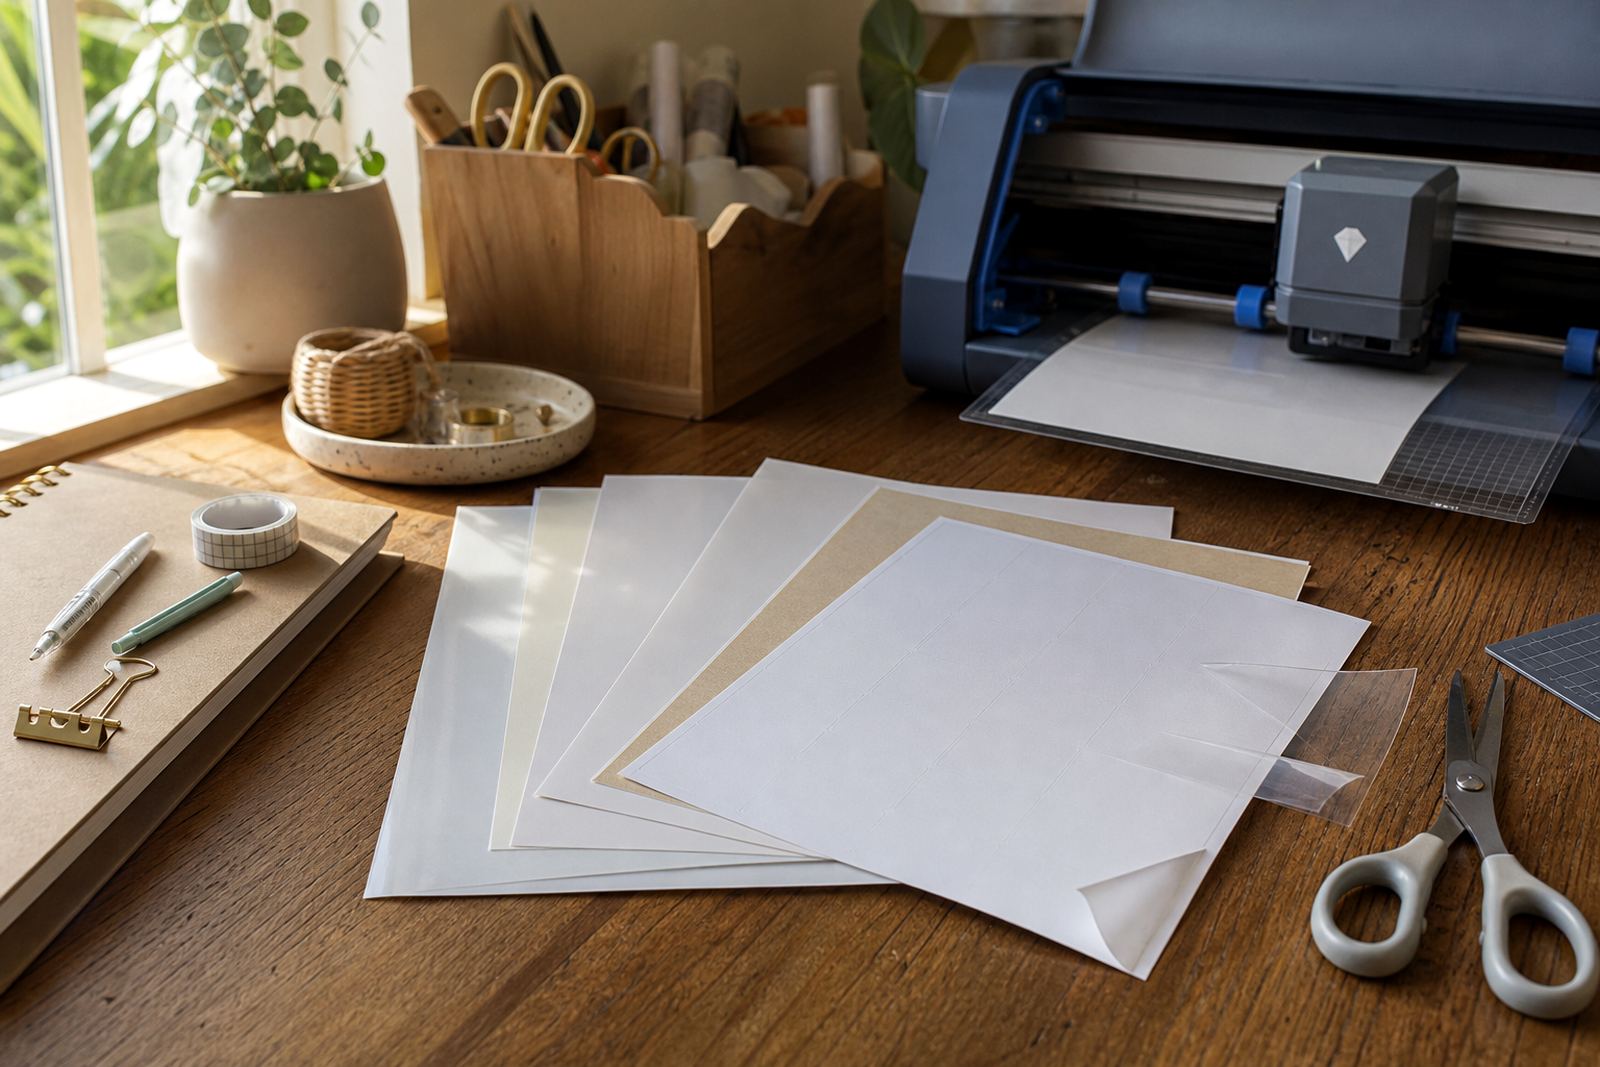
Clear sheets suit a neat, near-invisible look on light-coloured bottles, while gloss gives brighter colour on logos and ingredient panels. Vinyl is the tougher option for bottles that are handled often or stored in busy kitchen spaces. For candle oils, syrups and bathroom products, a label that resists smudging makes the finish look far more considered.
Matching the sheet to your printer and cutter
Most home makers use either an inkjet printer or a laser printer, and the sheet must match the machine before anything else. Inkjet sheets are made to absorb liquid ink properly, while laser sheets need to handle heat from the printer without curling or dulling the print. If the wrong type is used, the label can smear, crease or feed badly through the rollers.
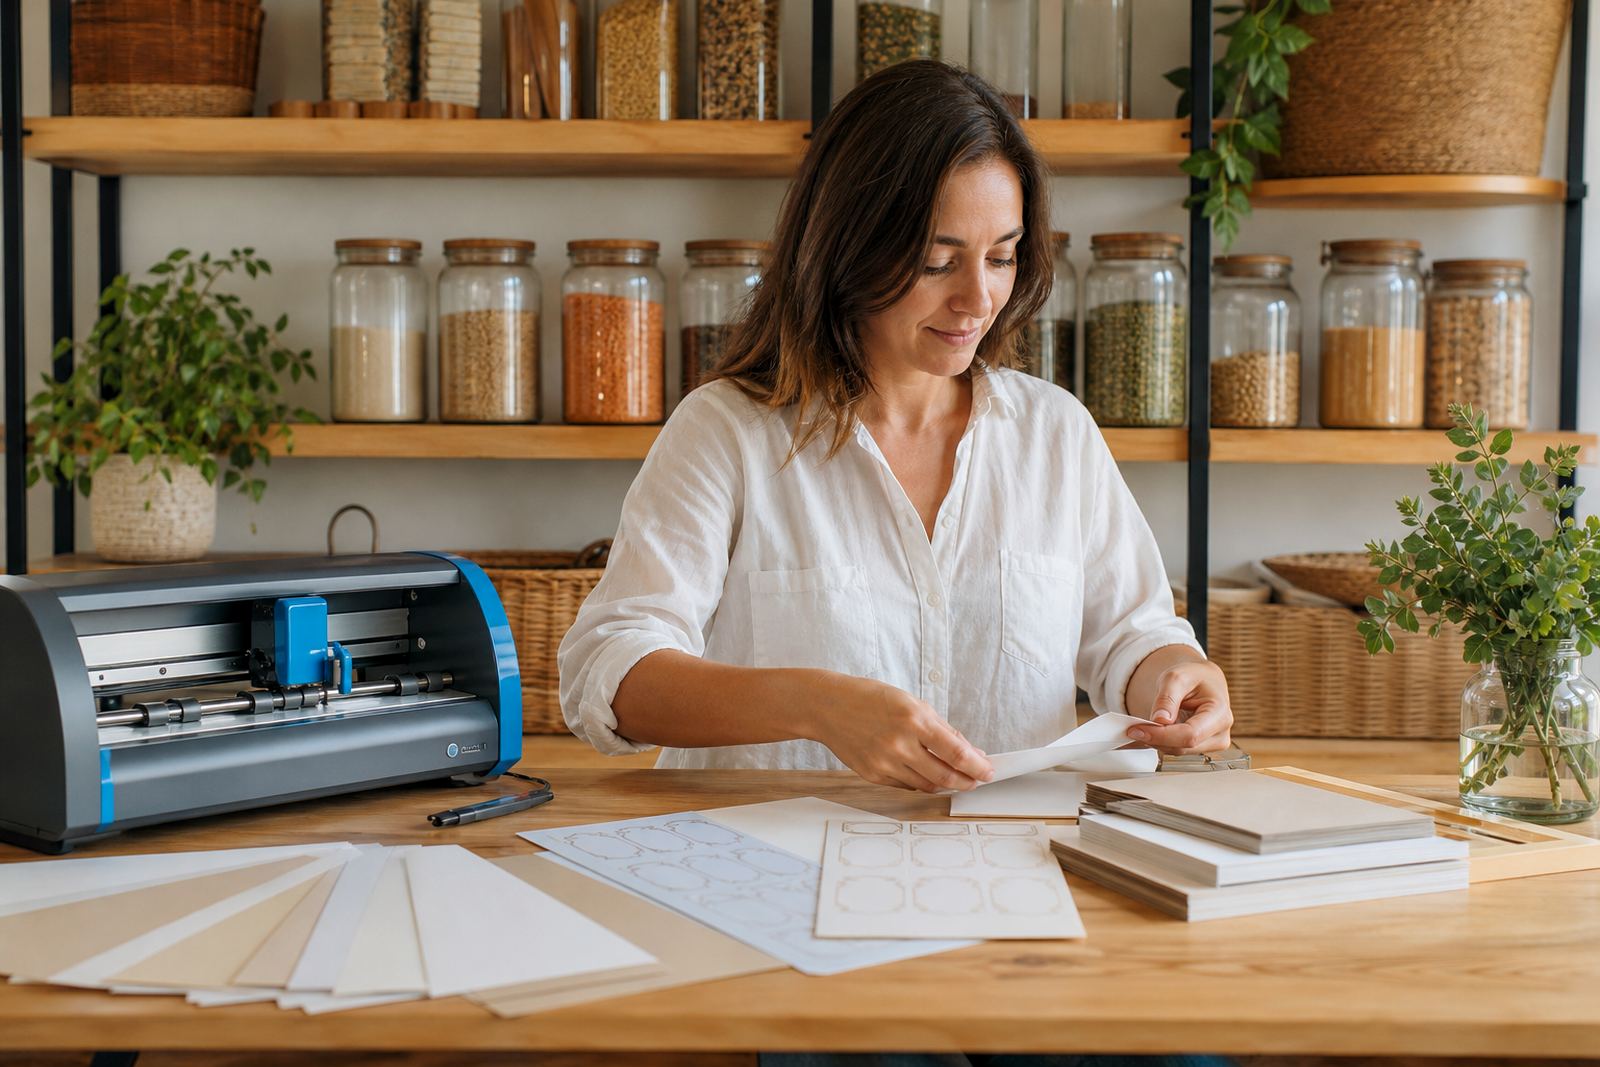
Many bottle label jobs are trimmed by hand with a ruler and craft knife, especially for small runs. For repeat shapes, a craft cutter saves time and gives a cleaner edge around round or curved bottle fronts. When working with cut files, it helps to leave a little extra margin around text and logos so the design does not sit too close to the edge.
- Use test sheets before a full run, especially for small type and coloured backgrounds.
- Set print margins carefully so the artwork stays centred on the label area.
- Check whether your bottle shape needs rounded corners or a narrower wrap.
- Keep the cutter mat clean so vinyl and clear sheets release neatly.
Plan the layout before the first print run
Bottle labels often fail because the layout is squeezed too tightly. A label for wine bottles, homebrew, cordial bottles or spice oil containers needs room for a name, a short description, batch details and sometimes instructions. If the label covers a curved section of the bottle, the design should avoid very thin borders that can look uneven once applied.
Clear stickers work best when the bottle itself forms part of the design, but they need strong contrast for text. Gloss can handle bright imagery and bold colour blocks, while kraft suits a more handmade look for preserves, sauces and farm kitchen goods. For events, keep the wording short and legible from arm’s length, because people usually spot the bottle before they read every detail.
- Measure the flat panel on the bottle, not the full curve.
- Leave space for a barcode, batch note or ingredient list if needed.
- Keep the font size generous for small bottles and narrow neck labels.
- Print a single sample and place it on the bottle before cutting the full set.
Common mistakes with bottle stickers
One of the most common errors is using paper that cannot cope with damp hands or chilled bottles. Another is placing the label over a curved area where the edges lift before the bottle has even been used. A poor colour test can also lead to text that looks fine on screen but turns muddy once printed.
For bottle labels used at weddings, markets or in the home, the surface should be clean and dry before application. Dust, condensation and oil from fingertips can weaken the bond and make corners lift. On glass bottles, a gentle wipe with a dry cloth often helps more than rushing the application. If the print is meant for a fridge or pantry, allow enough drying time after printing so the ink settles properly.
Smudge marks are another frequent issue, especially when labels are stacked before the ink has set. That is where the right printer settings matter, along with careful handling after cutting. In a busy kitchen or packing area, it helps to keep printed sheets flat and separate so they do not mark against each other.
Budget bands for small and larger label runs
For a small batch of bottle labels, many crafters plan around a modest materials budget and print only what they need for that week or event. A simple home project with a handful of bottles may sit in the lower Rand range, while a larger run for market goods, gifts or product sampling will use more sheets and more ink. The finish you choose also affects the total, because clear and vinyl stock can be more specialised than plain matte paper.
As a rough guide, home makers often split their spend between test prints, final sheets and the time needed for cutting. A short run might cost a few hundred Rand in materials, while a broader batch for seasonal sales can move into a higher bracket depending on size, artwork coverage and whether you cut by hand or with a craft cutter. It is usually better to plan a little extra for test sheets than to waste the final stock on avoidable errors.
Storage, handling and label application around the home
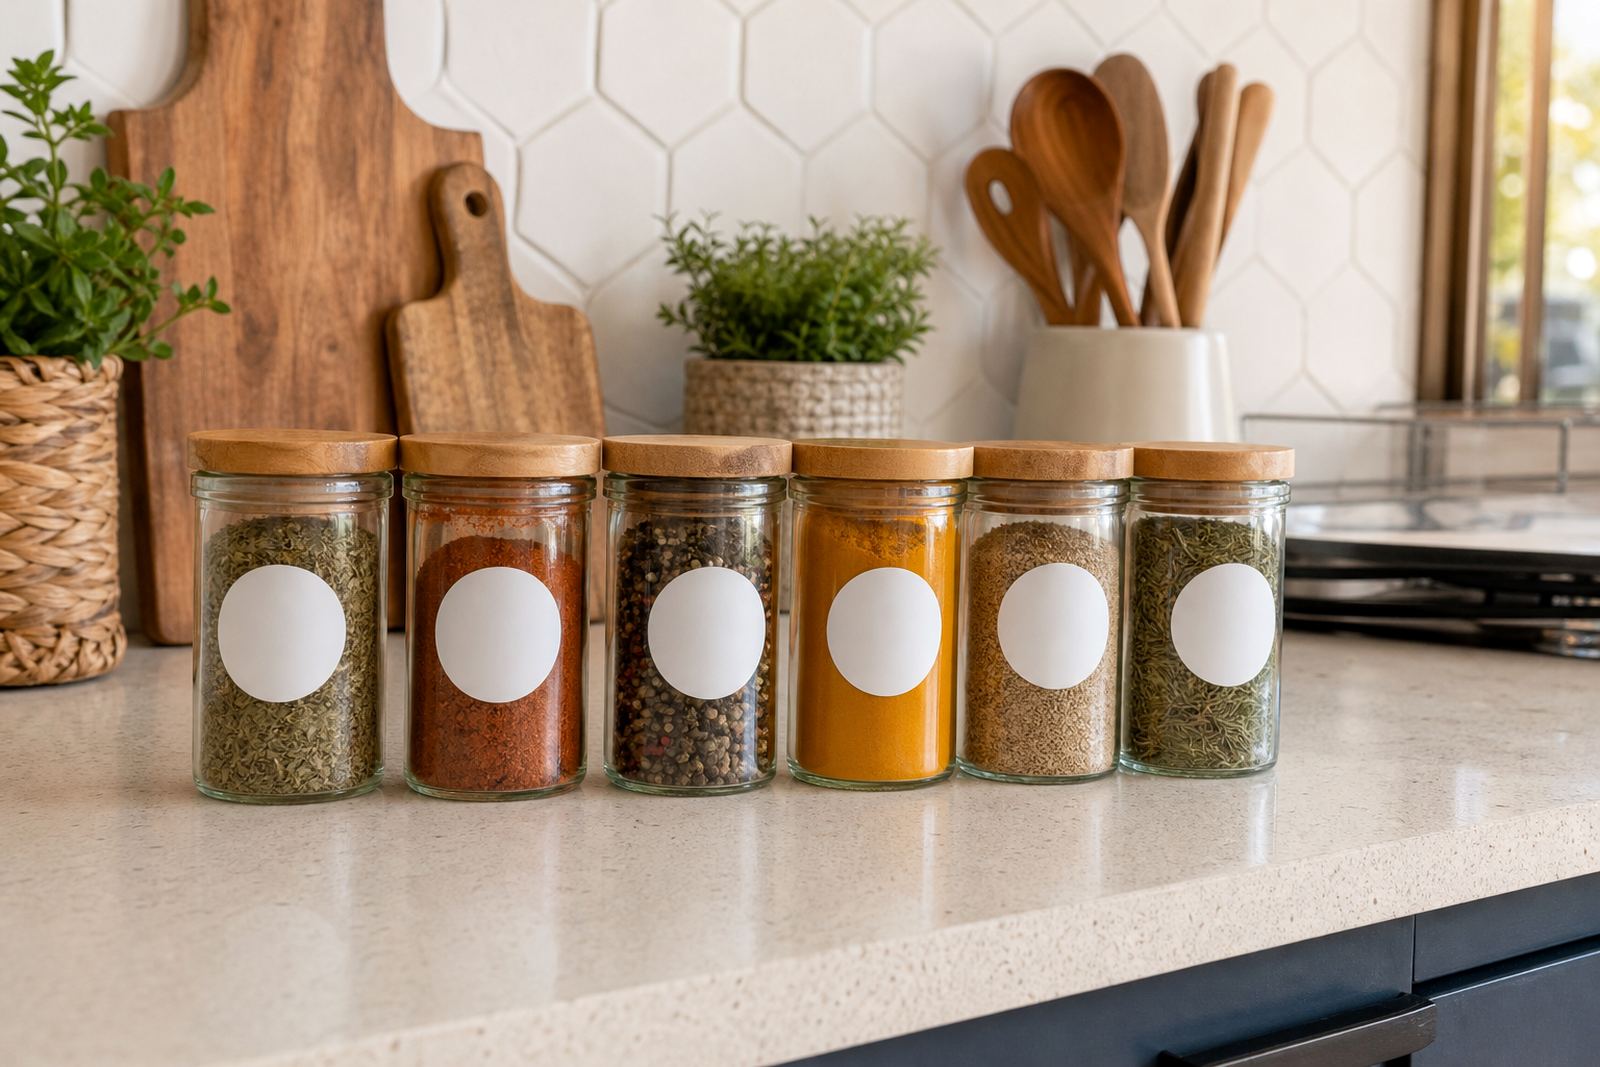
Sticker sheets keep better when they stay flat, dry and out of direct sun. In Durbanville and coastal Cape Town, humidity can soften the edges of paper stock if it is left open on a shelf, so sealed storage matters. For households that batch-label sauces, spice jars or gift bottles, a clean folder or box keeps the sheets from curling and helps protect the adhesive backing.
Applying the label carefully is just as important as printing it. Start at one edge, smooth slowly and avoid pressing down too hard too soon, because small air pockets can show through clear sheets. If the bottle has a slight ridge, press from the centre outward and work the label into place rather than stretching it. That gives a cleaner finish and helps the label sit properly through handling, packing and storage.
- Store unused sheets flat in a cool, dry cupboard.
- Keep printed labels away from steam, damp cloths and sticky residues.
- Trim any lifted corner before the bottle is filled or packed.
- For chilled bottles, apply labels before refrigeration where possible.