Labels That Match The Jar, Not Fight It
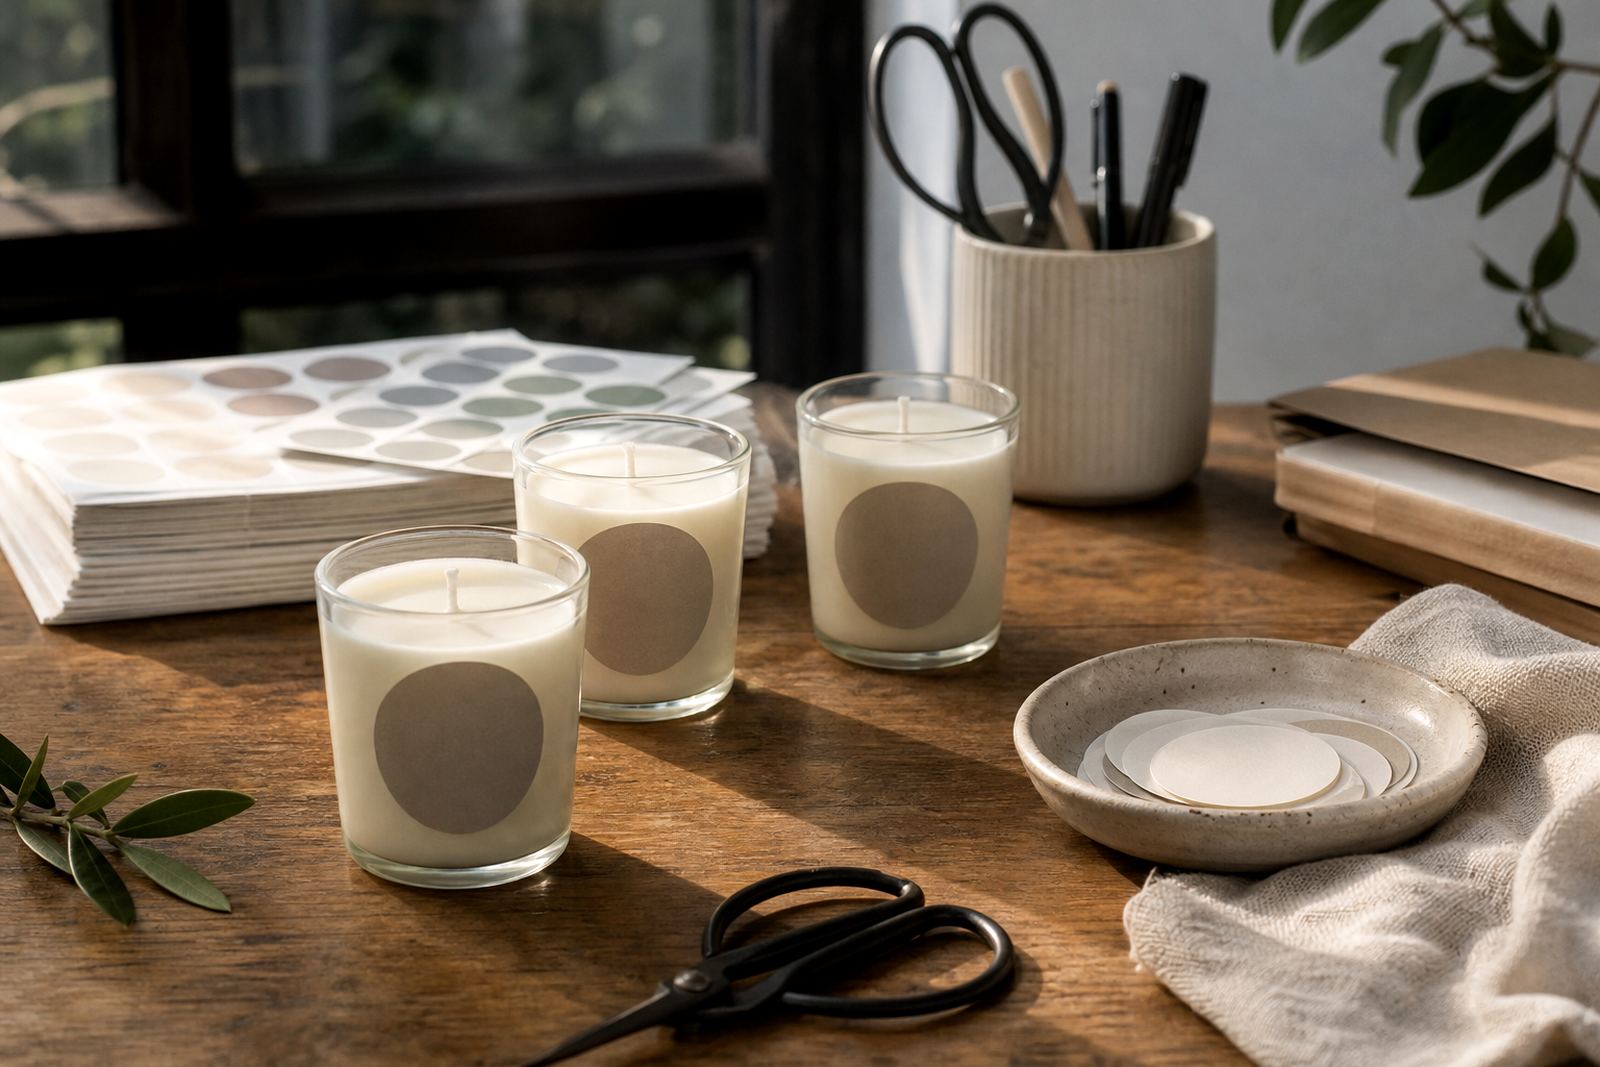
Candle labels work best when the shape follows the glass or tin, not when it crowds the curve. A narrow front label, a round lid sticker, or a small warning panel can keep a jar looking tidy on a shelf or at a market table. In Durban and other humid coastal areas, the finish you choose matters too, because paper can pick up moisture if it is left exposed for too long. Matte paper gives a softer handmade look, while gloss brings sharper colour for bright fragrance names and decorative artwork.
For candle jars, clear sticker paper is useful when you want the glass to show through around the artwork, while vinyl suits labels that need a tougher feel and a better grip on smooth jars. Kraft works well for rustic ranges, beeswax themes, and plain home scents with a natural colour palette. A label that looks neat in a photo should still read well in a kitchen, bathroom, or gift hamper, and that means good contrast and tidy spacing matter as much as the print itself.
The Usual Equipment On A Candle Label Table
Most candle label jobs start with a home printer, a laptop or phone design file, and scissors or a craft cutter. Inkjet users often lean toward matte, gloss, clear, or vinyl sheets made for ink absorption, while laser users need paper that suits heat and toner handling. If the printer settings are off, the colours can shift and small text can soften around the edges. That is why printer setting help, colour test help, and smudge reduction help are common parts of the job for home makers and small studios.
The usual set-up for candle labels often includes:
- A benchtop printer set to the correct paper type
- Scissors, a craft knife, or a craft cutter for shape trimming
- A ruler for lining up lid circles and warning strips
- Clean jars or tins with dry surfaces before sticking
- A flat storage space for printed sheets, away from damp air
When labels are being cut by hand, a steady mat and a sharp blade make a cleaner edge. For craft cutters, the file needs accurate sizing and enough margin around the design so the machine does not clip the text or outer border.
Planning A Candle Range Without Wasteful Reprints
Label planning starts with jar size, because a 30 ml tester, a 120 ml jar, and a large tumbler all need different proportions. It helps to measure the flat area available on the container, then leave enough room for the candle name, scent notes, burn instructions, and any warning text that must stay legible. If the jar is curved, a label that is too wide can lift at the edges and look messy after handling.
For candle makers selling at markets in Cape Town, Stellenbosch, or Paarl, a sensible layout usually includes one front label size and one smaller safety strip. That keeps printing simpler and reduces the chance of mixing up sizes in the middle of a busy production run. A lot of people also print a few extra test labels before the full batch, because slight changes in ink density or cutter alignment can change the final finsh of the jar.
- Make sure the text is large enough to read at arm’s length
- Leave a clear margin around each cut line
- Match the label finish to the candle style
- Use one size for the main range when possible
- Test how the label sits on curved glass before bulk printing
Where Candle Labels Go Wrong In Home Production
The most common mistake is choosing a paper type for the look, then forgetting how it behaves during printing and cutting. A glossy sheet can show fingerprints more easily, while a clear sheet can hide fine text if the artwork is too pale. Kraft looks warm and earthy, but small cream lettering may disappear against the brown background. If the label design is too close to the jar edges, it can lift sooner when the bottle is handled around the rim.
Another problem is skipping a test print. A design that looks tidy on screen can still print too small, too dark, or too crowded once it sits on a real jar. For candles sold in warm rooms or near window light, smudge reduction matters, especially when inkjet printing is involved. Labels should be allowed to dry fully before stacking, otherwise the surface can mark and the corners may stick together. That small delay saves a lot of spoiled sheets and rework later on.
Choosing Matte, Gloss, Clear, Vinyl, Or Kraft
Each finish has a different job in candle packaging. Matte paper gives a calm, readable surface and suits soft fragrances, neutral colours, and hand-poured collections. Gloss can lift bold artwork, darker tones, and high-contrast label text. Clear sticker paper works well for minimalist jars where the glass itself is part of the look. Vinyl is useful when the label needs a tougher face for frequent handling, and kraft suits earthy branding, plain jars, and gift-style candles.
Inkjet and laser compatibility should be checked before printing, because not every sheet handles both systems in the same way. Inkjet sheets are made to take liquid ink without spreading too far, while laser sheets must tolerate heat from toner fixing. For people who print at home in Durbanville, or send work to a nearby print room, matching the sheet to the machine prevents dull colour, curling, and wasted stock. The right sheet also helps with hand cutting, because a cleaner backing layer makes small shapes less fiddly.
- Matte for soft, readable candle ranges
- Gloss for stronger colour and shine
- Clear for glass-forward, minimal labels
- Vinyl for a tougher surface on jars
- Kraft for natural or rustic candle lines
What Candle Makers Usually Spend In Rand
The budget depends on sheet size, finish, and how many labels you print at once. Small personal batches can start with a modest outlay for a few sheets, while larger home businesses may buy mixed packs for trials, scent labels, and full jar runs. A single range often needs more than one label type, especially when there is a main front label, a safety label, and a lid sticker. It is easy to overbuy one finish and then find the next candle collection needs something different.
For candle labels, many home makers work with a flexible budget spread rather than a fixed pattern. A practical order might cover test sheets, a main production pack, and a backup finish for special jars or limited sets. Storage matters too, because sticker paper should stay flat and dry, away from damp corners or hot car boots. If you are printing in a coastal area or moving stock between home and market, that storage care helps the adhesive stay predictable and the printed surface stay tidy.
When a label is sized well, the paper choice feels easier, and the jar looks more finished without much extra effort. That is the point for candles: clear text, neat edges, and a surface that matches the jar shape without fighting it.