Planner pages that need tidy colour blocks
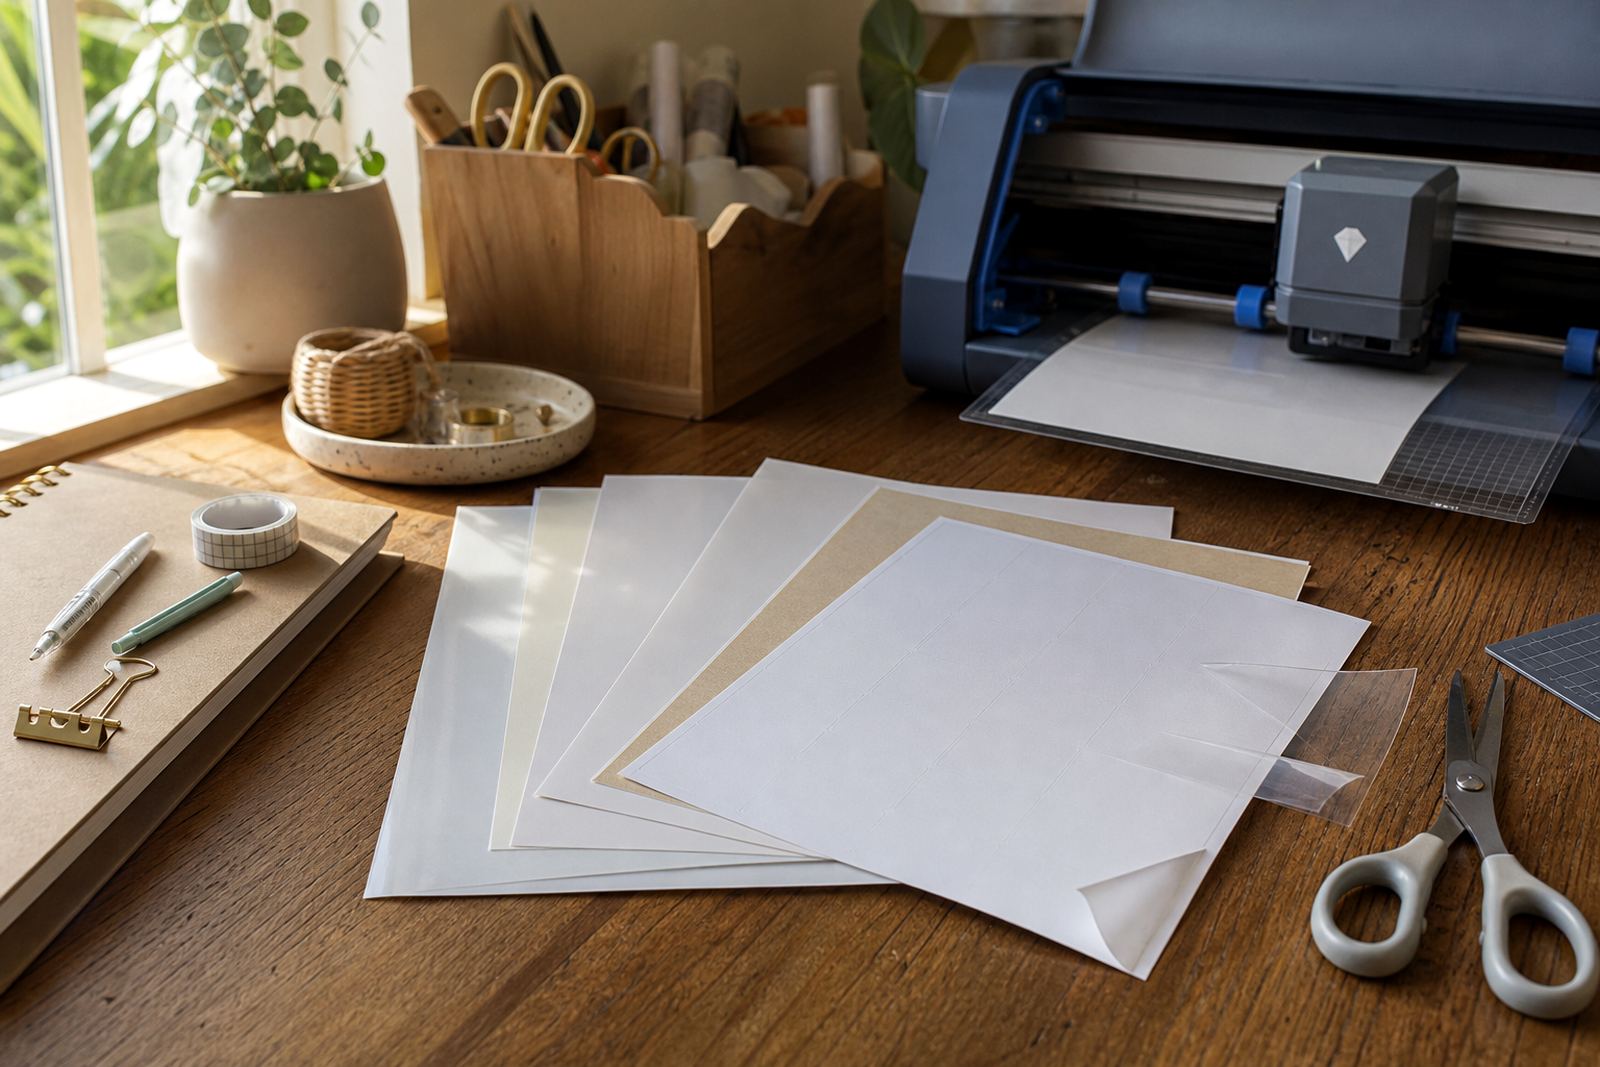
Planner work is unforgiving when the paper curls, smudges or tears at the corners. Most home makers want sheets that can handle small text, soft pastel blocks and repeated cutting without the edges lifting. Matte and gloss sticker paper both suit planner stickers, icons and weekly layouts, while clear and vinyl sheets help when the design needs a lighter look or extra handling strength.
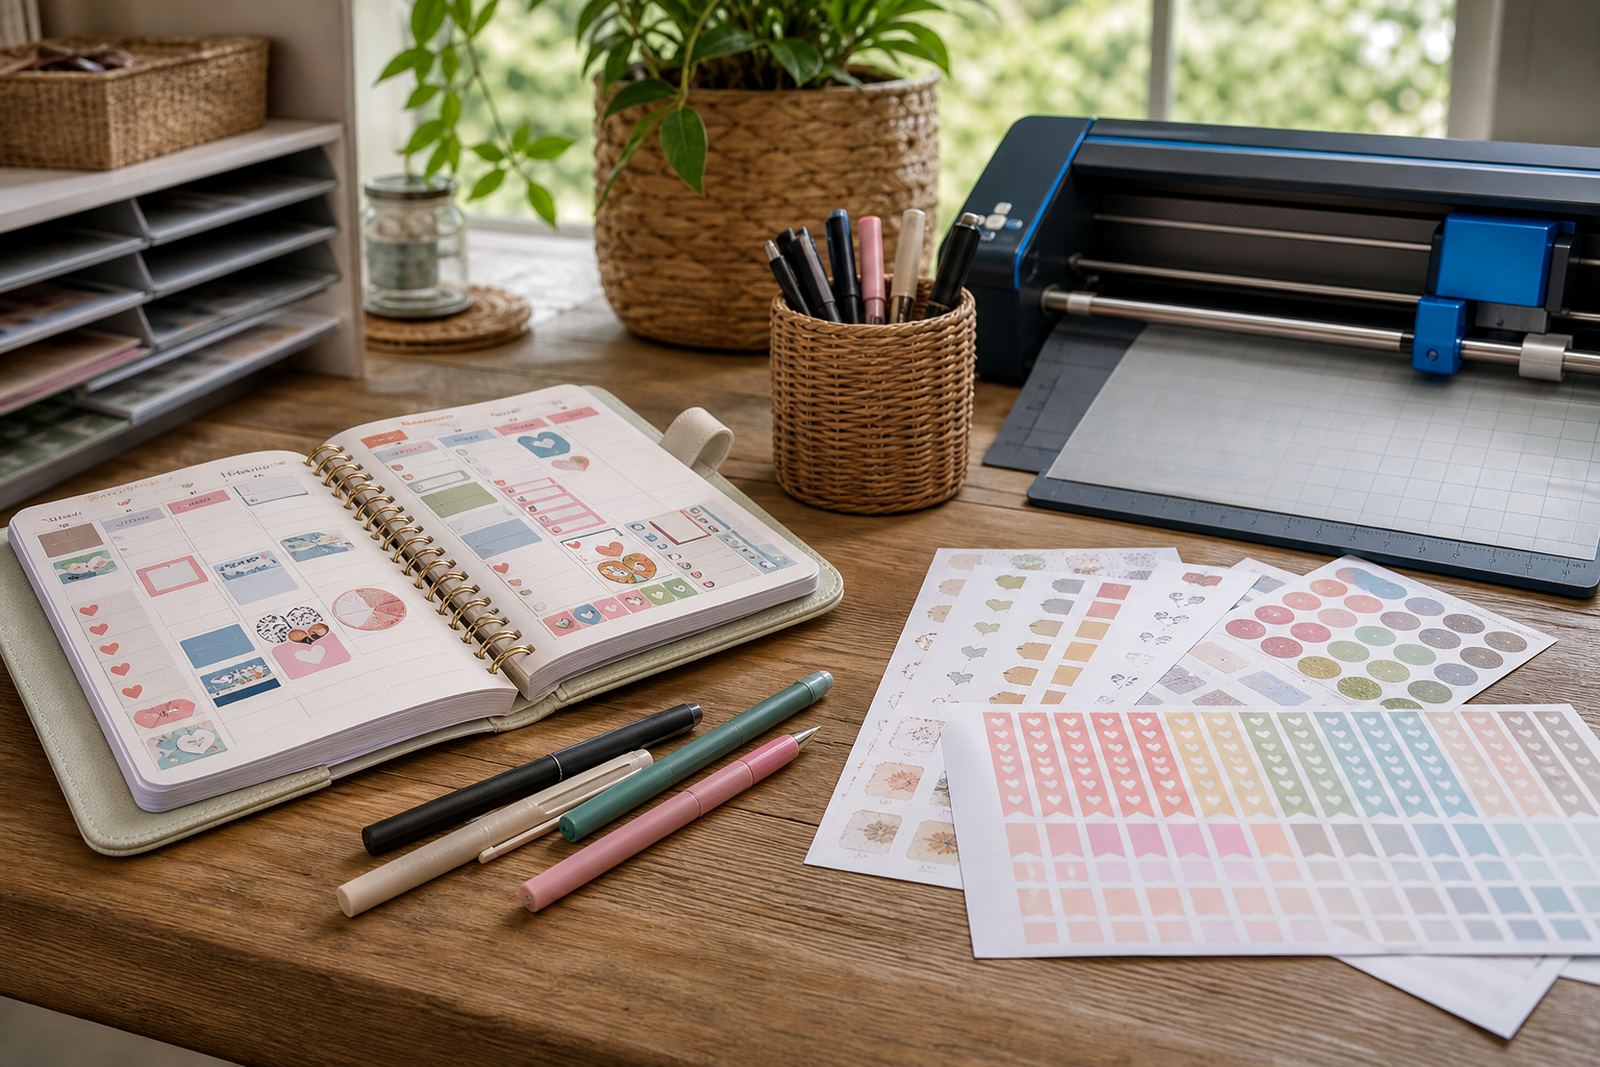
In Durbanville and wider Cape Town, many customers print at home and then cut pages into date dots, headers, meal labels and habit tracker strips. The right sheet depends on the look you want and the way your printer lays down ink or toner. For planner sets that are handled often, a good adhesive backing matters as much as the print face.
What usually sits on the table during a planner print run
A planner sticker session normally starts with a benchtop printer, a clean cutting mat, a steel ruler, fine scissors and a craft cutter for repeated shapes. Some users print on inkjet machines for richer colour layers, while others work with laser machines for sharper handling and quicker dry output. Both can be useful, but the sheet type needs to match the machine and the finish you want.
- Matte sheets suit handwritten notes, headers and muted colour themes.
- Gloss sheets suit bright icons, decorative boxes and bolder artwork.
- Clear sheets suit overlays, window labels and subtle planner accents.
- Vinyl sheets help when stickers will be handled often or moved around.
- Kraft sheets suit earthy layouts, journals and handmade gift sets.
In practice, a careful test page can save a full pack. A small print check shows whether your text sits sharp enough, whether the colour shifts too warm, and whether the cut line stays neat at tiny sizes.
Layout choices that help planners feel organised
Planner stickers work best when the sheet layout follows the page structure already in use. Weekly spreads often need narrow labels, while monthly views call for smaller icons and short notes. If a design has too many tiny parts, the cut lines can feel crowded and the page becomes awkward to lift from the backing.
For home organisers, a mix of functional and decorative stickers is usually the easiest route. Functional sets cover dates, reminders, chores and bill markers. Decorative sets add colour blocks, header strips and tiny symbols without taking over the page. When the artwork stays simple, the printer holds detail better and the cutter follows more cleanly.
- Leave enough space between shapes for hand cutting or machine cutting.
- Keep text large enough for the smallest planner box you use.
- Match the sheet size to your printer tray and cutting mat.
- Store printed sheets flat so corners do not curl in humid weather.
How different finishes behave in daily planner use
Matte sticker paper gives a softer finish, which makes handwritten notes and pen marks easier to read. It also hides glare, so photographed spreads look calmer. Gloss finish gives stronger colour and a brighter surface, though a light sheen can show fingerprints when pages are handled often.
Clear sticker paper works well for layering over printed planner pages, especially where the background colour should show through. Vinyl is a practical choice when stickers need more durability or frequent repositioning. Kraft gives a natural look that suits neutral planners, gratitude journals and labels for storage boxes in the home office or kitchen.
Coastal humidity can affect sheets left near open windows, especially in summer. Keep the packs sealed and flat, and avoid stacking them where the edges may pick up moisture. That little bit of care helps the sheet feed more evenly and keeps the adhesive face clean for printing and cutting.
Budget ranges for planner sticker projects
Planner sticker budgets usually depend on sheet count, finish and whether you are printing a small test run or a larger batch for a club, market table or gift bundle. Many makers start with a mixed pack so they can compare matte, gloss and clear before settling on one style. That approach keeps waste down and helps the final planner set feel consistent.
For a small home project, expect a starter spend that may sit in the lower hundreds of Rand, especially if you only need a few finishes and a modest sheet count. A fuller planner kit with multiple sizes, test sheets and extra backing paper can move into the mid hundreds or higher, depending on the order mix. Larger repeat batches for organised gifting or resale planning will naturally sit higher again.
- Small test packs suit first-time layouts and sample prints.
- Mixed finish packs help when planning different sticker styles.
- Bulk sheets suit regular planner users and small home businesses.
The mistakes that slow down a neat sticker page
Planner sticker work often goes off track when the printer settings do not match the sheet surface. Too much ink can make matte sheets soften, while the wrong temperature or density on laser machines can affect gloss and clear finishes. A second common issue is cutting too close to the printed edge, which can lift corners or leave the sticker hard to peel.
Another problem is storage. Sheets left loose in a drawer can bend, collect dust or pick up moisture, and that shows immediately in the print. A flat pack in a dry cupboard is a better fit for Durban, Pretoria or Bloemfontein homes where conditions change from one room to the next. For hand cutting, a sharp blade matters more than speed, and a craft cutter should be set carefully before a full run.
If the layout uses very fine icons, it helps to widen the cut path a little. Small adjustments keep the page tidy and reduce waste, especially when the planner set includes weekly habits, tabs and tiny date markers.