What Clear Sheet Help Covers For A Clean Finish
Clear sheet help covers the practical side of printing and applying transparent sticker paper for home projects, labels and gift work. The material suits jars, bottles, planner covers, storage tubs and other smooth surfaces where you want the background to stay visible. Careful drying and placement matter most on clear stock, especially when the final look depends on crisp edges and no trapped air.
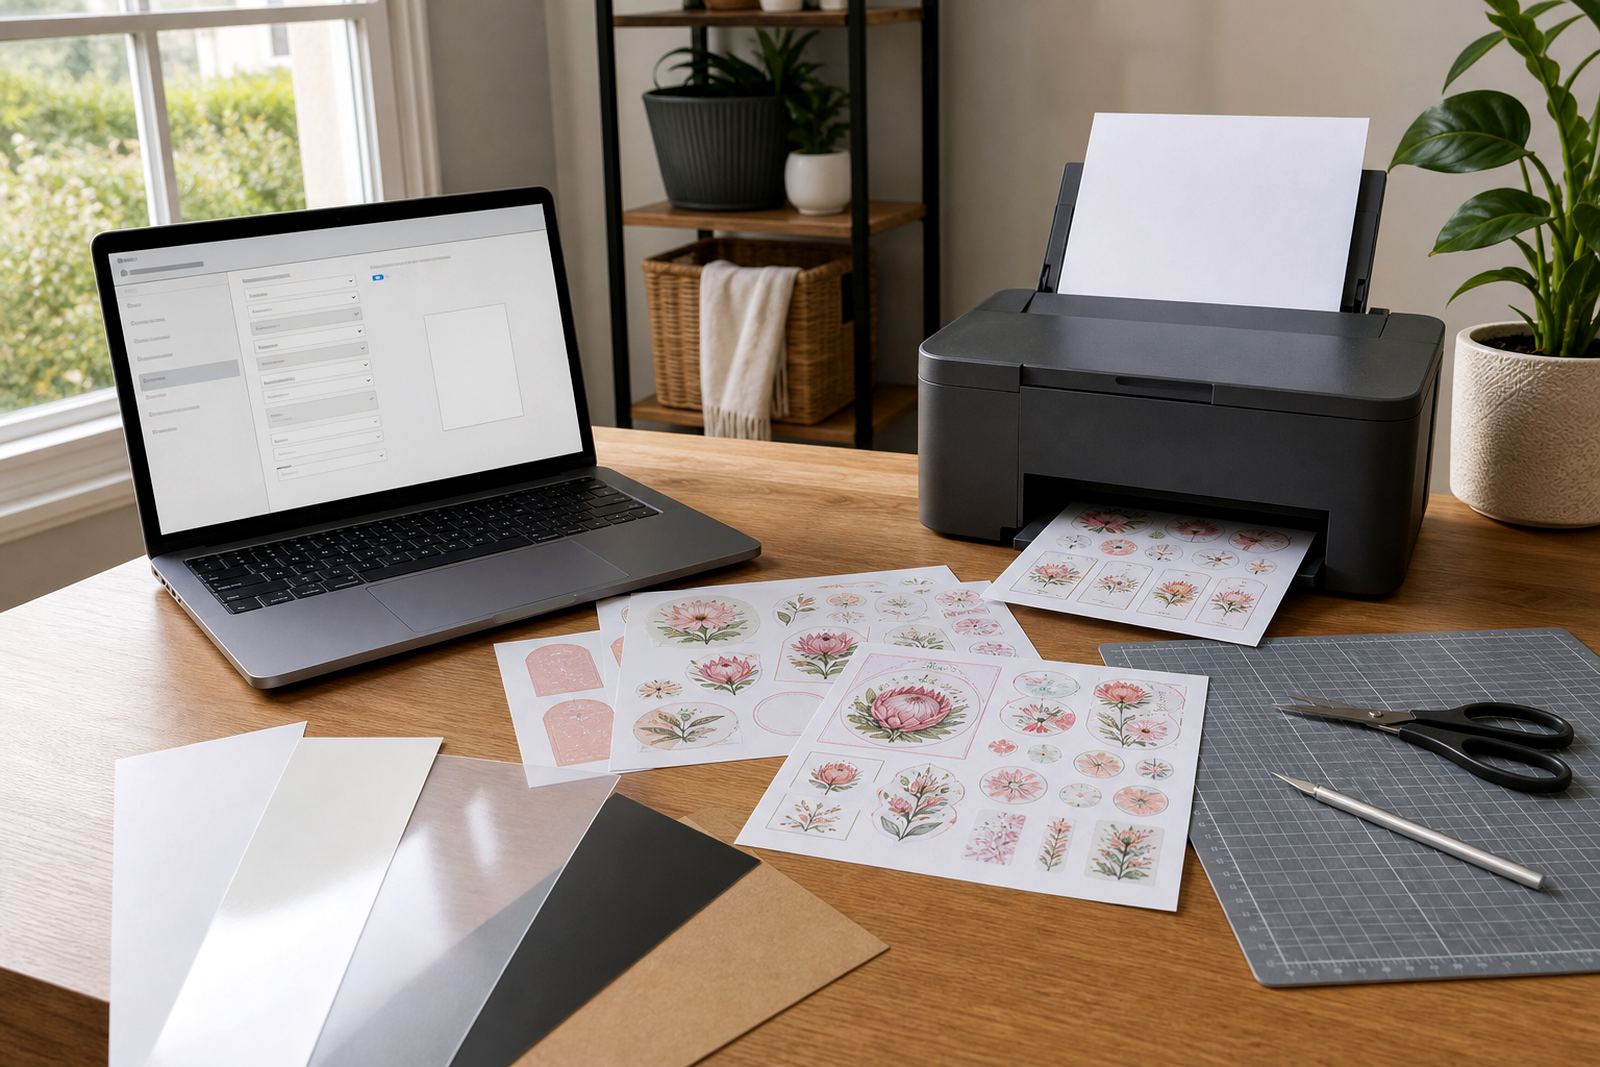
We work with clear printable sheet advice for inkjet and laser use, plus guidance for hand cutting or craft cutters. That includes choosing the right feed direction, checking how the adhesive behaves on curved areas, and allowing the printed sheet to settle before handling. If the artwork uses pale text or fine lines, we look at contrast too so the design remains readable once applied.
- Transparent finish support for labels, decals and decorative overlays
- Inkjet and laser compatibility guidance for different print setups
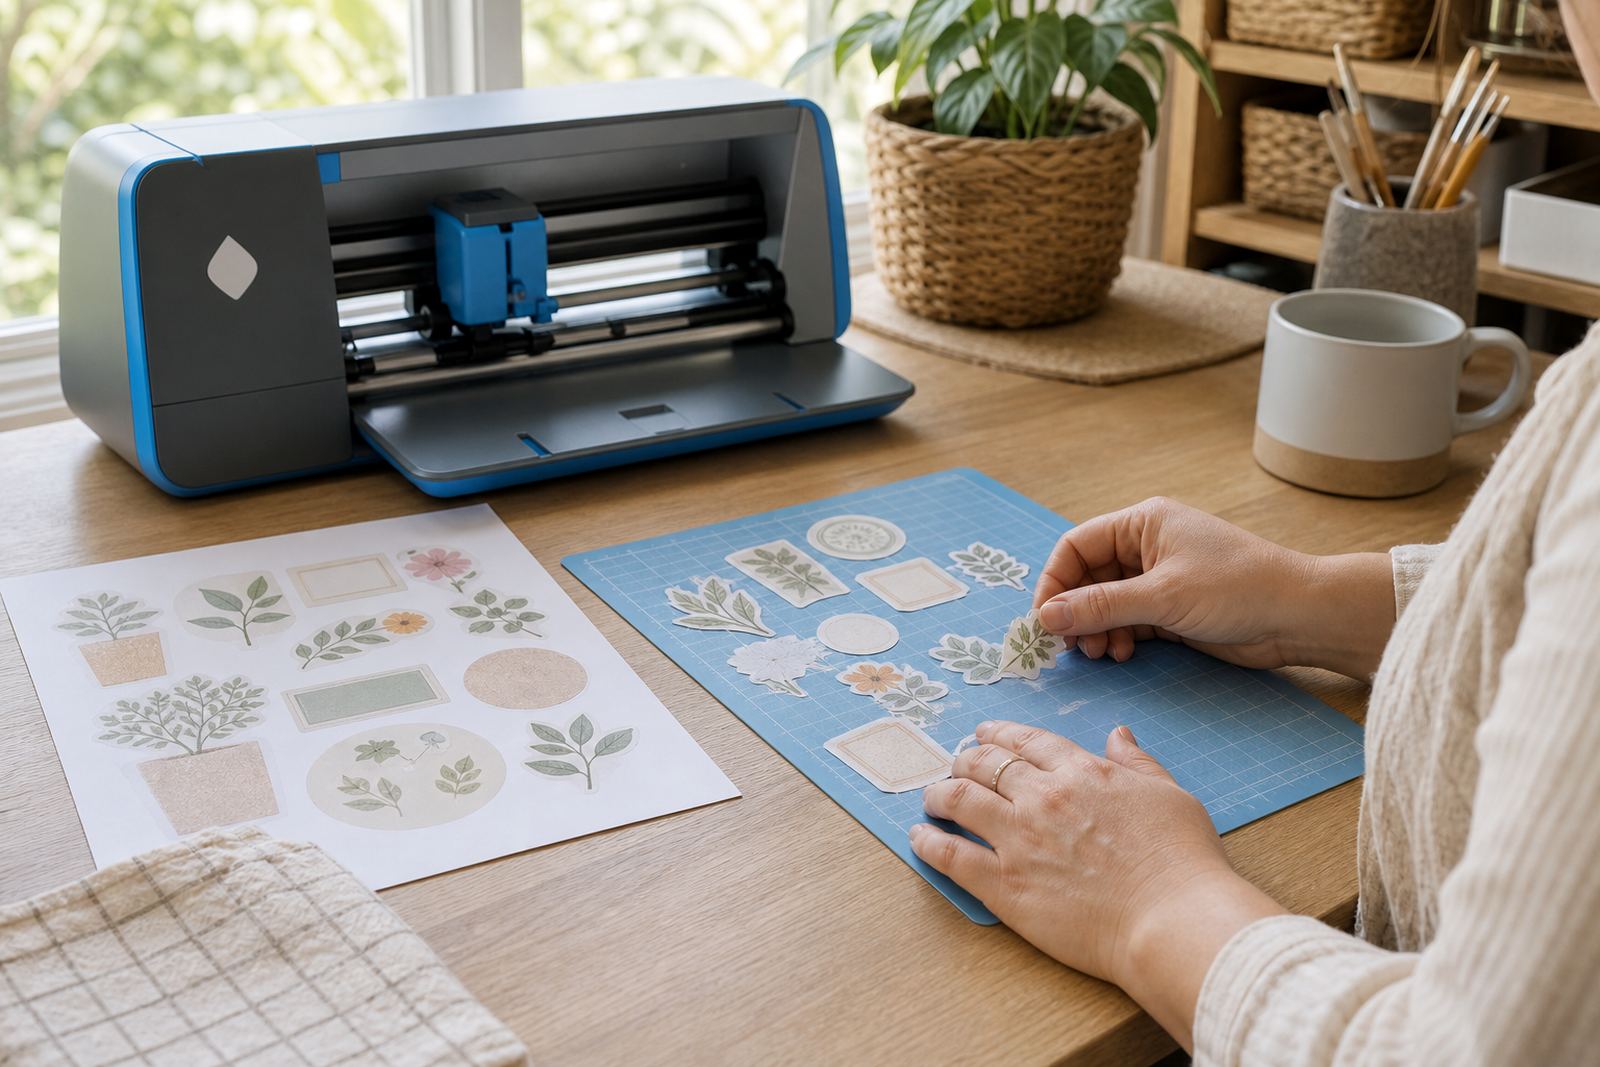
- Cutting support for scissors, trimmers and craft cutters
- Application advice for smooth glass, plastic and coated surfaces
Clear Sheet Options And Where Each One Fits
Clear sticker paper can be used in several ways, depending on the look and the surface. A full clear sheet gives a near invisible background for clean labelling on containers and jars. It works well where the surface colour should show through and the printed artwork only needs to sit on top. For more decorative work, clear material can also be used for window style stickers and layered crafts.
The paper thickness, adhesive grip and finish influence the final result. Some clear sheets are easier to cut by hand while others suit machine cutting for repeat shapes. On smooth surfaces, a well matched clear sheet stays flatter and gives a neater edge, while a poor match can show silvering or small bubbles. In humid coastal areas like Durban and Cape Town, letting the print dry fully before cutting helps the adhesive behave more predictably.
- Clear gloss for stronger colour and a polished look
- Clear matte for a softer surface appearance
- Sheets suited to labels, crafting and home organisation
- Options that work with straight cuts or intricate shapes
How The Process Usually Runs On A Clear Sheet Job
The process starts with the intended surface and the design. A bottle label needs different spacing from a storage tub sticker, and a curved surface calls for a slightly different size than a flat one. We then look at printer type, paper feed and ink behaviour so the print holds detail without smudging. For laser work, heat handling and toner bonding are checked before the sheet is run through. For inkjet work, dry time matters and the print should be left alone until the surface is settled.
After printing, the sheet is trimmed by hand or sent through a craft cutter if the shape needs repeat accuracy. Small text, border lines and rounded corners are checked before application guidance is given. On smooth surfaces, the sticker is usually applied from one side outward to reduce bubbles. If the item will be handled often, we also talk through edge wear and how to avoid lifting at the corners.
- Confirm the printer type and surface finish needed
- Match the sheet to the artwork and cut method
- Allow drying before trimming or stacking
- Apply with steady pressure on a clean, smooth surface
Specs That Matter On Clear Printable Sheet Work
Clear sheet help is not just about appearance. The sheet needs to suit the printer, the cut method and the final use. A heavier stock may feed differently from a lighter one, and some surfaces show every print mark if the adhesive is too aggressive. When the label is for a pantry jar, the finish can be more forgiving. When it is for a gift bottle or a product sample, edge clarity and clarity of type become more important.
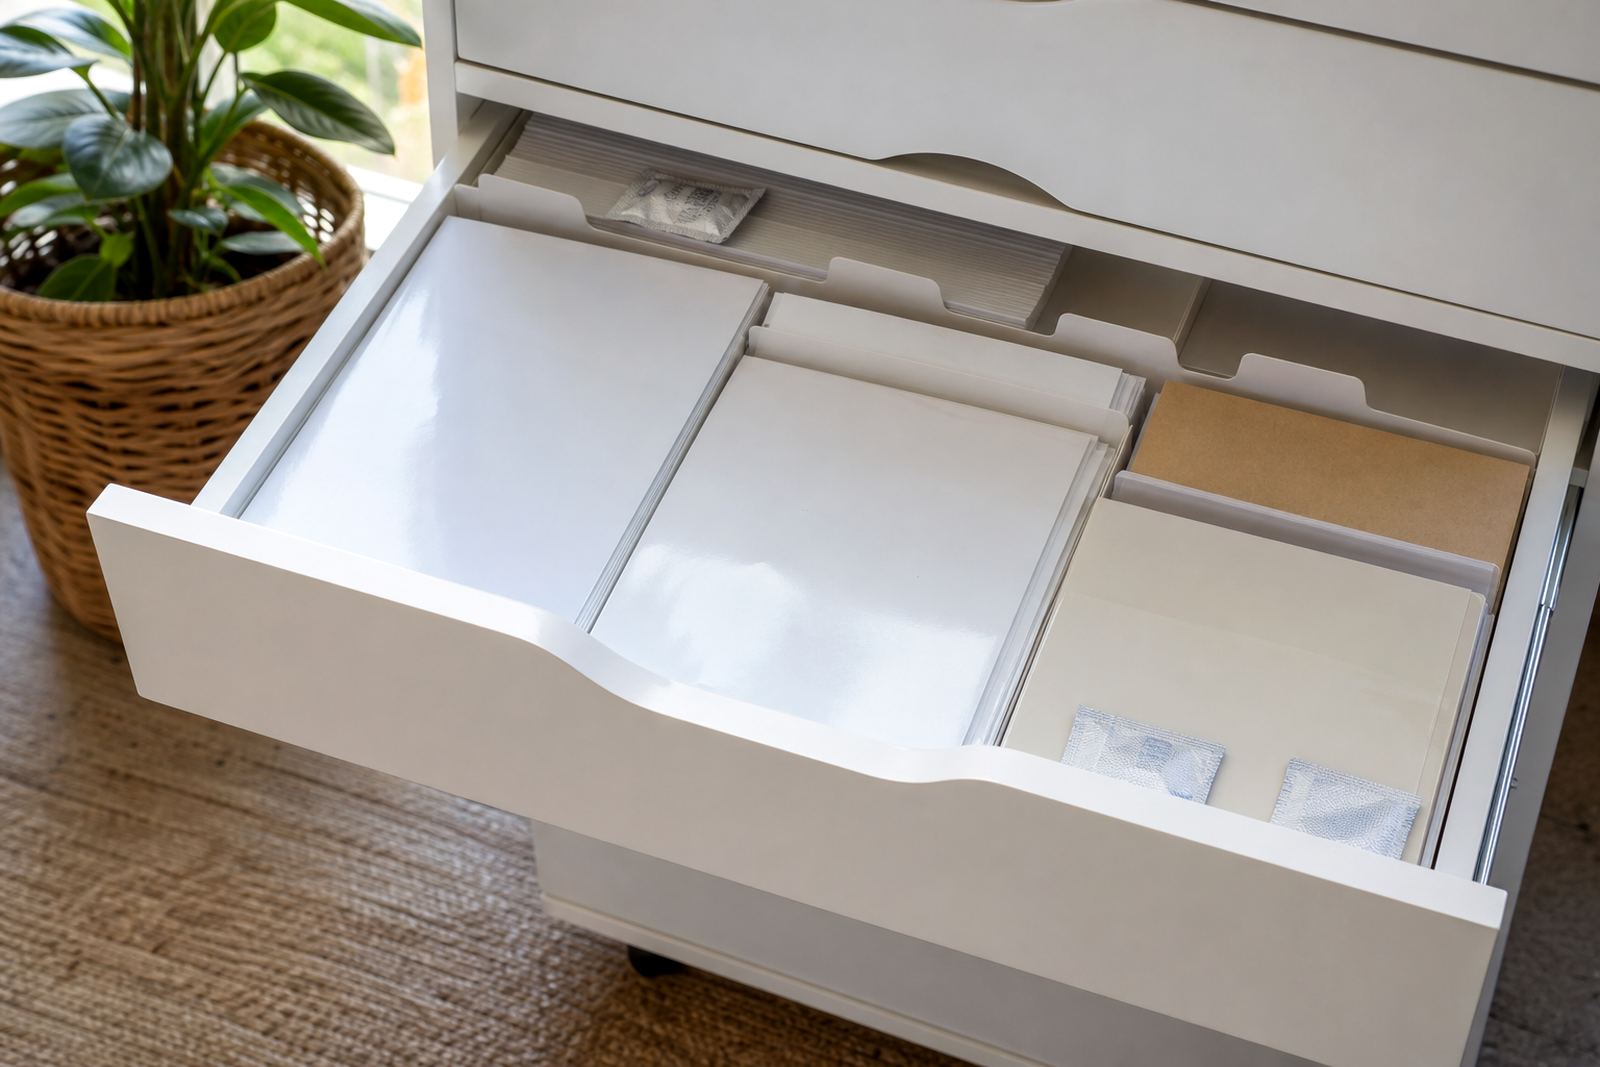
We look at the practical details that affect the result, including whether the sheet suits colour printing, black text only, or layered artwork with white space left open. Clear material also needs sensible storage before use so dust and moisture do not affect the surface. For coastal homes, keeping the packet flat in a dry cupboard helps avoid curling, which can make feeding and cutting less neat.
- Printer match: inkjet or laser, depending on the sheet
- Finish: gloss, matte, or fully transparent
- Cut method: hand cutting or craft cutter setup
- Surface fit: glass, plastic, coated containers and other smooth bases
Pricing Approach For Clear Sheet Help
Pricing depends on the amount of guidance needed and the kind of material being used. A straightforward label layout with a standard surface needs less handling than a layered decal job with fine cutting and placement notes. Larger sheets, special cutting shapes and repeat test prints can also affect the quote. We keep the pricing approach tied to the actual work involved, so the scope is clear before the job moves ahead.
For crafters and home makers, it often helps to think in terms of the final use rather than only the paper itself. A clear label for kitchen storage may need only a basic setup. A set of personalised bottles for an event could need more careful sizing, more cutting time and extra print checks. We do not pad the work with extras, and if a simpler route will still give a neat finish we will point that out.
- Quoted according to sheet type, artwork detail and cutting method
- Adjustments may apply for intricate shapes or repeated labels
- Advice stays practical so the chosen sheet suits the use
- Suitable for one-off home projects and larger label runs
Aftercare For Clear Stickers On Smooth Surfaces
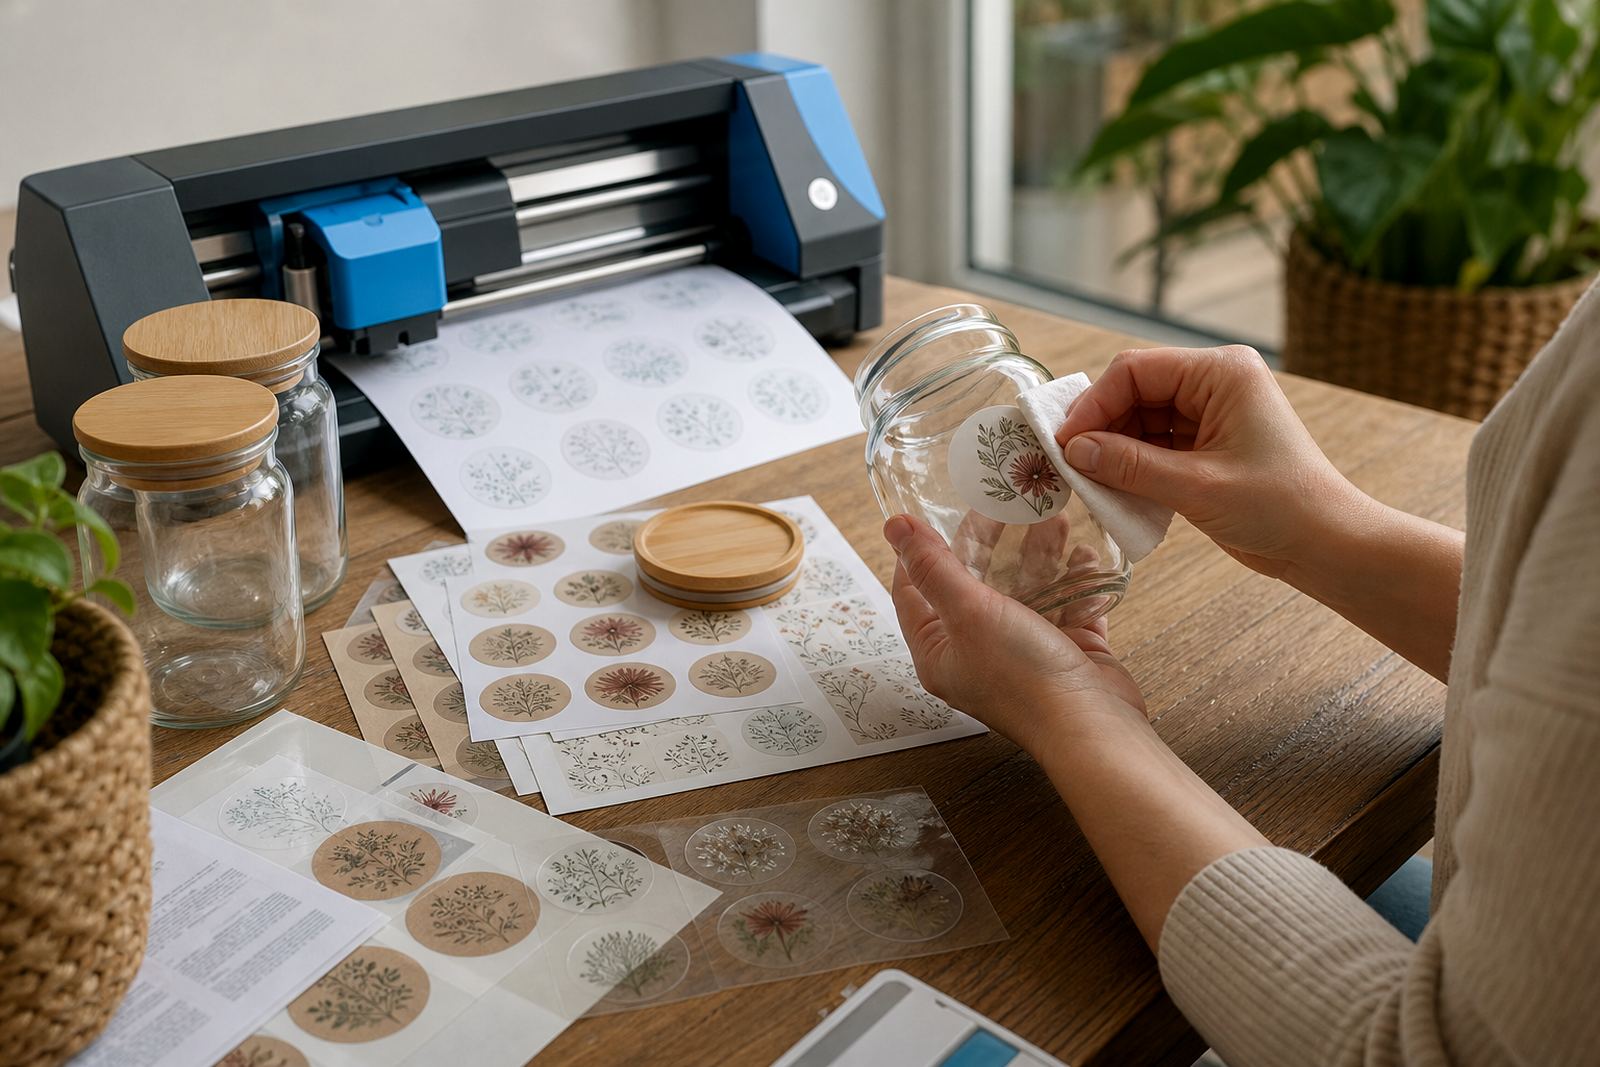
Once the sticker is on the item, the main care is about keeping the edges down and avoiding rough handling while the adhesive settles. A clean cloth works for dust, and gentle wiping is better than hard rubbing. On jars, bottles and organisers, clear stickers can stay neat when they are applied to a fully clean, dry surface with even pressure. If the item sees regular water exposure, we guide placement with that in mind so the sticker is not put where it will lift early.
For glass and plastic, the first day matters most because the adhesive is still bedding in. Avoid lifting and repositioning once the sticker is down, as repeated movement can cloud the finish or weaken the edge. If there is any residue from previous labels, that should be removed before applying a new clear sheet. Small slips in the prep stage show up quickly on transparent stock, so a tidy surface gives the best result.
- Wipe surfaces clean before application
- Use steady pressure from the centre outward
- Avoid repeated lifting or repositioning
- Keep finished items away from heavy rubbing at the edges
Getting Clear Sheet Help For Durbanville And Beyond
We work from Durbanville, Cape Town and support clear sheet enquiries for crafters and home makers across South Africa, including Cape Town, Johannesburg, Durban, Pretoria and Bloemfontein. Delivery also reaches Stellenbosch and Paarl. The team handling these jobs includes Morne van der Merwe, Anele Kekana, Bianca Februarie, Jason Zungu, Leandri Mthethwa and Themba Mabuza, each focused on a different part of the order flow from support to dispatch.
Clients get in touch through the enquiry form on our contact page. When a job calls for clear labels, we first consider the printer type, the surface they will sit on and the finish required before choosing any stock. That keeps the sheet suited to the task instead of pushing every project into the same mould. It also suits smooth surfaces that need a transparent look without haze or obvious cut lines.
Key facts
| Clear finish | Transparent sheet for labels, decals and decorative craft work |
|---|---|
| Printer compatibility | Suitable options for inkjet and laser setups |
| Finish options | Gloss, matte, vinyl style clear and other transparent uses |
| Cutting methods | Hand cutting or craft cutter use |
| Best surfaces | Glass, plastic, coated containers and other smooth areas |
| Use cases | Kitchen labels, home organisation, gifts and craft projects |