Start with the surface, not the sheet
Good application begins before the sticker leaves its backing. Wipe the surface with a dry or lightly damp cloth first, then let it dry fully. Dust, cooking vapour, hand lotion and cleaning residue can all weaken adhesion, especially on kitchen jars, storage tubs and bathroom items that are handled often. If the item has a glossy finish, a quick wipe with isopropyl alcohol can help remove invisible oil film, but test a small area first on delicate surfaces.
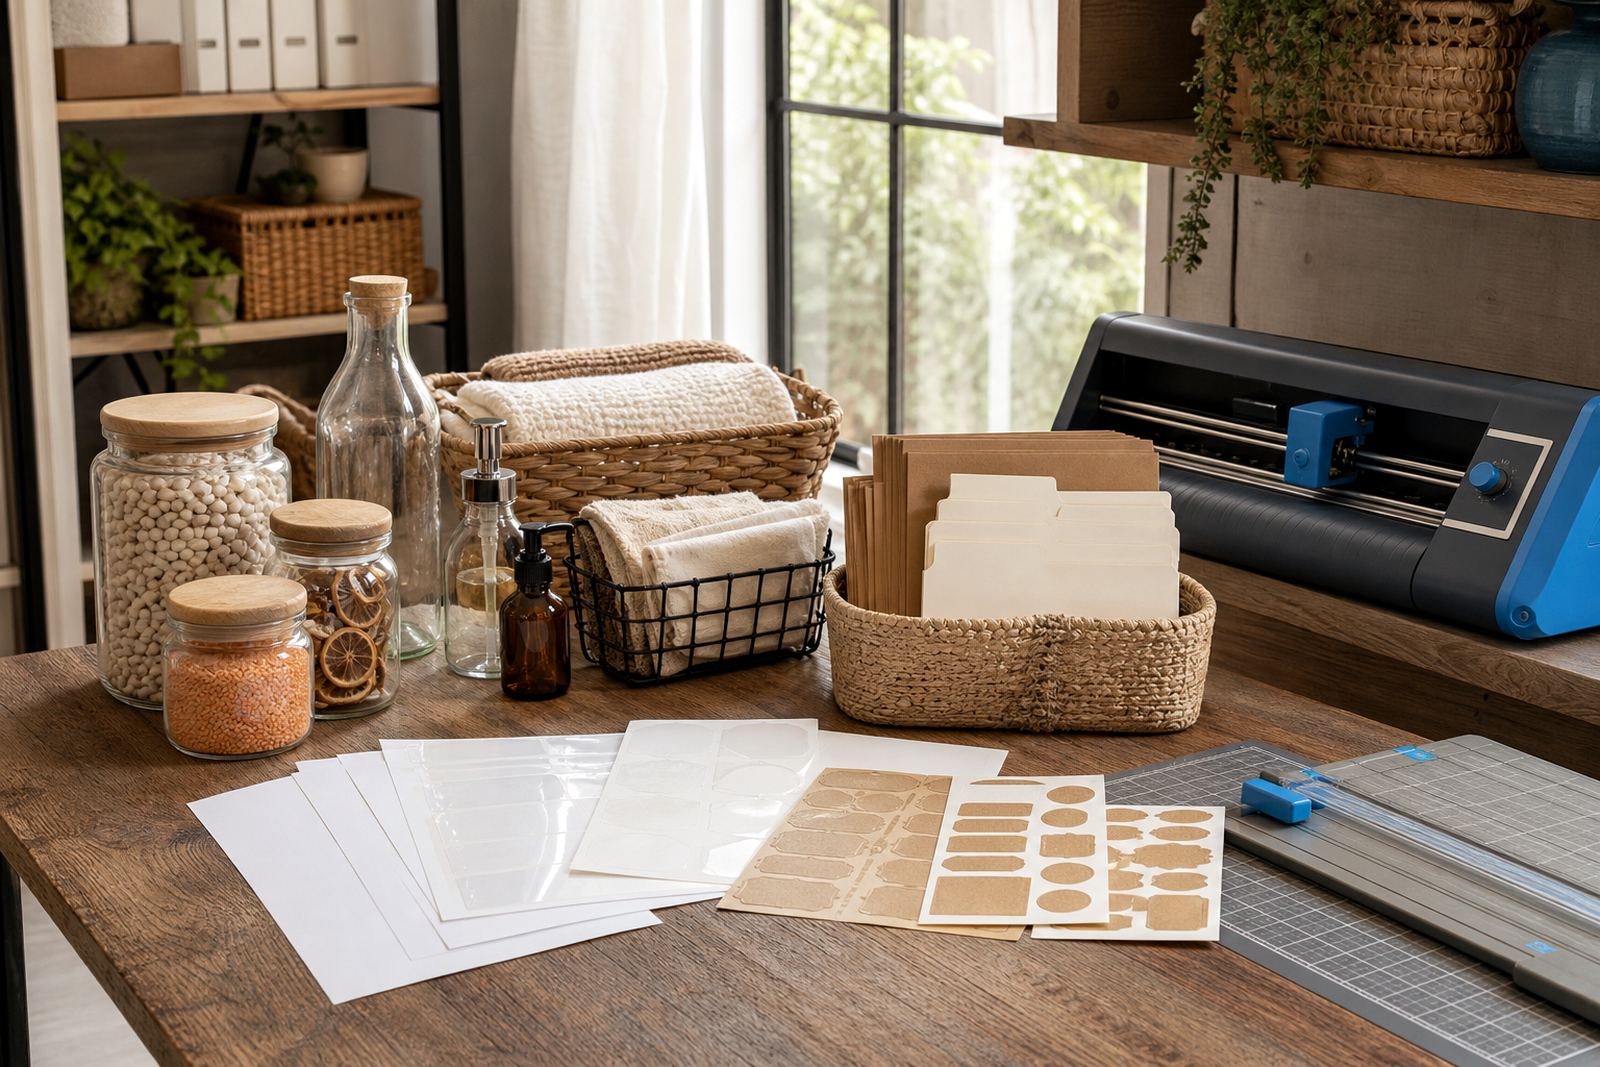
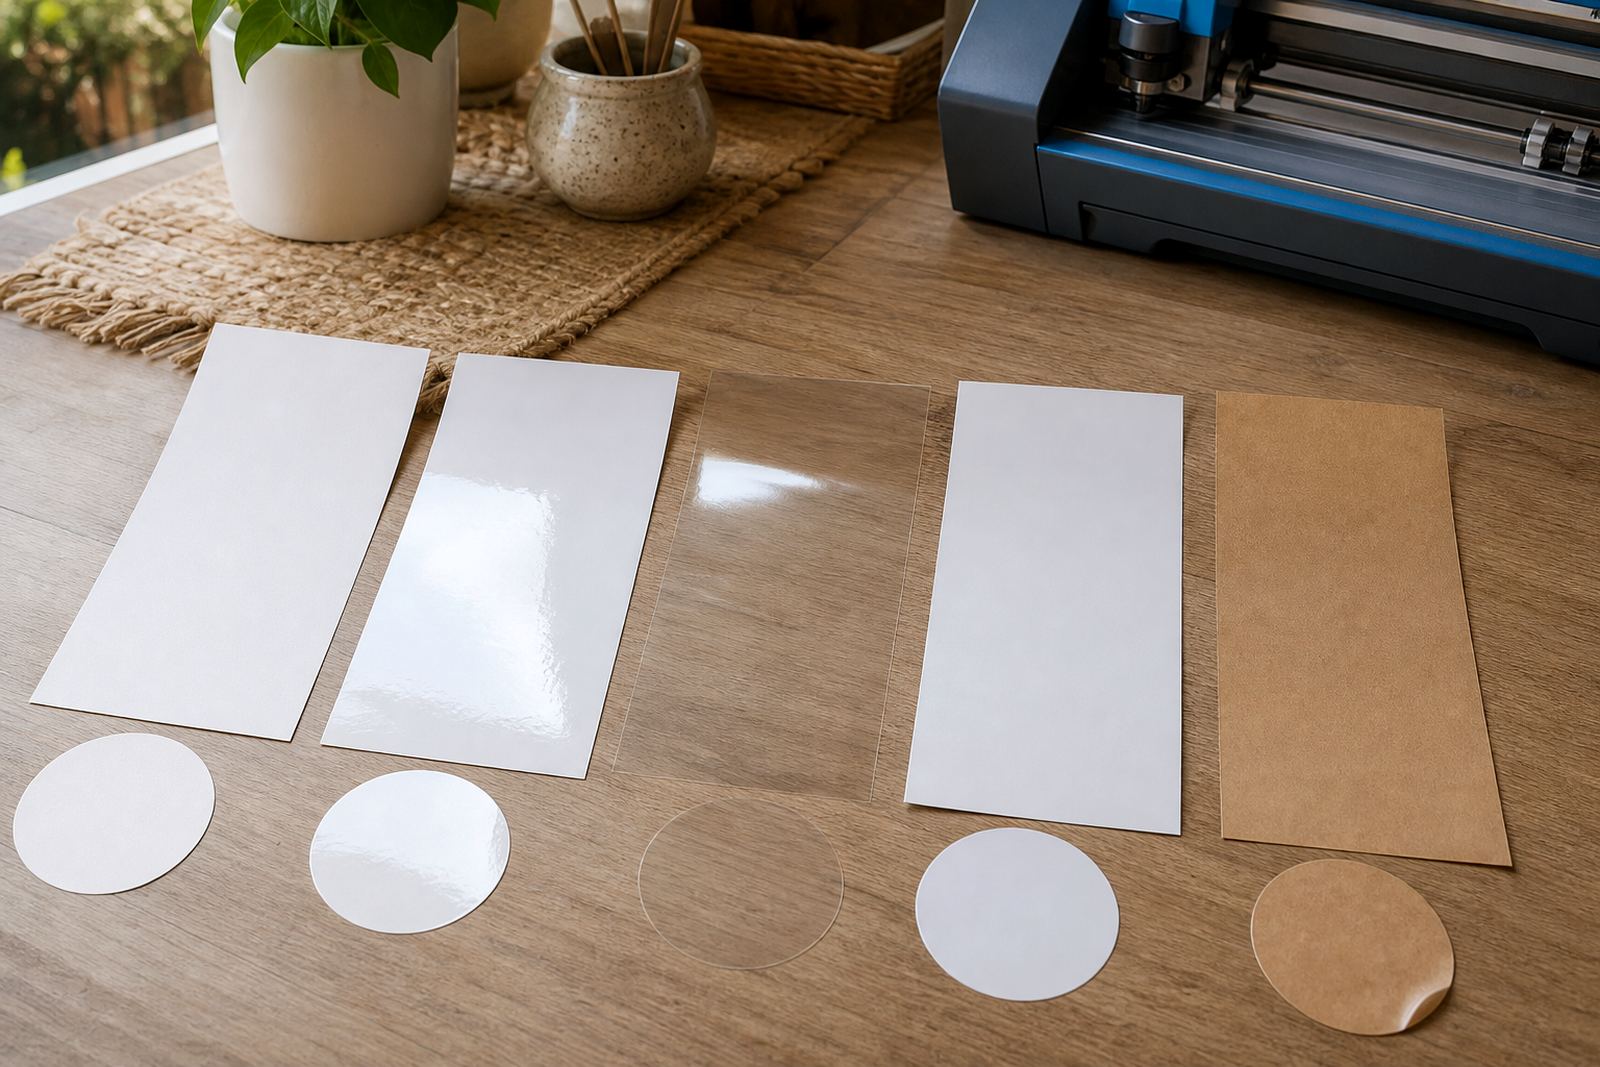
Paper stock also matters. Matte sheets are ideal for clean labelling and handwritten notes. Gloss sheets suit bright colour work and gift items. Clear sheets are useful when you want the background to show through. Vinyl sheets are a stronger option for containers that get handled often, while kraft sheets give a warmer, natural look for pantry jars and handmade gifts. Inkjet and laser compatible sheets should always be matched to the printer type you are using, or the print may smudge, curl or lose sharpness.
- Surface must be clean and fully dry
- Avoid textured, flaking or dusty finishes
- Match the sheet to your printer type
- Keep the backing paper intact until placement
Positioning the sticker without rushing the press
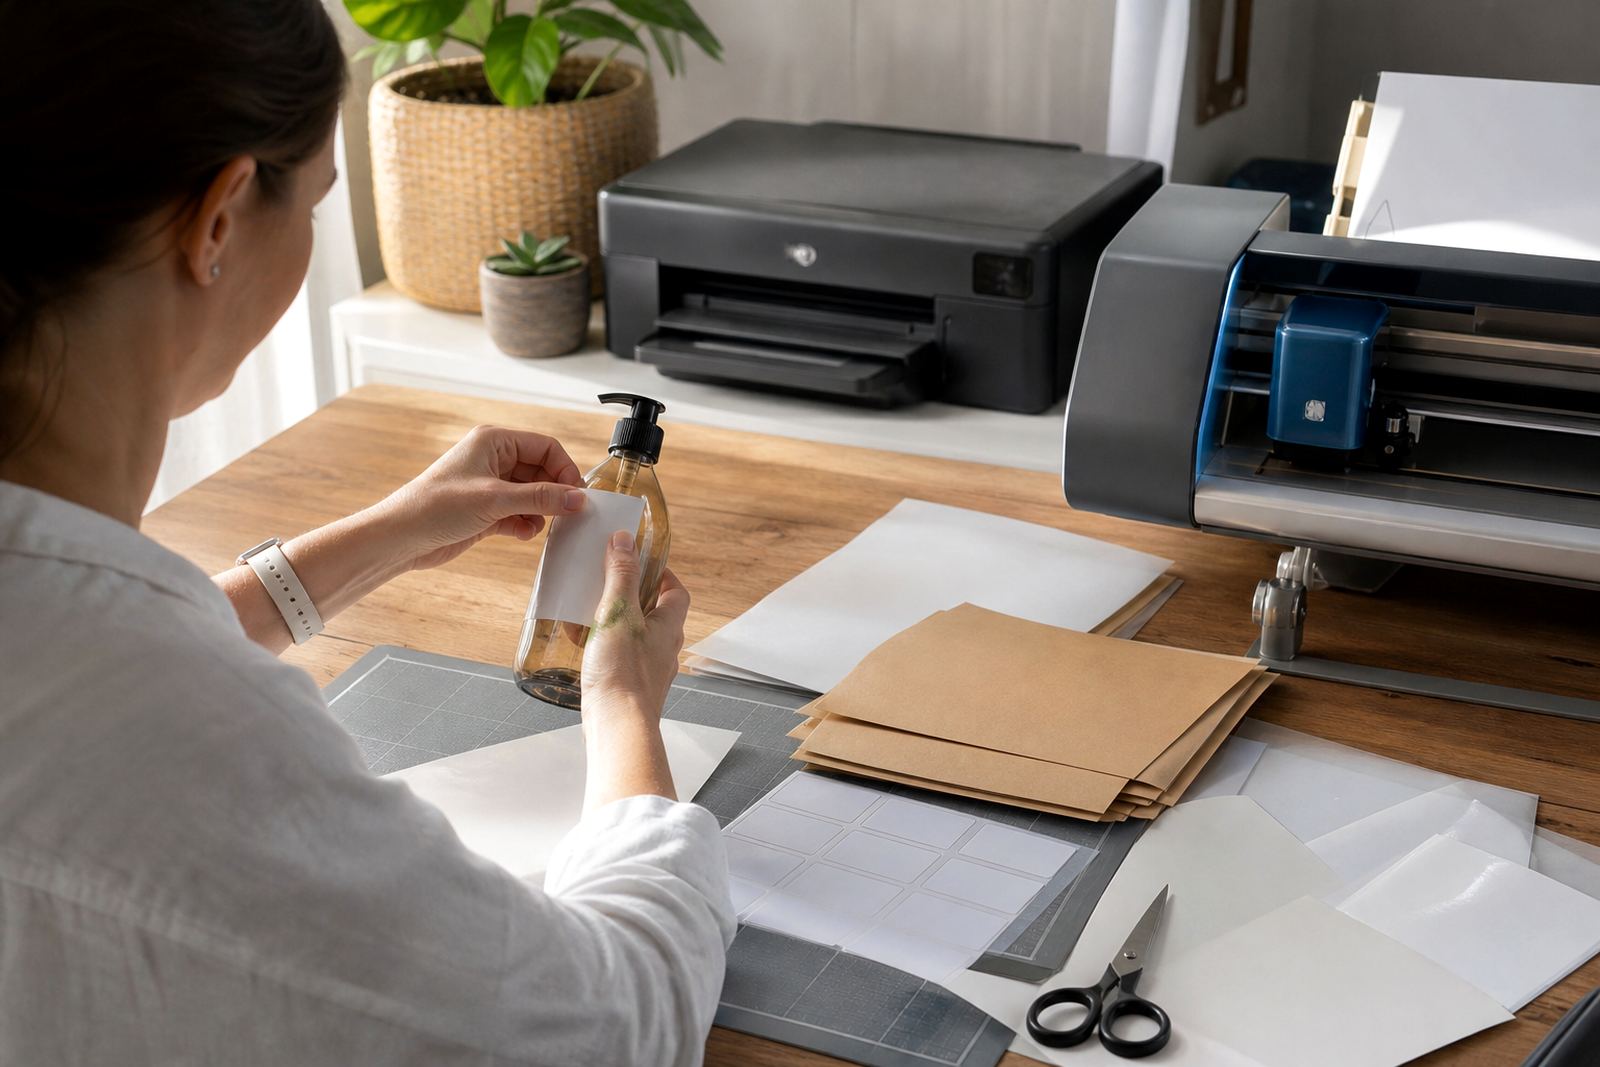
Place the sticker lightly before committing to the final press. For larger labels, hold one edge slightly away from the surface, line up the opposite edge, then lower the rest a little at a time. This helps with jars, storage boxes and notebooks where the first placement matters. If the sticker touches down crooked, lift it gently before firm pressure is applied. Once fully pressed, some adhesive grips fast and rough correction can stretch the print or pull the edges.
For narrow labels, a straight edge or a folded sheet of paper can help you judge alignment. On curved containers, begin at the centre and work outwards with the fingertips. This method is slower, but it reduces wrinkling around the sides. In humid coastal homes around Durbanville, Cape Town and other seaside areas, the surface can feel dry while still holding moisture in the air, so allow newly cleaned items a few extra minutes before application.
- Test alignment before the full press
- Use the centre-out method on curves
- Work slowly on long labels
- Do not place on damp surfaces
Smoothing out air and keeping the print neat
Air bubbles are common, especially with larger stickers and clear sheets. Start from the middle and smooth outward with a clean cloth, a plastic scraper or a firm card wrapped in soft paper. Work in short strokes rather than one hard pass. That gives trapped air a path to move out without creasing the sheet. If a bubble remains near the edge, lift that section carefully and lay it back down slowly.
Printed colour needs a little care too. Fresh ink, especially on absorbent matte stock, should be left to dry before rubbing or stacking. Laser printed sheets are usually dry to the touch straight after printing, but the adhesive still benefits from careful handling. When you are making labels for bath products, spice jars or school containers, a clean finish matters more than speed, because the final look depends on how flat the sticker sits.
- Smooth from the centre towards the edges
- Use light pressure rather than force
- Lift and reset only small problem areas
- Let fresh prints dry before handling heavily
Cutting by hand or with a craft cutter
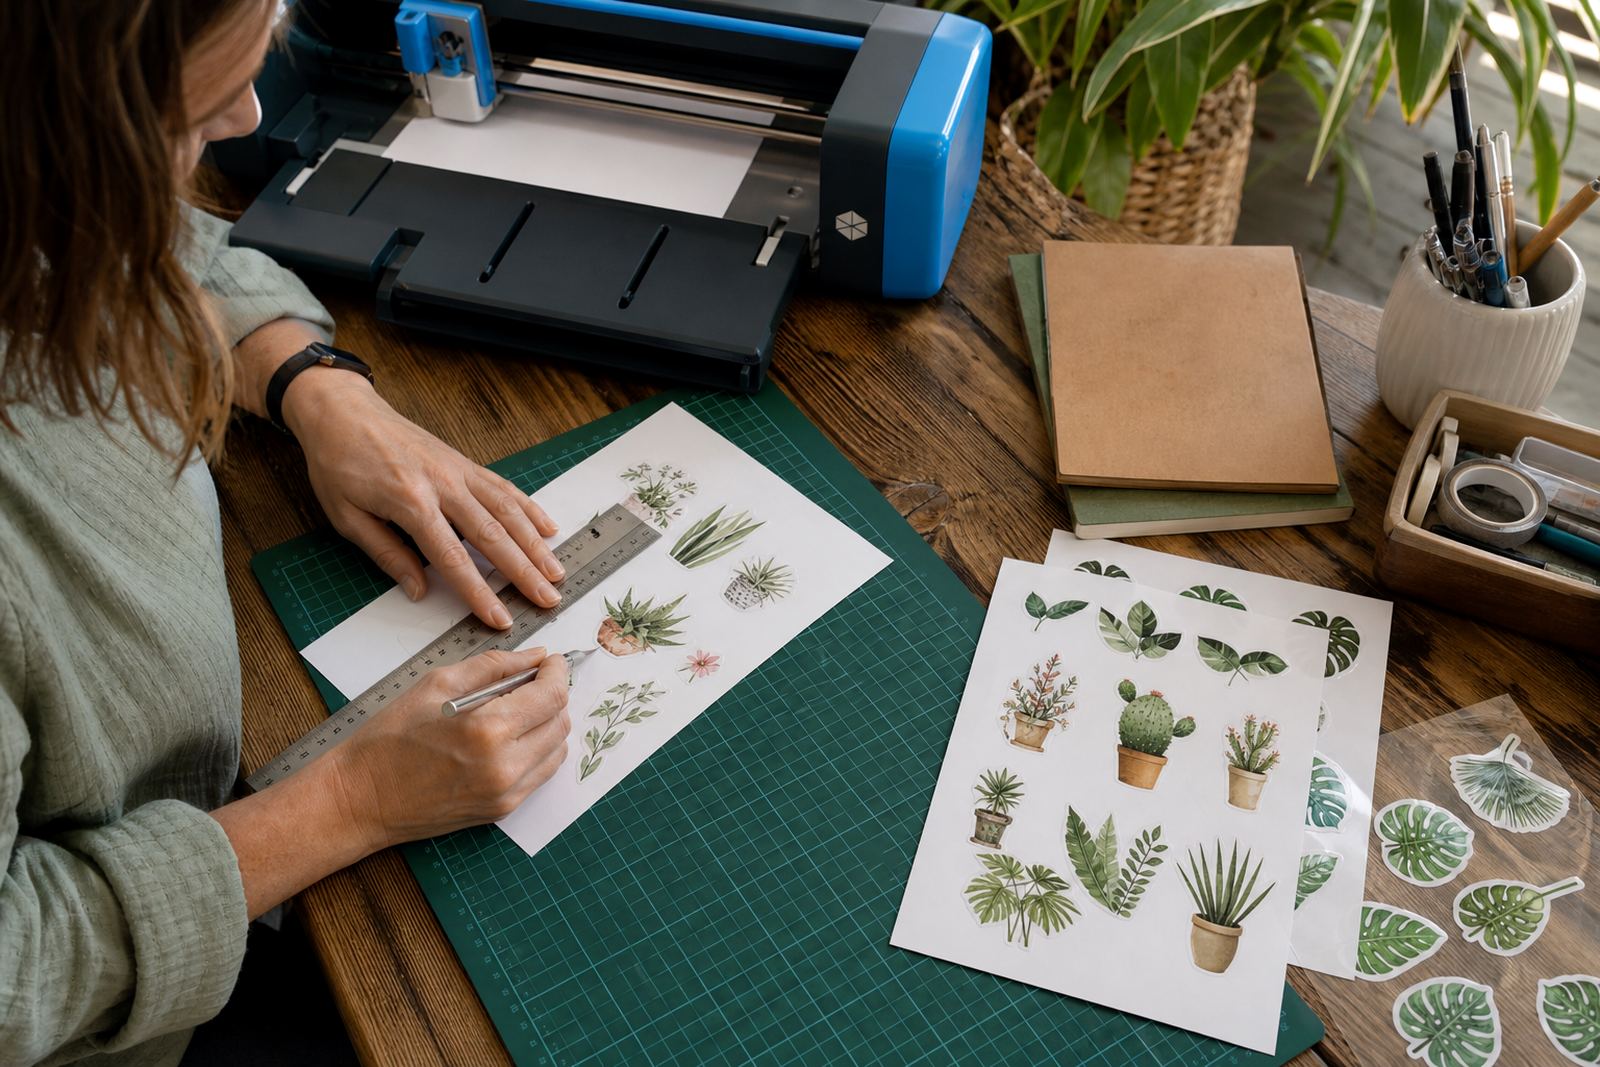
Many crafters trim sticker paper by hand, especially for simple square labels and gift tags. A sharp blade and a steady ruler help keep edges clean. If you use a craft cutter, check the cut settings on a scrap sheet first. Too much pressure can slice through the backing, while too little pressure leaves the design difficult to remove. A test cut saves paper and avoids wasted prints, which matters when you are working on a full page of labels.
Clear and vinyl sheets often need a little extra care when cutting. They can stretch if pulled too hard from the mat, and small shapes may curl at the corners. Kraft sheets are easier to see under natural light, but cutting lines should still stay sharp for neat peeling. Keep blades clean, mats free of dust and sheets flat in storage to protect the cut edge.
- Use a sharp blade for hand trimming
- Run a test cut before full production
- Keep sheets flat and dust free
- Peel small shapes slowly from the backing
Matching the sheet to the job
Different projects call for different finishes. Matte sticker paper works well for pantry labels, planner inserts and handwritten notes because it gives a soft surface and takes pen marks more comfortably. Gloss sheets suit gift packaging, colour artwork and decorative labels that need extra shine. Clear sheets can be used for glass jars, bottles and windows where a see-through finish is preferred. Vinyl sheets are better where handling is frequent, while kraft sheets suit rustic jars, handmade soap wraps and home organisation with a natural look.
Inkjet printers need the correct paper type to absorb ink properly, while laser printers need sheets that can cope with the heat of the printing process. If the wrong sheet is used, the print may smudge, curl or lose sharp edges. For home makers in Johannesburg, Pretoria, Durban, Bloemfontein and Cape Town, that detail can shape the whole result, especially when a batch of labels is meant for gifts or storage sets.
- Matte for notes, labels and organisation
- Gloss for colour and decorative work
- Clear for glass and see-through finishes
- Vinyl for handling and moisture-prone use
- Kraft for a natural handmade look
Aftercare that keeps labels looking tidy
Once applied, avoid heavy scrubbing for the first day if possible. A gentle press with the palm helps the adhesive settle, but strong cleaning too soon can lift corners. For jars and containers, wait before washing. If the label will be handled often, wipe around it rather than over it when possible. On curved items, edges deserve special attention because they lift first when the surface is flexed or exposed to moisture.
Store unused sheets flat in a cool place away from direct sun and damp cupboards. That keeps the corners from curling and protects the adhesive layer. If you print in batches, separate different finishes so the sheets do not scuff each other. A small stack kept neatly can save time later when a new set of labels or craft pieces is needed for home storage, gifts or school projects.
- Press once more after application
- Avoid harsh wiping straight after sticking
- Store unused sheets flat and dry
- Keep different finishes separated